

7 DAYS AFTER RESONANCE CASCADE
“Gordon Freeman and two fellow scientists, James Walker and Robert Bond, took it upon themselves to mount a daring attack against a beachside military base, in order to secure a safe route to escape from Black Mesa.
They were planning to lead a team of security guard survivors on a silent takeover, but the base personnel was somehow alerted of their planned attack by an unknown individual.
On that fateful day, Gordon and his troops set out towards the beach in their flimsy transports, unaware that the military has prepared some nasty surprises for them…”
This map was made for the TWHL Competition 29 – Map Something Historical.
“Inspiration: This level is largely based on the D-day theme set by Medal of Honor Allied Assault (quite a historical event). You can see this very plainly in the first part of the level. Also Command and Conquer: Red alert inspired me to make some of the brush-based enemies in this level. I wanted to finish this for the Map something Historical TWHL competition you know.”
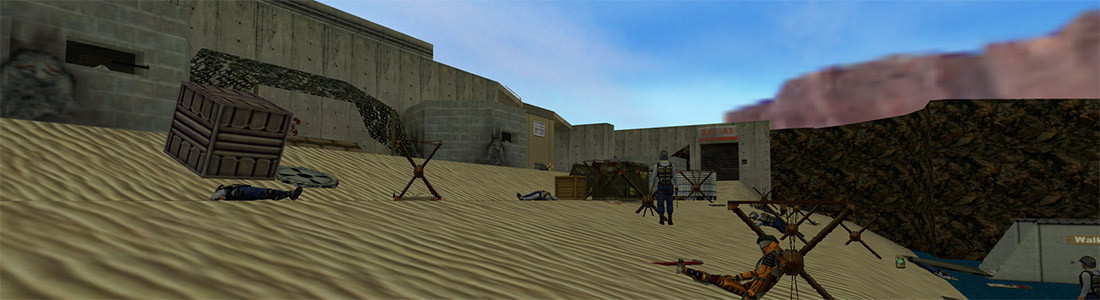
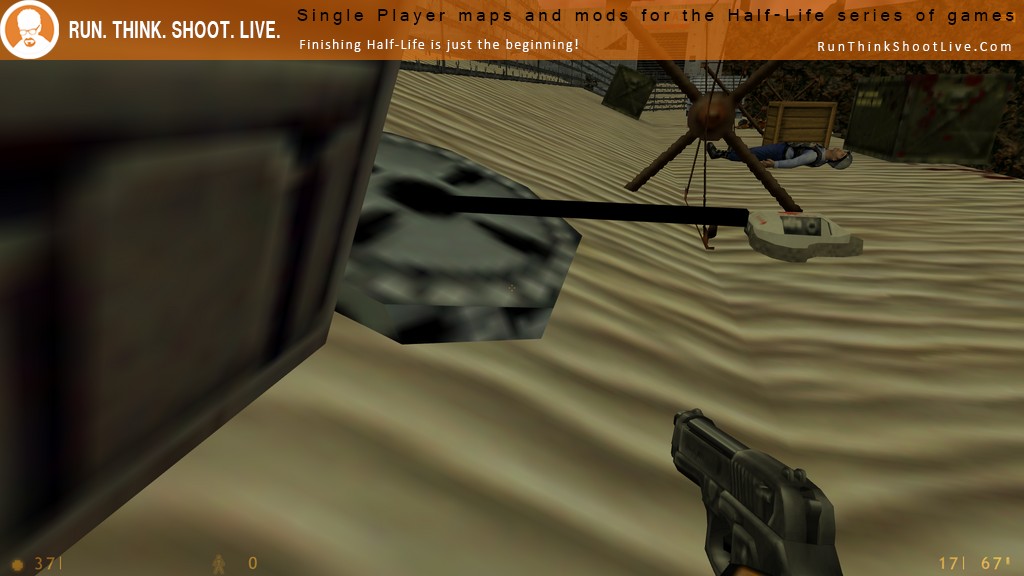
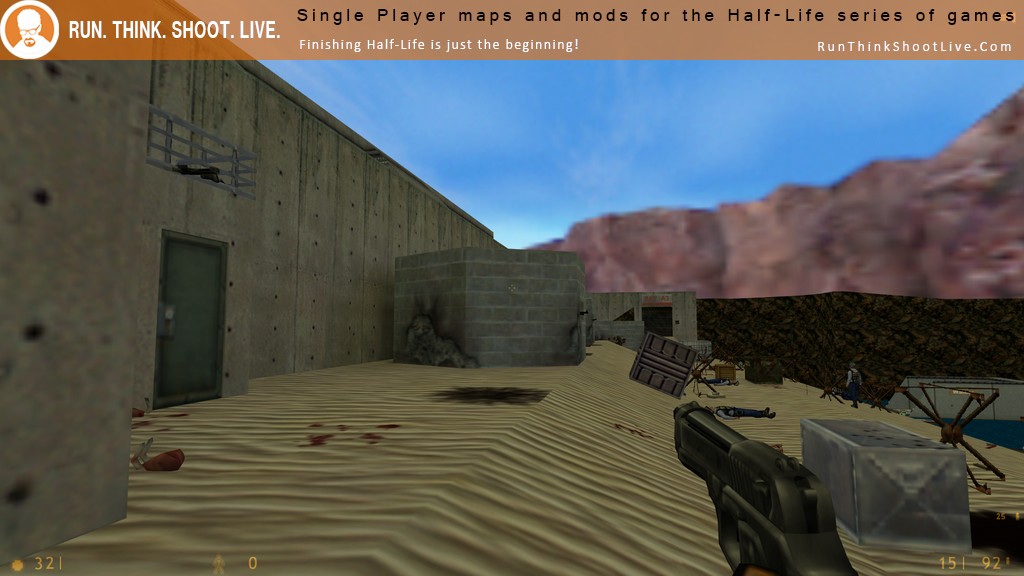
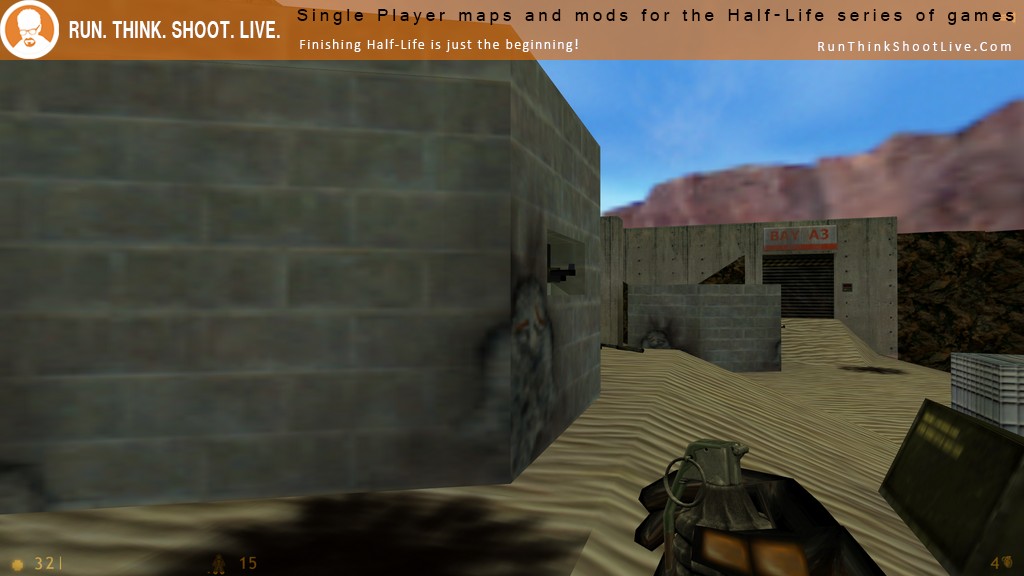
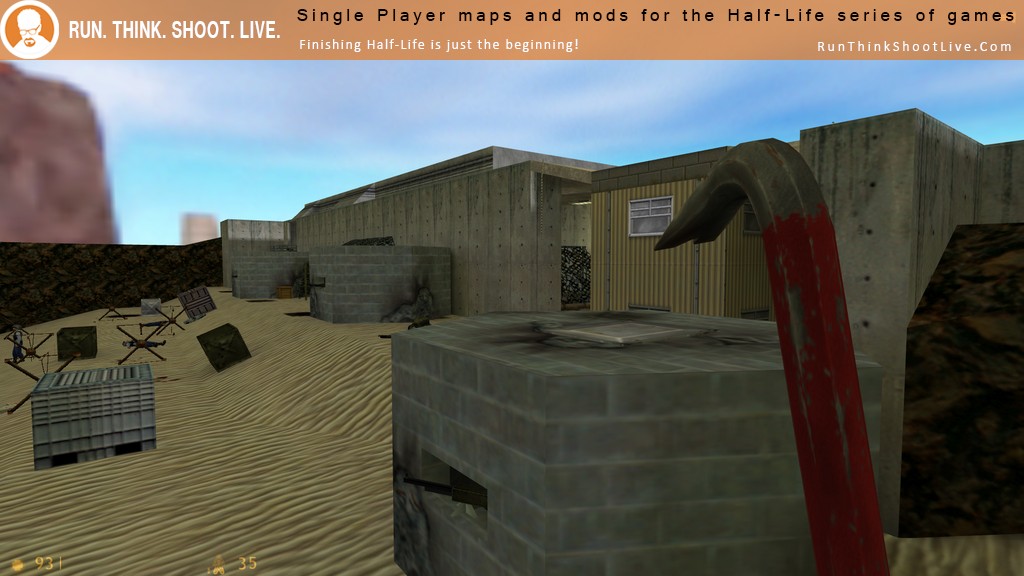
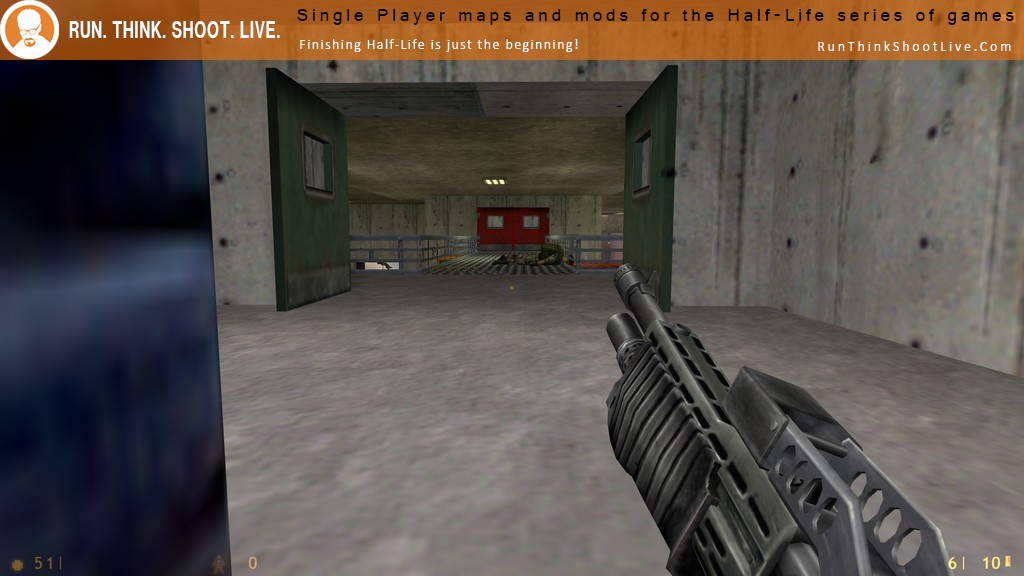
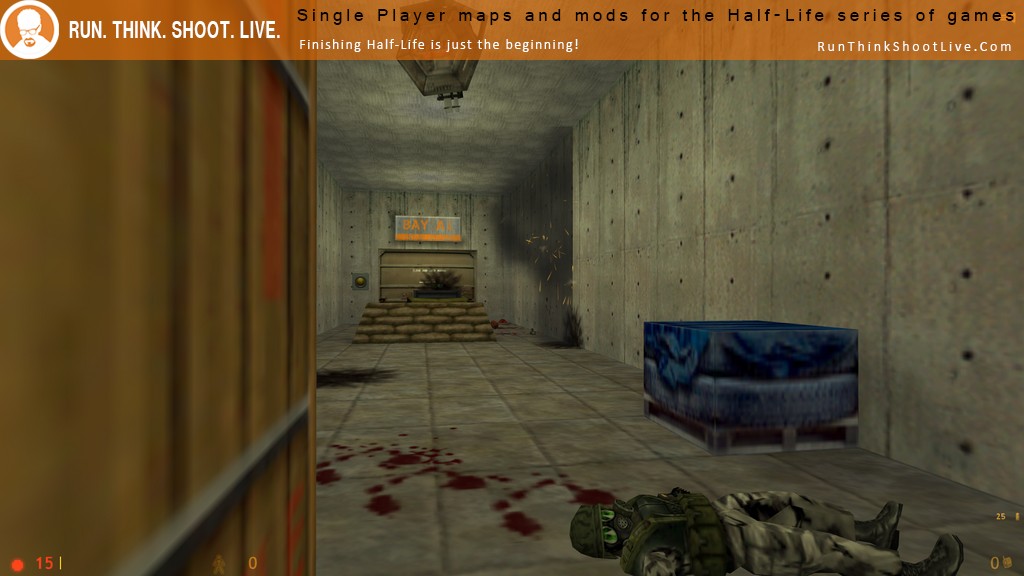
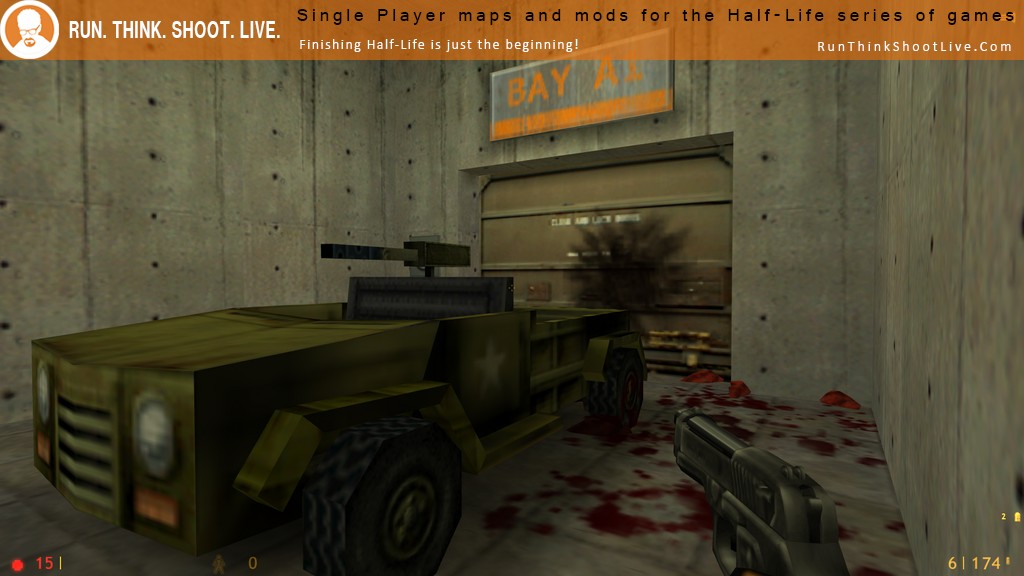
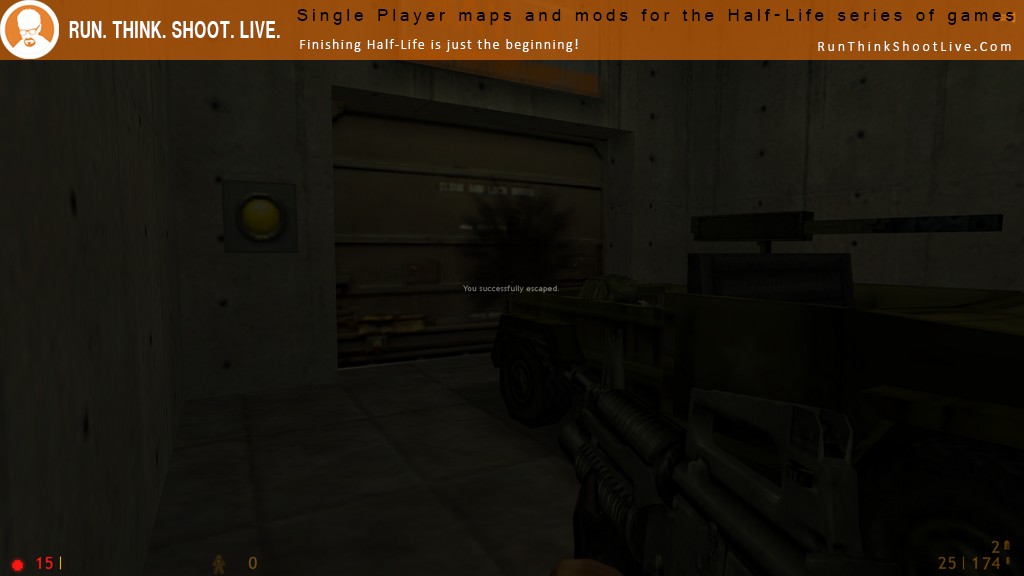
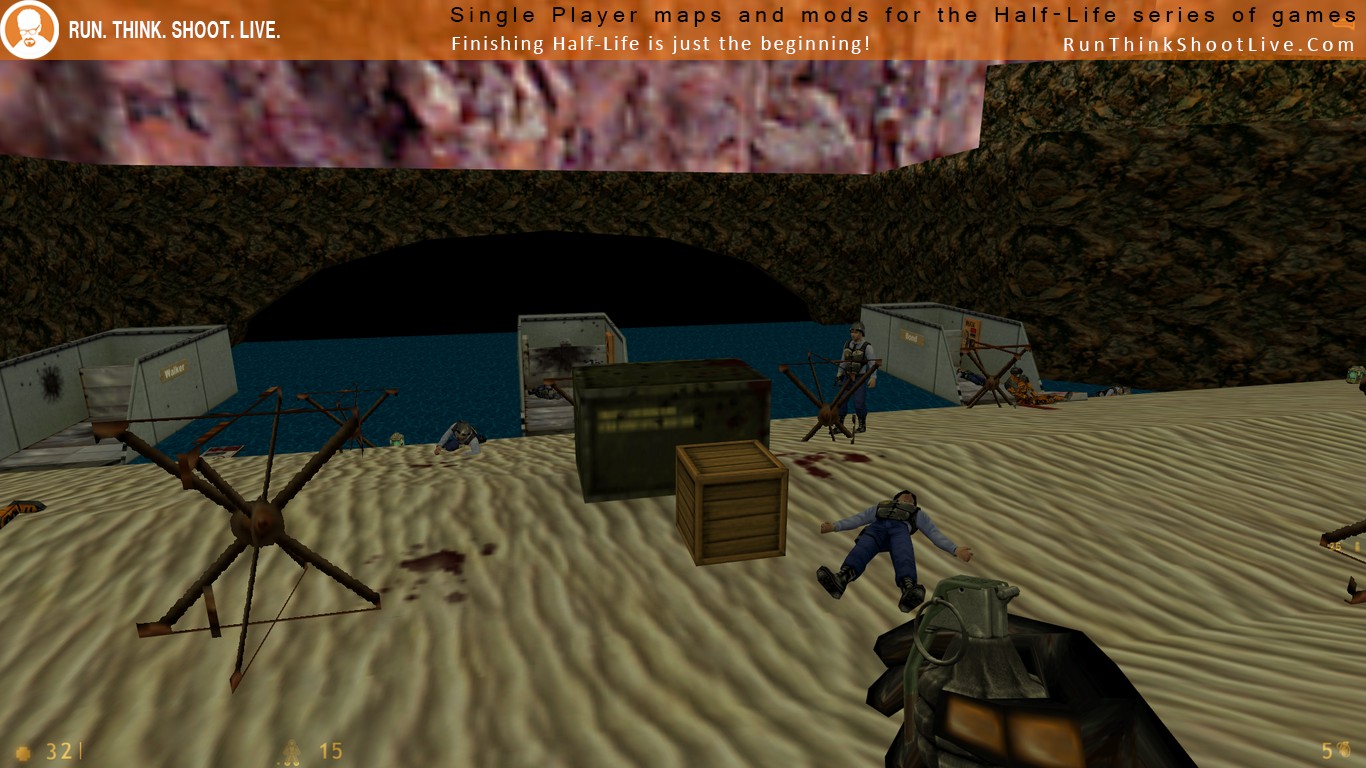
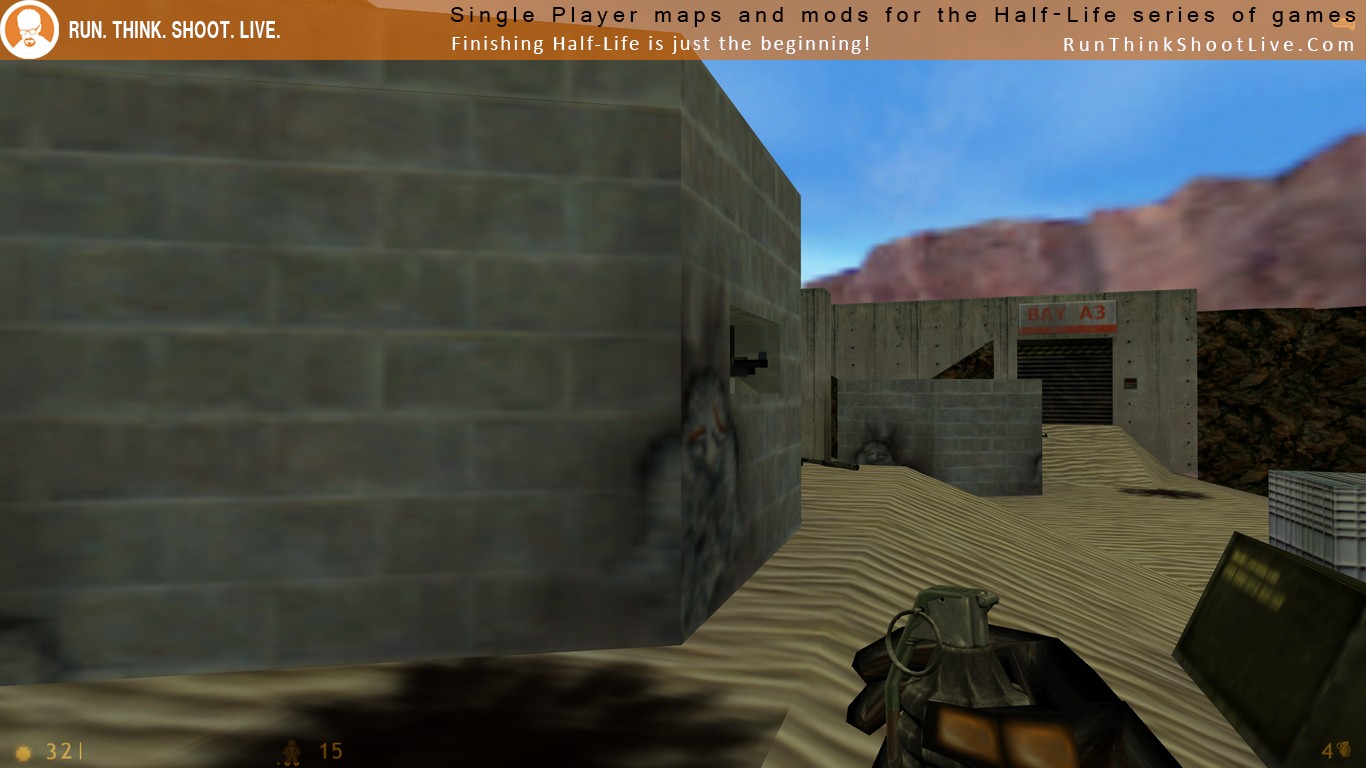
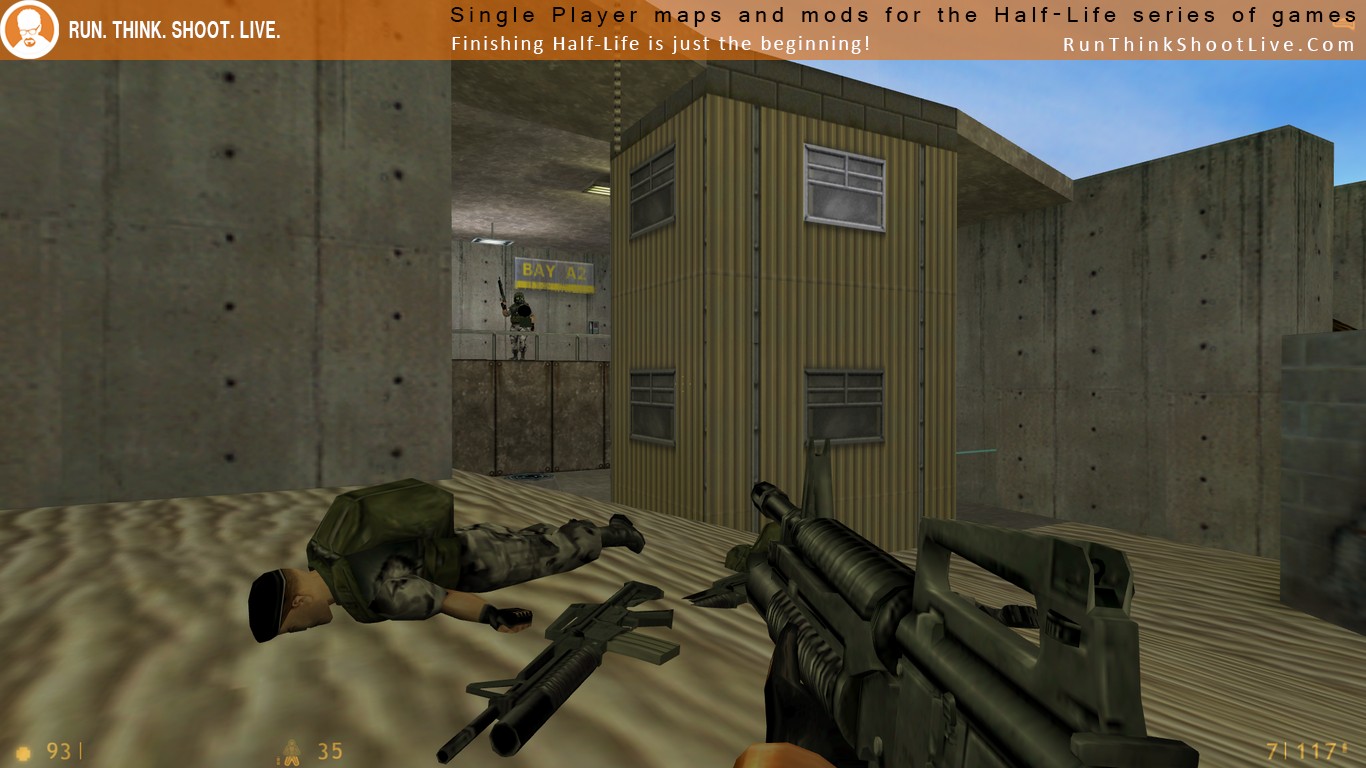
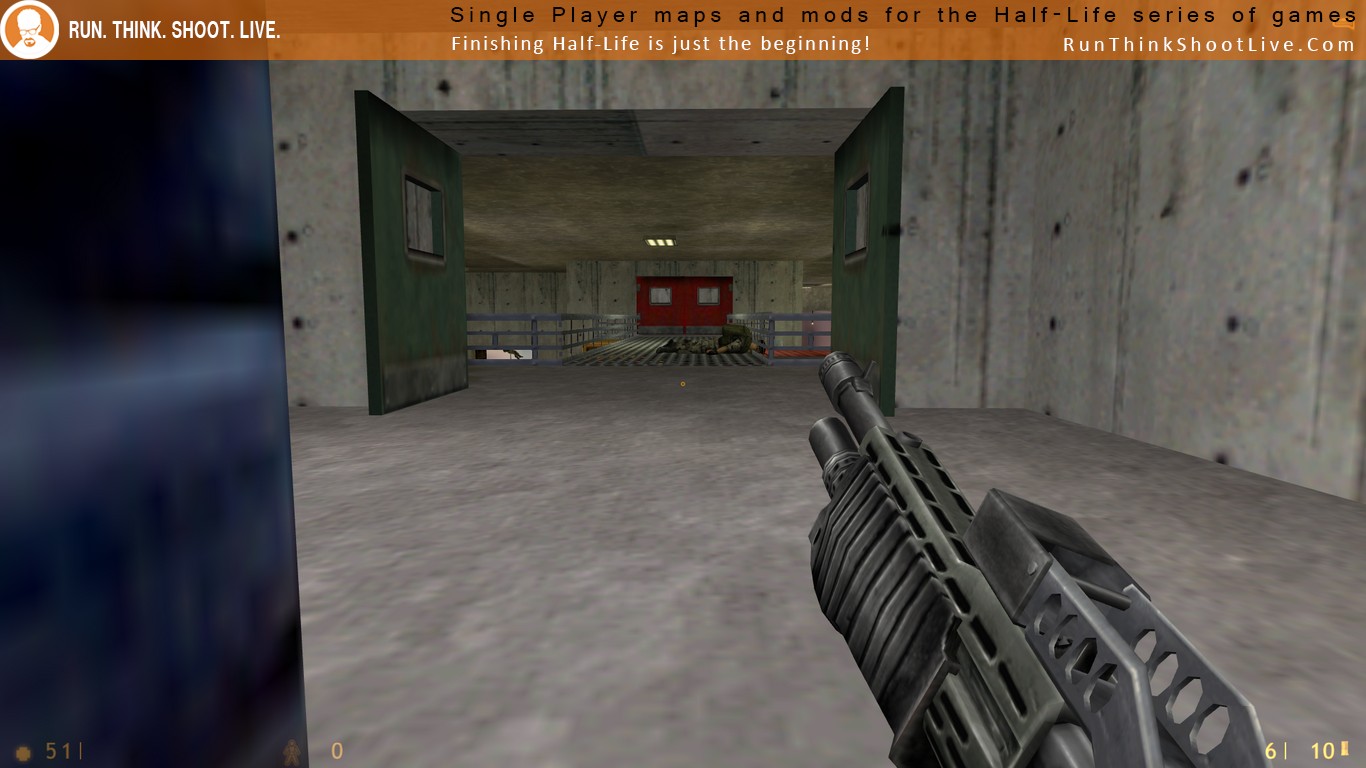
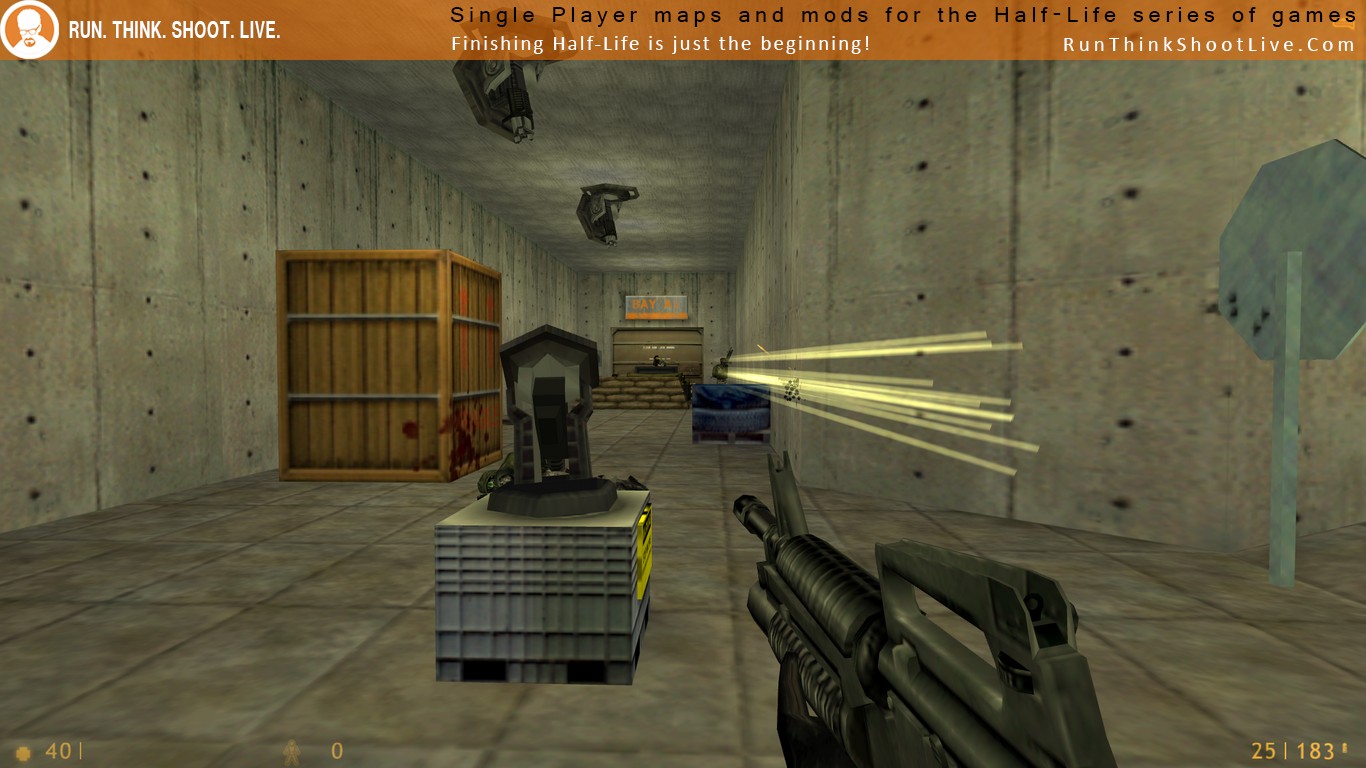
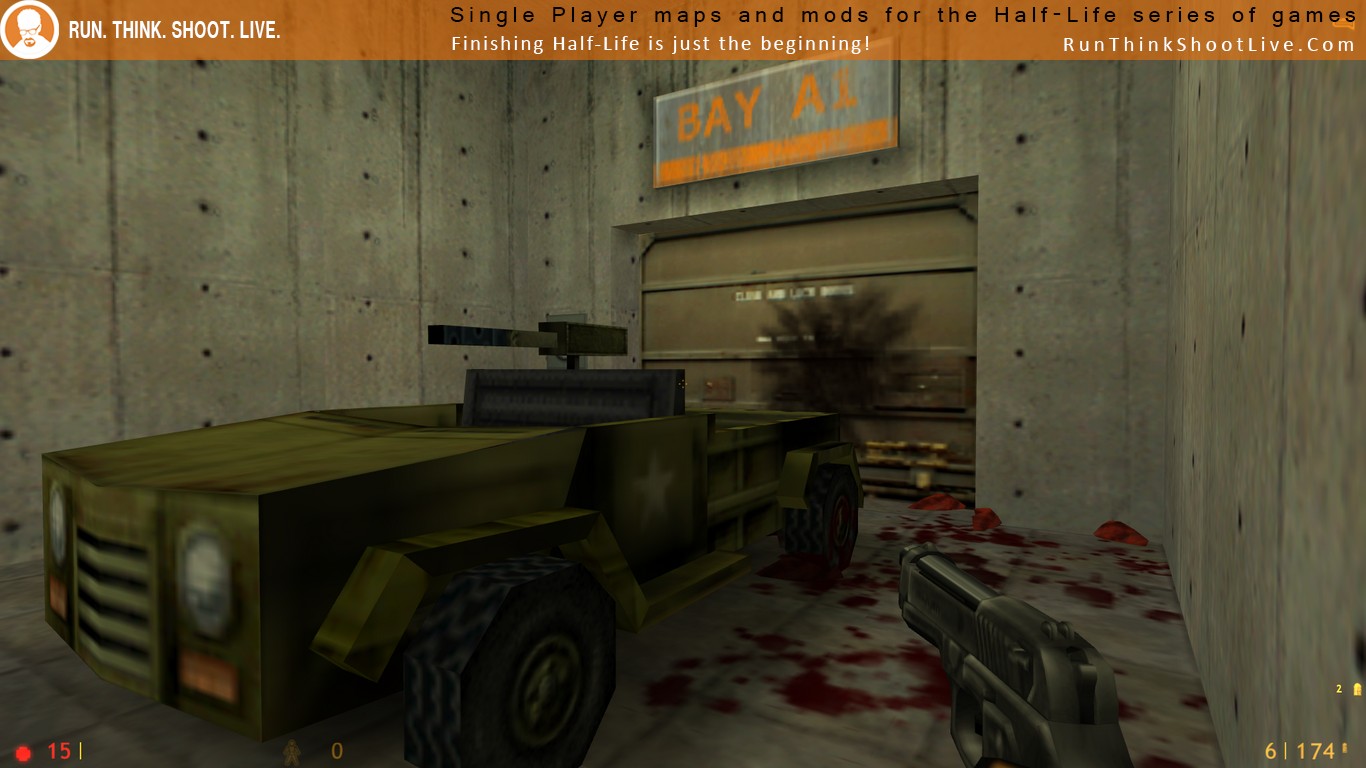
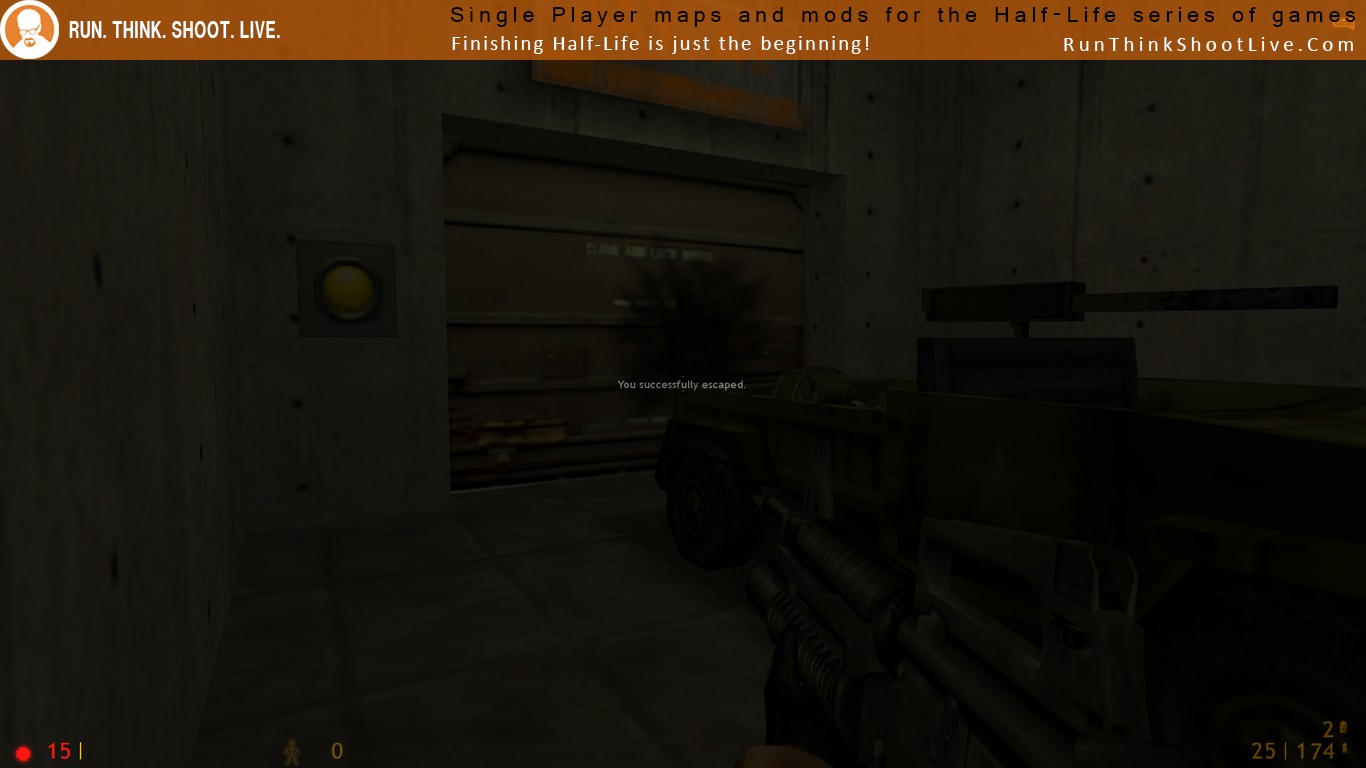
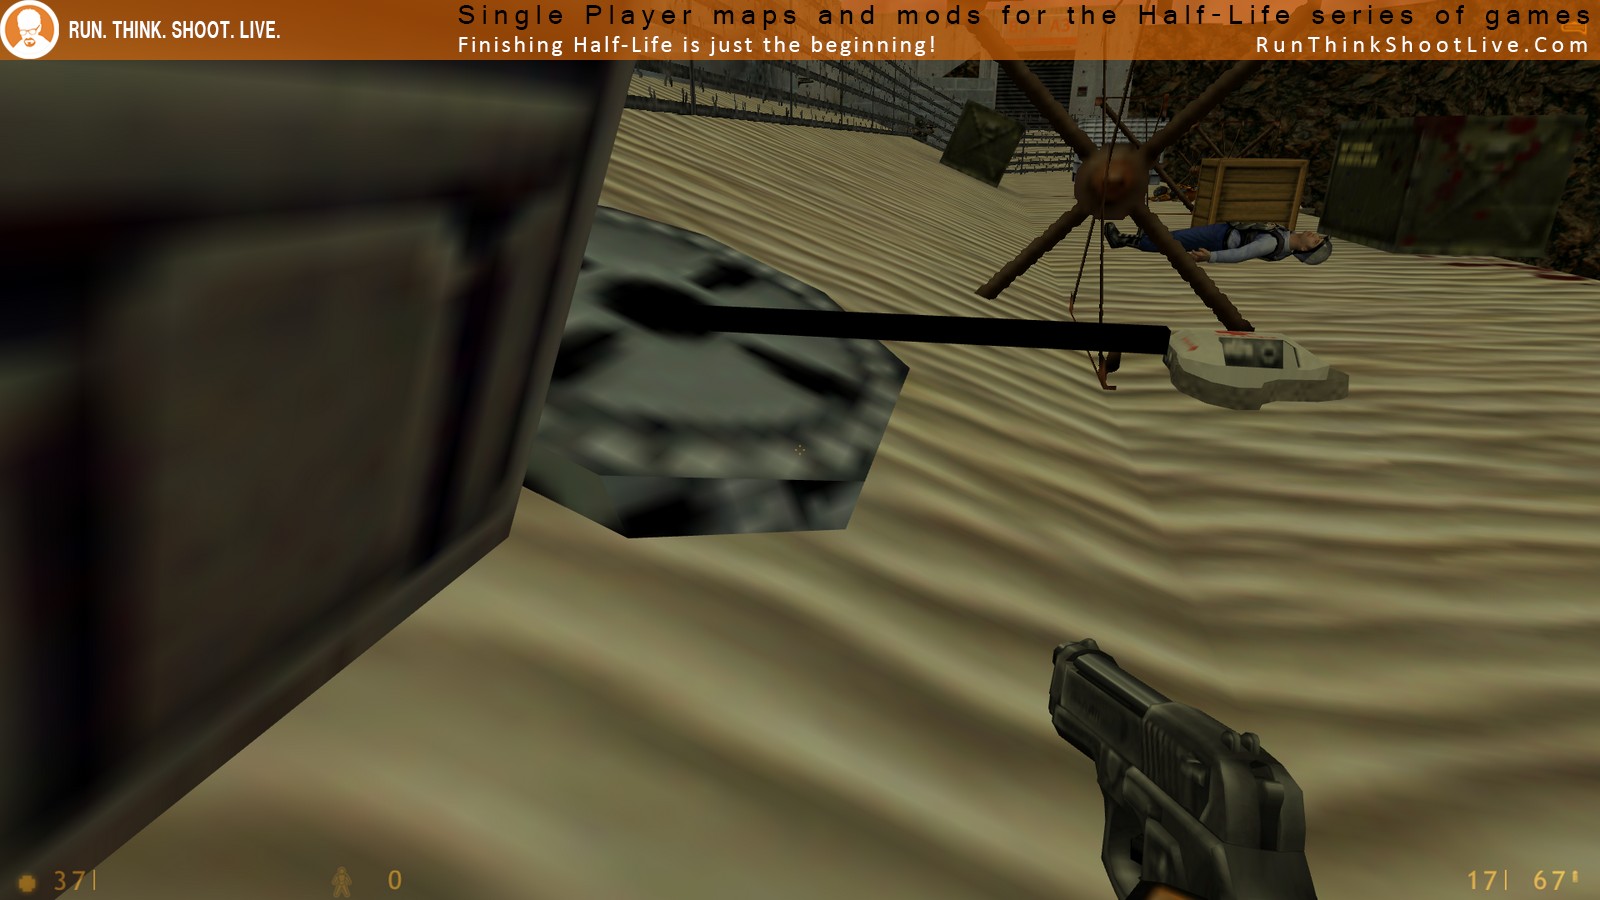
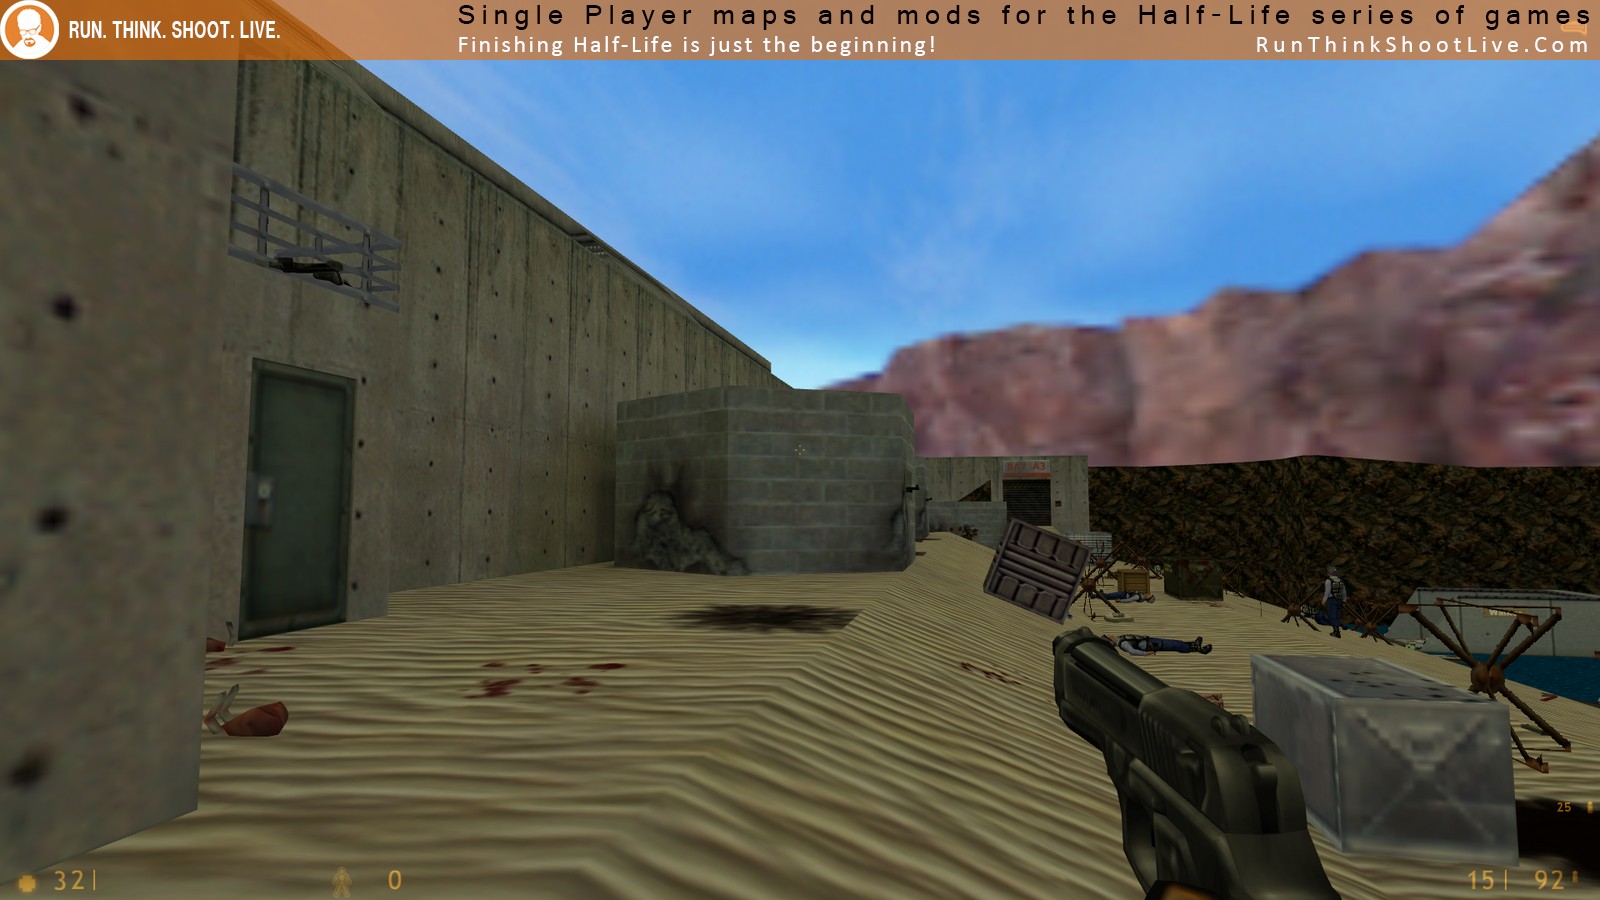
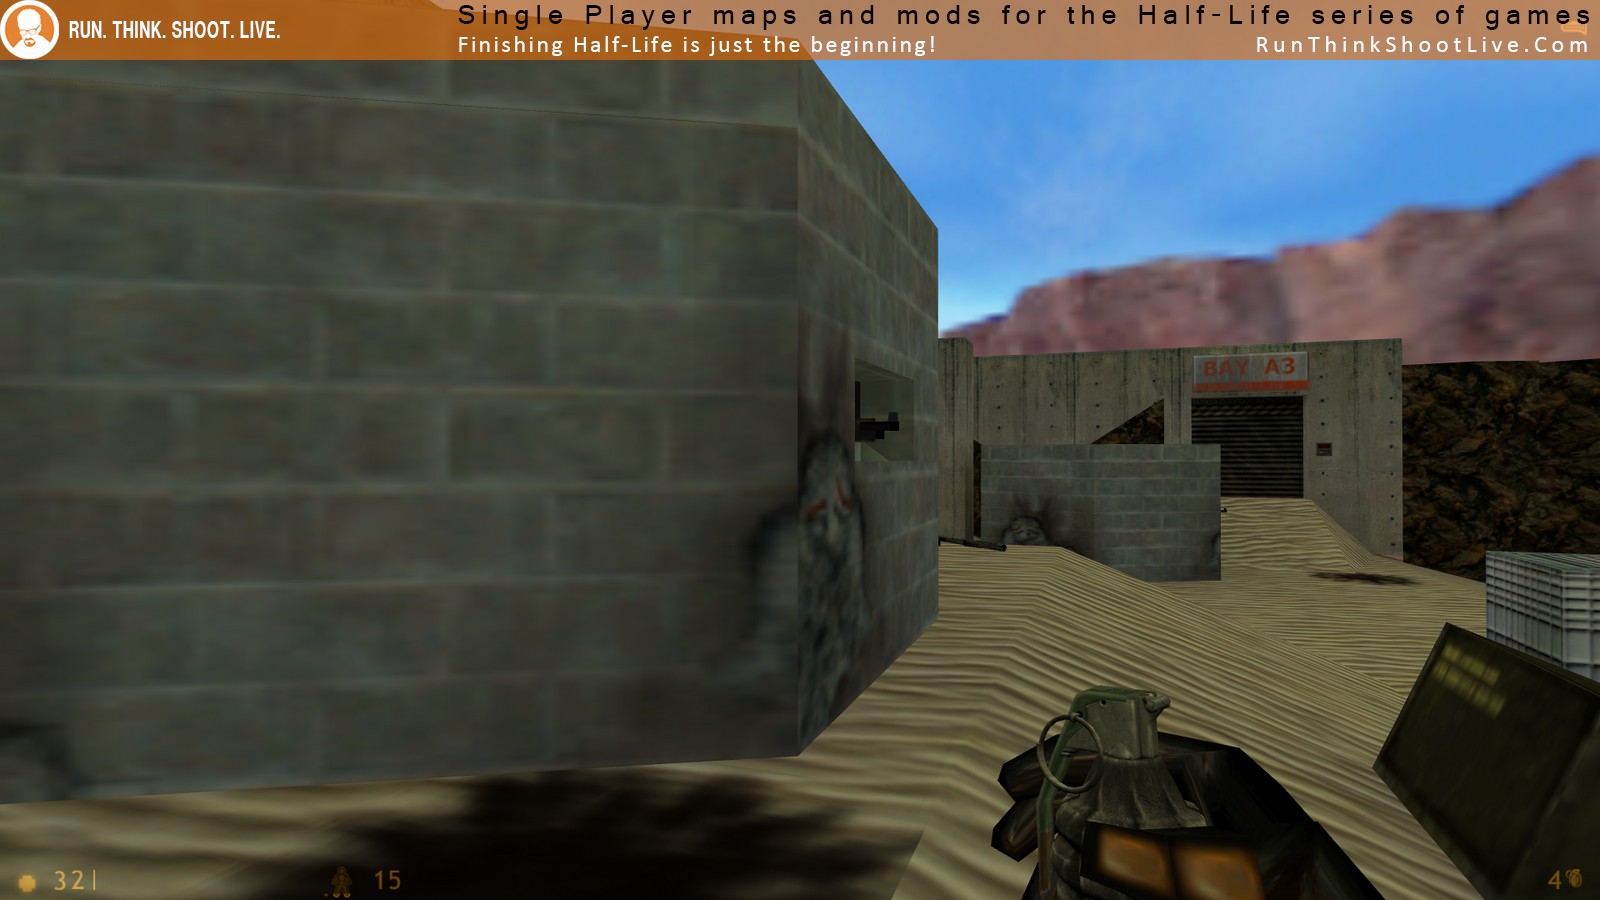
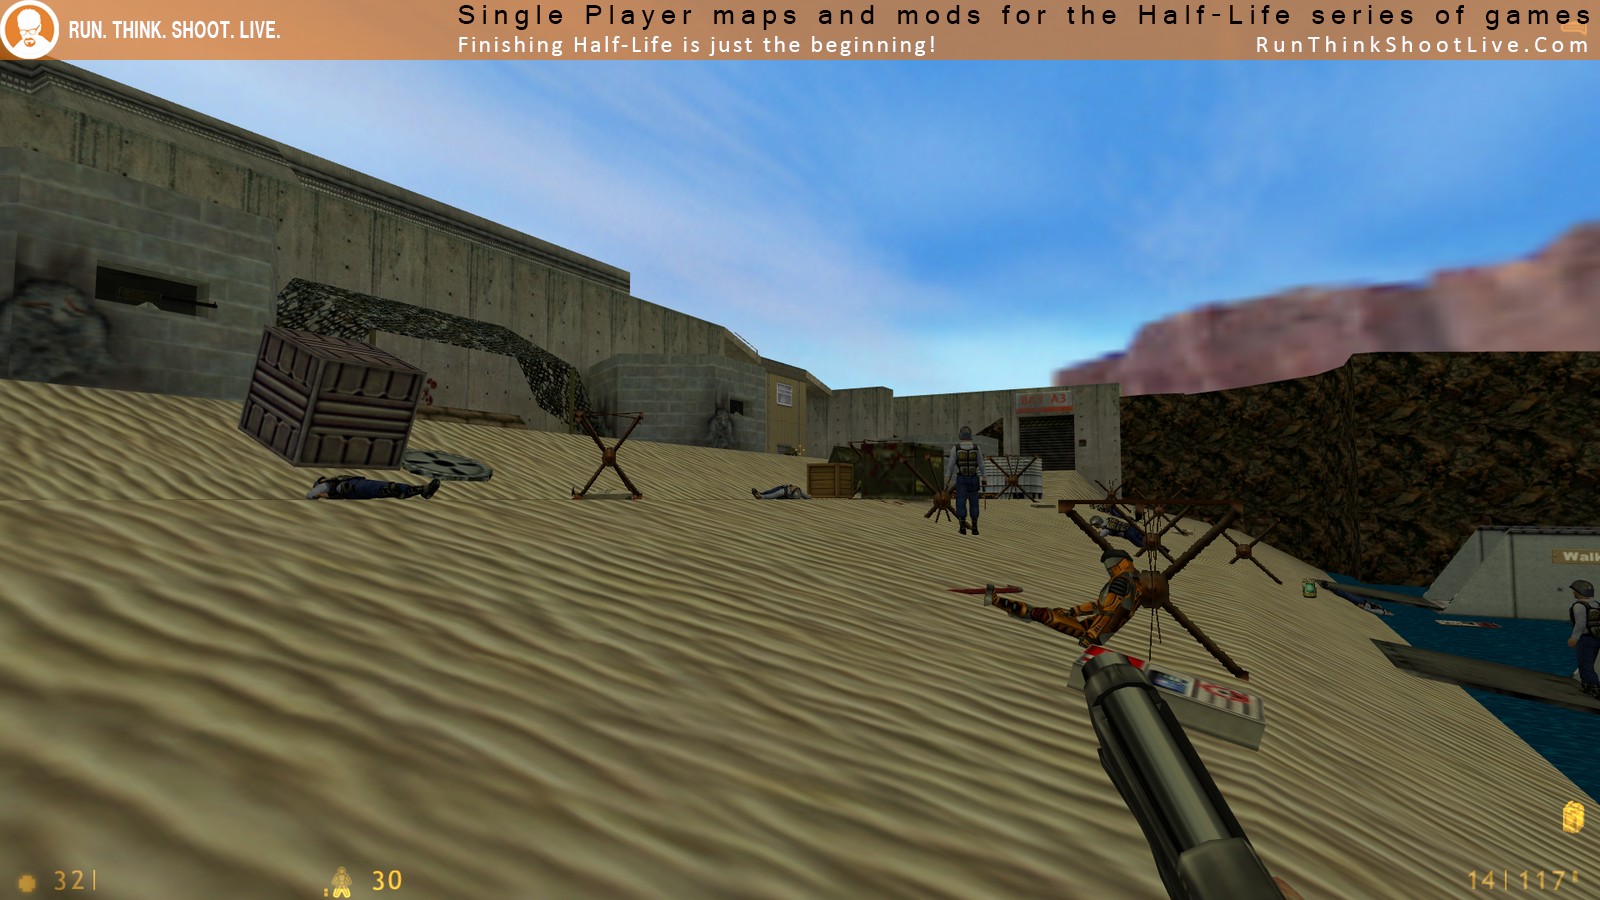
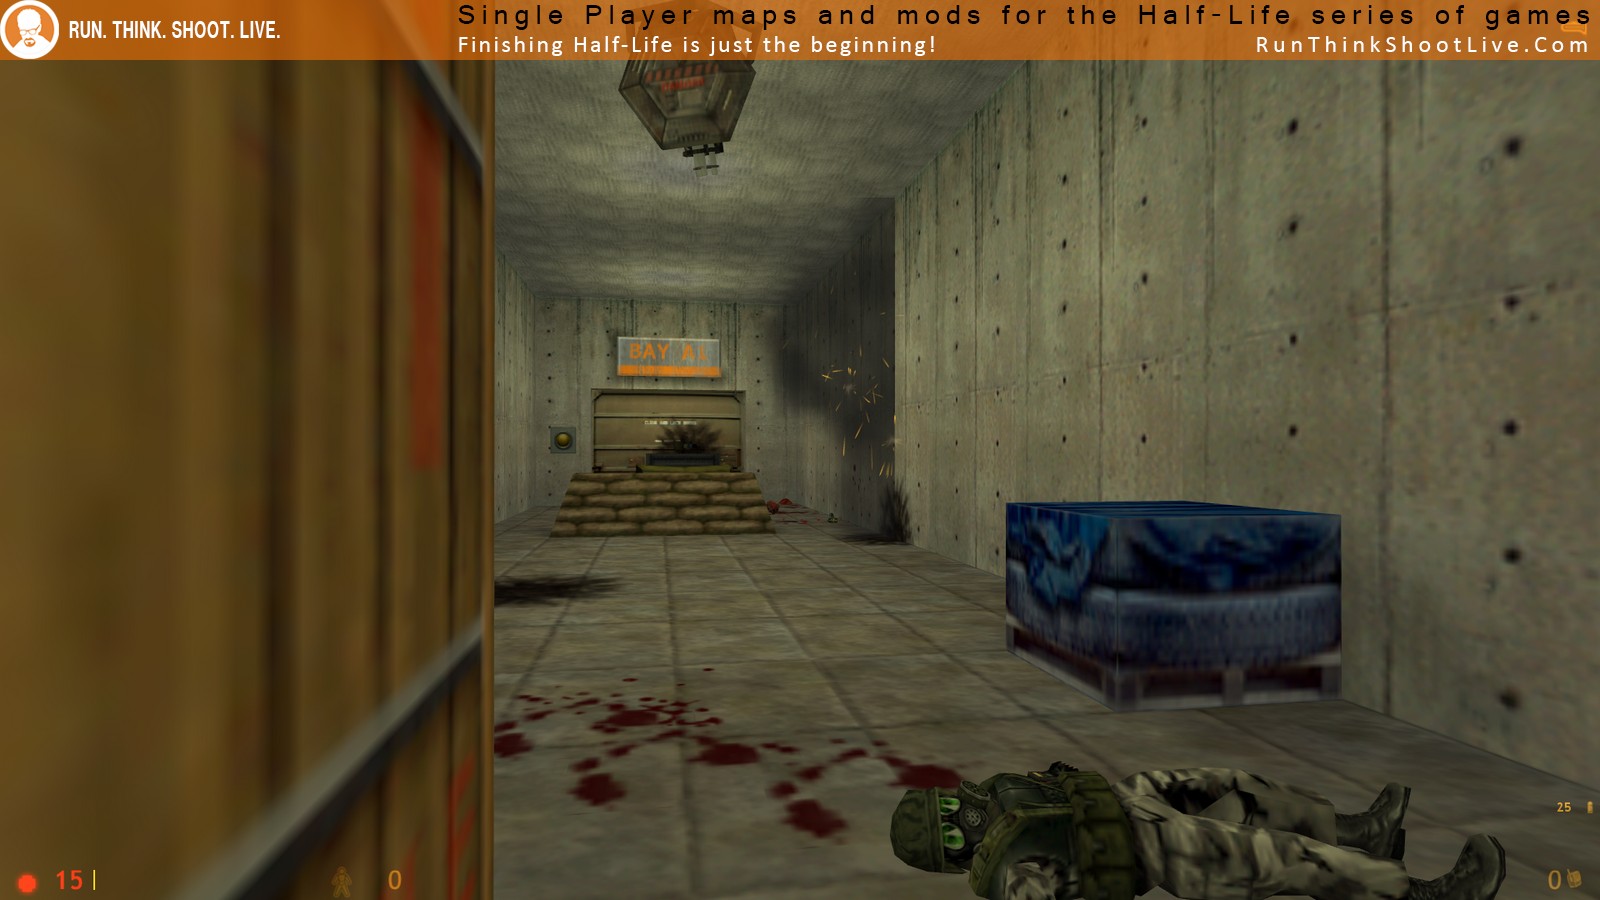
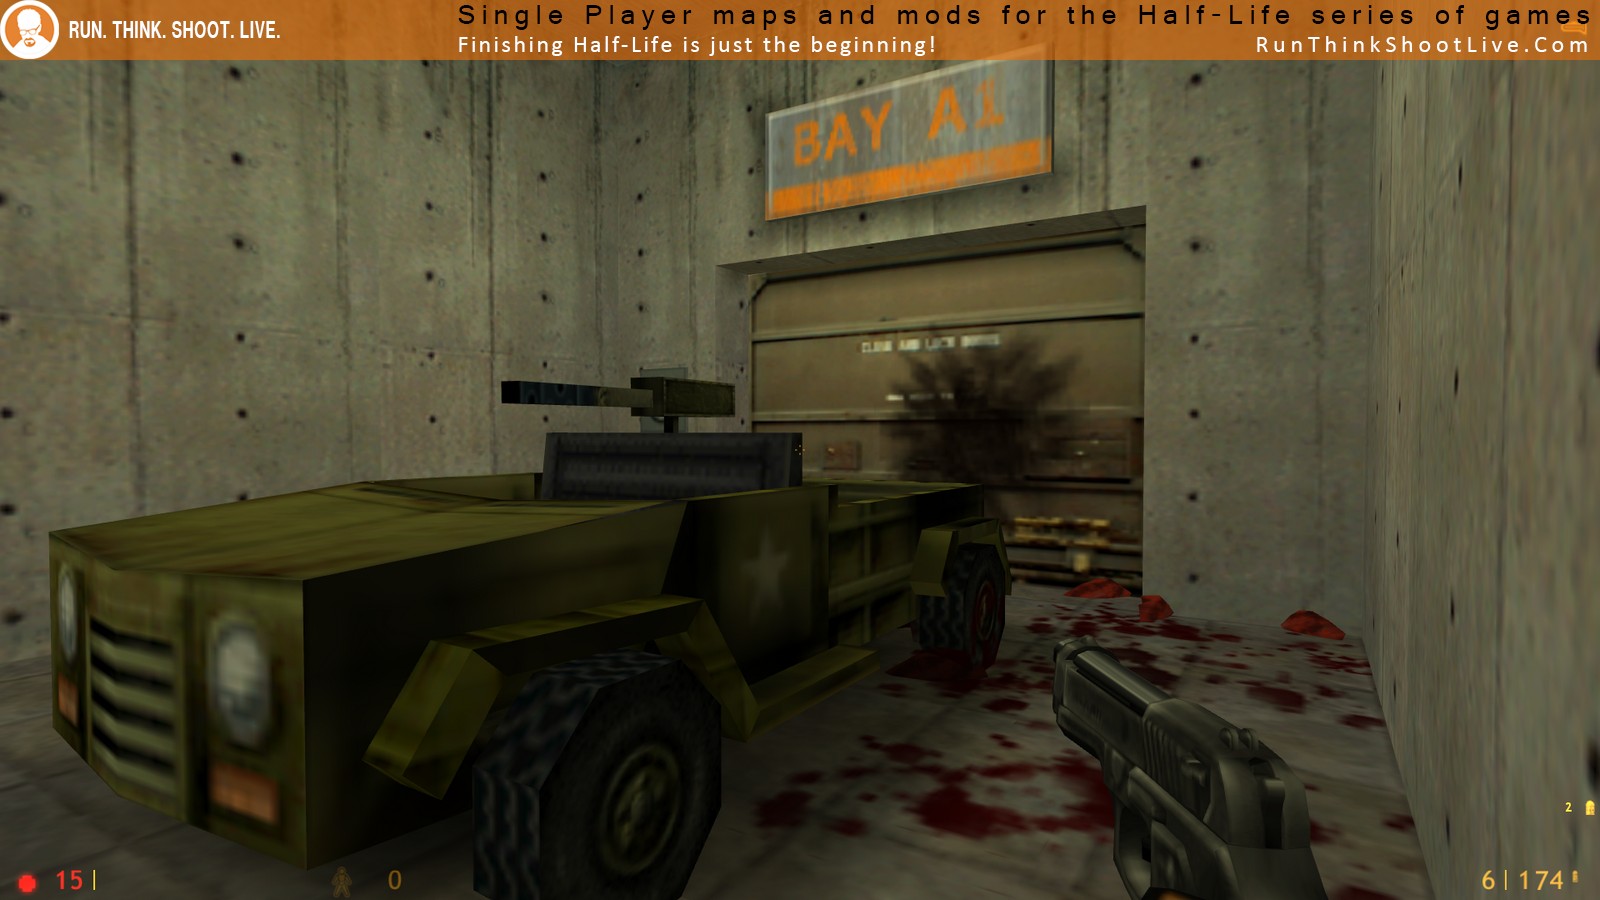
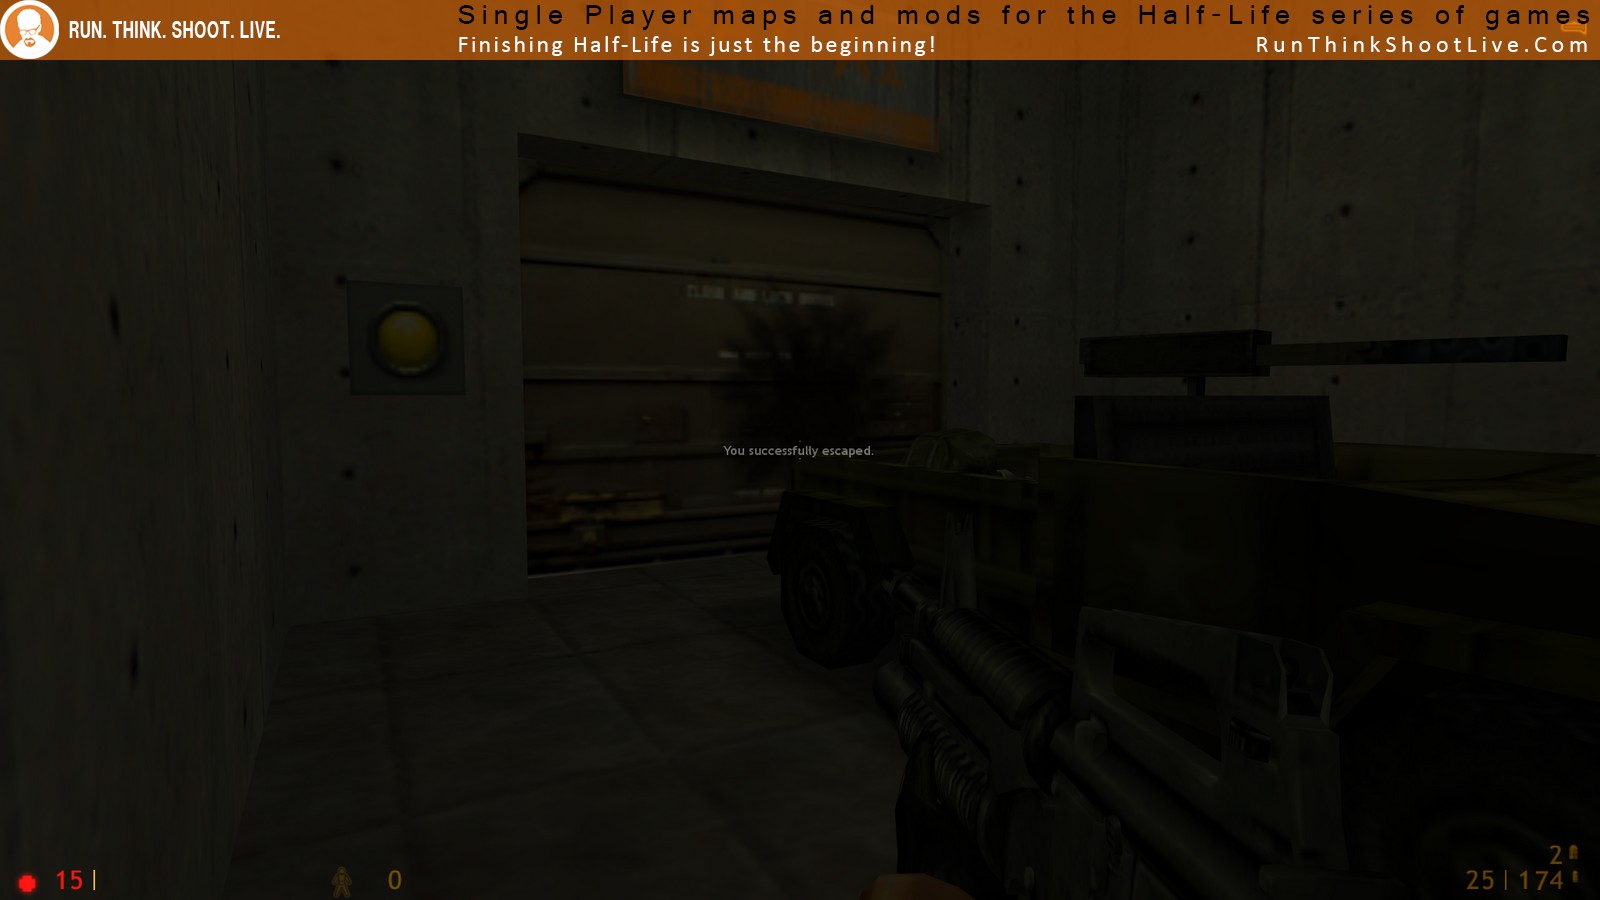
“One of your buddies brought explosive green rods that can demolish the beach-wide fence. You need to get it from him and insert it into the specially constructed hole. After that, you have to get past the large red garage door, which requires a keycard to open. It’s all straightforward from there. Make your way to Bay A1 and escape to freedom!”
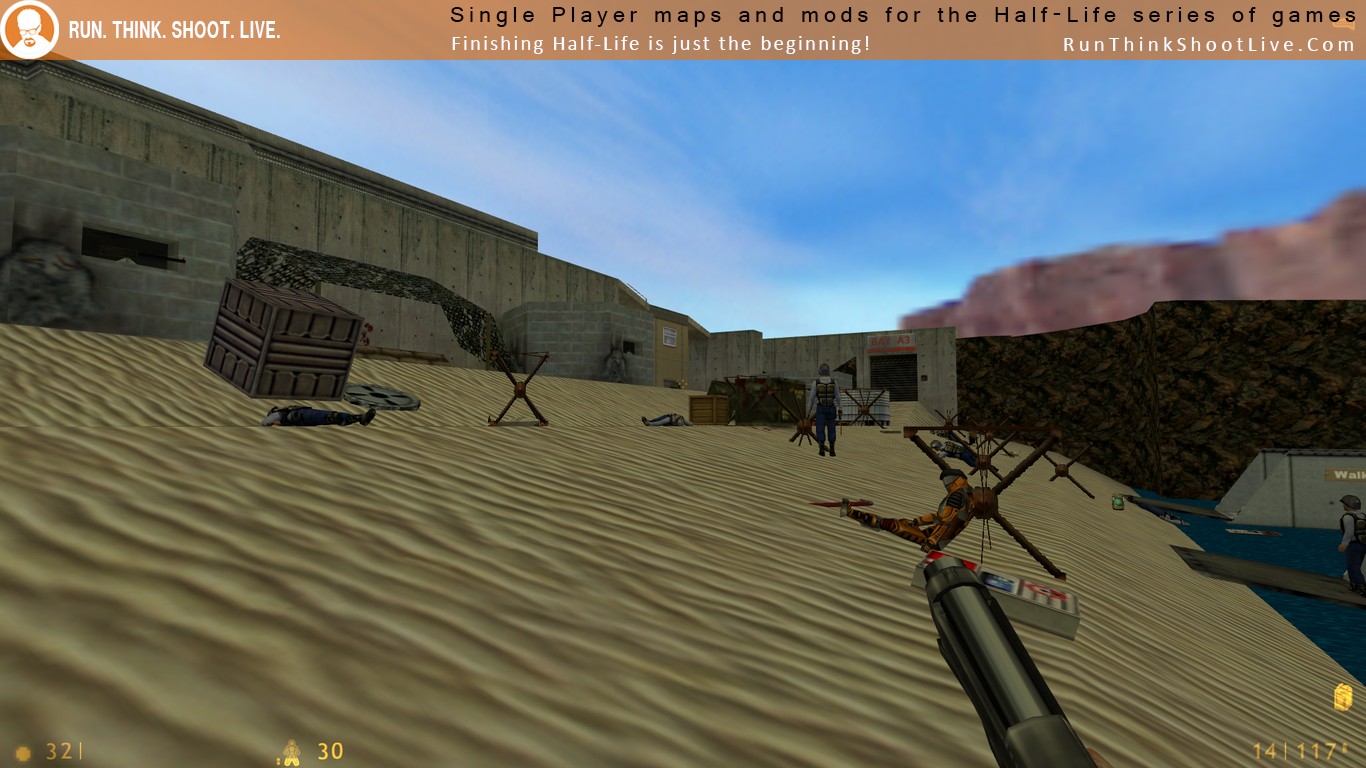
“In the beginning it will get intense. Very intense. You should be careful, move from cover to cover, and lay low. (This place will make the Opposing Force boot camp look like Disneyland.) And move quickly. Keep your head down if not moving. Additionally be aware that even after the fence is demolished, the pillboxes are STILL ACTIVE! You are recommended to take them out before moving forward (though you can ignore them if you want).”
UPDATE: I added a lot of items at the beach to make it easier on you all. UPDATE: This is ridiculous. If I keep updating, it will never be finished. Unless it’s critical, I am not touching this map ANYMORE.”
- Title: Beach Party
- File Name: hl1-sp-beach-party.7z
- Size : 374KB
- Author: 2muchvideogames
- Date Released: 23 December 2010
Download directly into MapTap [374KB]
You MUST have MapTap installed before using this link.
Download to your HDD [374KB]
You can still use it with MapTap once you have downloaded it.
- Copy the SKMESA folder into your …\Steam\SteamApps\common\Half-Life folder.
- Restart or start Steam.
- Sky Mesa should now be listed in your Library tab.
If you require more help, please visit the Technical Help page.
WARNING: The screenshots contain spoilers.
1024 x 576
 |
 |
 |
 |
 |
 |
 |
 |
 |
 |
 |
 |
 |
 |
 |
 |
 |
 |
 |
 |
1366 x 768
 |
 |
 |
 |
 |
 |
 |
 |
 |
 |
 |
 |
 |
 |
 |
 |
 |
 |
 |
 |
1600 x 900
 |
 |
 |
 |
 |
 |
 |
 |
 |
 |
 |
 |
 |
 |
 |
 |
 |
 |
 |
 |
-
2,063Overall
-
0Today
-
4Last 7 days
-
14Last 30 days
-
146365 days
Using Gauge: Users
Manually: 5 Users
Time Taken:
Average: 0 Hours, 29 Mins
Shortest: 0 Hours, 15 Mins by Anhiro
Longest: 0 Hours, 45 Mins by DeadCamper
Total Time Played: 3 Hours, 50 Mins
This release is currently not in a collection
If you believe this release is missing important tags, please suggest them in a comment?


Yes, this is really, really hard, but it’s also a LOT of fun. I managed to beat this on MEDIUM without cheating but I did save quite a lot. I might go back and see if I can do it on HARD.
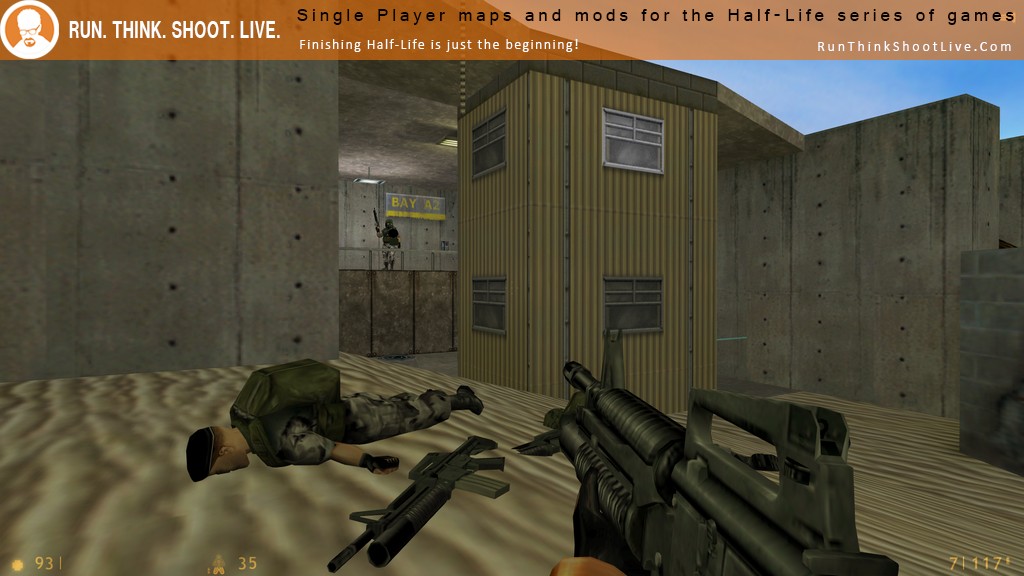
The first part is all about getting to cover and placing the green rods on the hole. After that you just have to pick off the soldiers and turrets.
The layout is complex enough to make it possible to attack from various directions and the placement of enemies are items interesting enough to make it fun.
If you are looking for a standard-feeling Half-Life challenge, this is definitely for you.
Using Gauge
Medium
25 Minutes
YAY, I just managed to beat it on HARD. Phew, the first part I had to replay about 8 times before I blew up the fence and then I only died a few times after that.
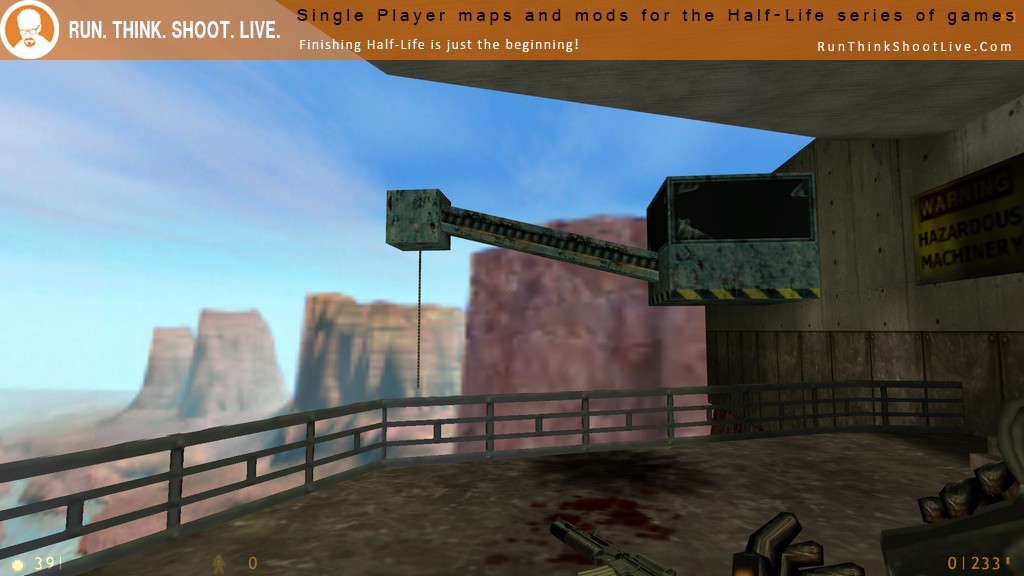
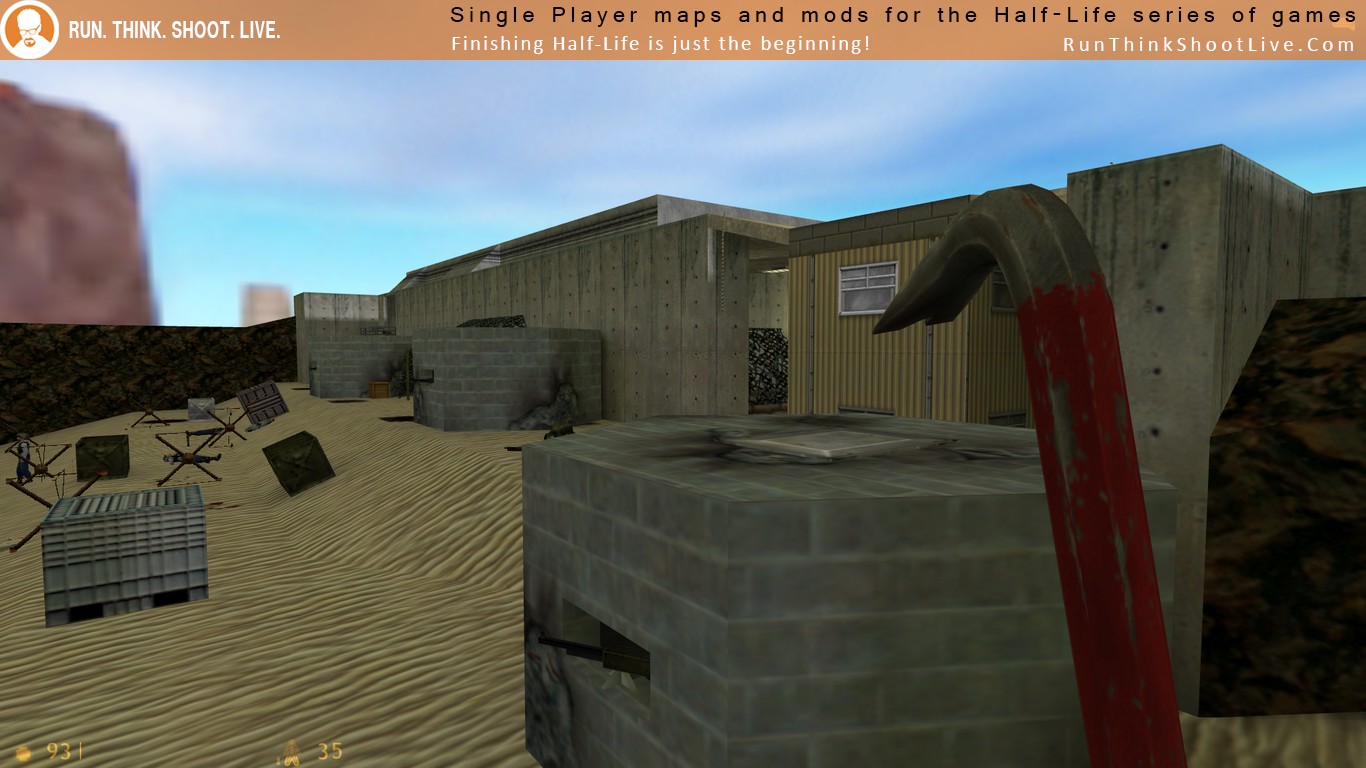
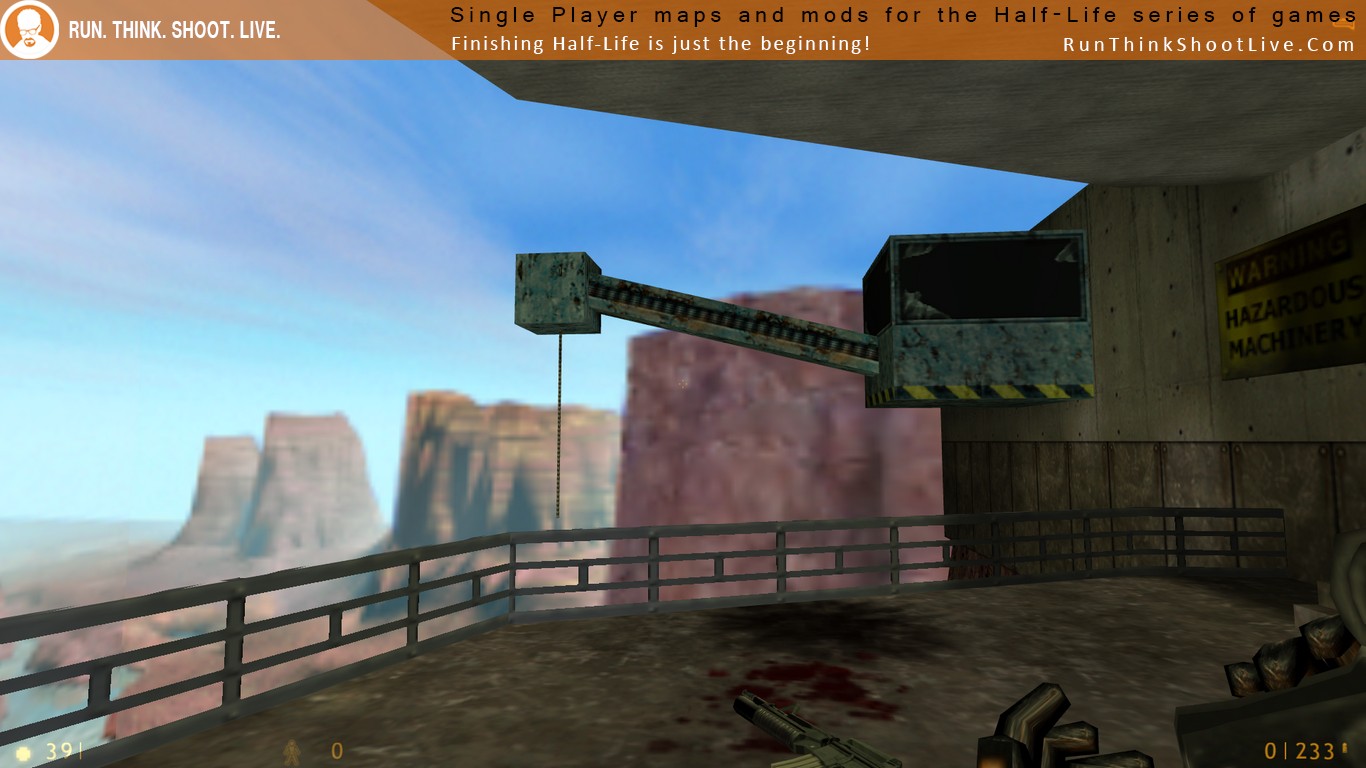
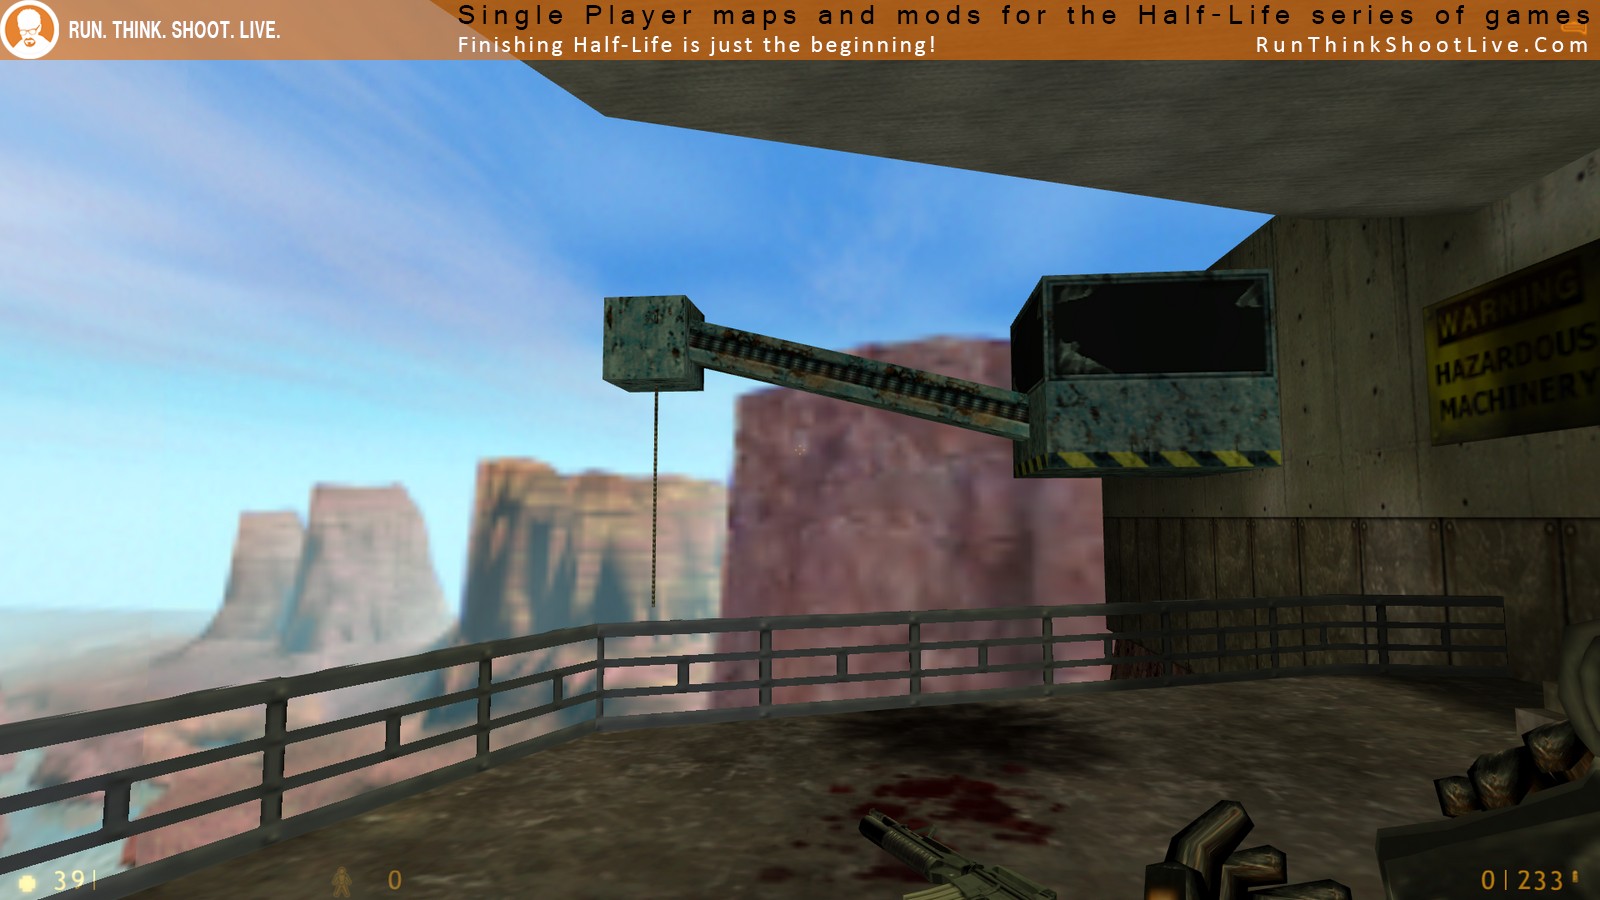
The map already sets off to a rocky start when I immediately had a hard time navigating ‘past’ the fence, some of the so-called ‘cover’ provided is difficult to differentiate as cover… What’s the logic behind blowing up a fence by sticking rods into a ‘hole’? Regardless, the author’s intent was to make this a ‘hard’ map, which is odd, because some parts were much easier than others, it’s just a climax at the start, then deescalating to the ‘fade to black’ ending. This isn’t the only inconsistency, the connecting parts of the maps were fun to navigate through by themselves, but it was strange seeing a ‘beach’ setting, only to see a desert cliff not so far forward. If it weren’t for the difficulty at the start, you could probably finish this map is under 10 minutes.
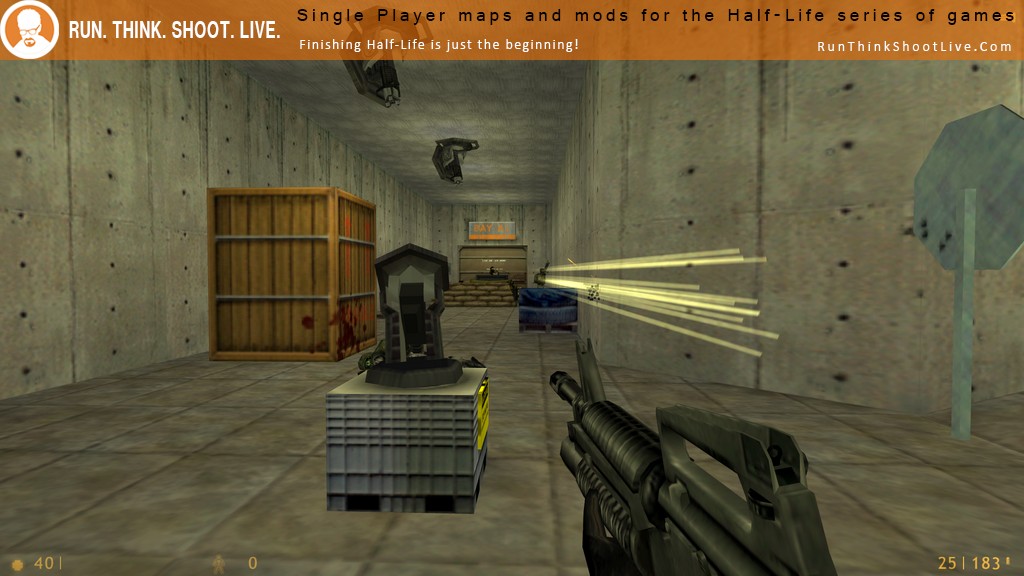
The only enemies you’ll encounter are grunts and turrets, to progress without dying or taking very heavy damage, you’ll be sniping them from distances and around corners with the pistol. Personally, I found grunts in Half-Life absurd to fight, their only weakness is poor accuracy, so facing them in close quarters combat relies on using cheap methods like attacking their arms/legs while they can’t fight back, lest be tracked and shot at without a million-round magazine The only legitimate way to take one – then groups of them down would be using ‘insta-kill’ guns, like grenade rounds, or the magnum, the latter of which isn’t provided.
That being said, the chaos in the beginning was definitely the most memorable and defining feature of the map. The second playthrough was much more fun, knowing where the enemies were, and I can’t say I didn’t have fun dying over and over, as the eventual triumph made the experience all the more worthwhile.
Play on Normal or Easy, you’ll have a better time.
Manually
Hard
30 Minutes
Just how young are you Gabe?
Read something about the beach landings on D-Day, World War 2
Pedro, while I cannot cite myself as a WWII enthusiast, perhaps you could clarify the historical accuracy of this map and the Normandy landings, while you’re at it, explain why it would matter when reviewing a map that makes no attempt to represent itself as a representation of that.
My age is publicly viewable on my profile, it isn’t 56, but fairly youthful.
Not sure what difference that makes. Clearly, yes, this level takes inspiration from D-Day. I think that goes without saying. So do countless other maps, from Return to Castle Wolfenstein to Unreal Tournament. I don’t see how that’s relevant, unless the author is aiming for historical accuracy, but that’s obviously not the case here.
I guess to me this is a Solid Play It Now! Just because one reason: because is realistic. I have always loved real combat in HL 1 and 2. So every time I have the great chance to try one map with some kind of real combat of mission I almost always enjoy it.
This map is pretty hard indeed but once you catch how you have to move and how to proceed the rest of the map is quite average difficulty. In this map I also loved that 2WW mission style, and also the hardcore combat it was great to me. And though i play it on medium, i don’t think i’ll retry this again on hard, as is pretty hard enough.
Overall this is a nice release and if you love hardcore neat HL1 combat this is definitely for you.
Using Gauge
Medium
35 Minutes
I agree, a very enjoyable map, after “getting my bearings”. The only way I could do that was to intentionally get killed a number of times in order to look around. After figuring out the beach action it became a more traditional type combat map. I also think its a solid play it now.
Using Gauge
Medium
30 Minutes
I’ll be honest, I had a bad time with this map the first time through. Maybe I should have read the readme first before playing, but I’m usually the type of player that sort of goes head-first into games and mods.
And in this case, this was the fatal mistake.
In the first run through, I found myself running through the beach and dying a lot. I couldn’t figure out how to get past the fence in the way the level designer intended, and after excessive amounts of trial and error, I instead jumped the fence, sacrificing all the health and resources in the process.
This was the initial pain point and I had a really annoying time with this map as a result of having little to no health, but I feel like the design was too vague to immediately know what I was supposed to do. I all but forgot the same thing in the Normandy Beach level of Medal of Honor, and it would have been nice to get some guidance in game on what I was supposed to do.
Long story short, you can jump the fence and play through, but there is no sane reason why you would ever want to do this.
Needless to say, I had to read the readme afterwards or else I was about to give this an “Avoid it” review. Once I knew there was a strategy to blowing up the fence, I reloaded the level, figured it out, and had a much better time, but this level was still very hard and it still relies on trial-and-error tactics. If I hadn’t memorized most of the enemy locations by this point, I would have probably save scummed on my second play through too.
For a Half-life map, visually speaking, it’s okay. It’s not great. It feels blocky at places. However, it does the job and isn’t annoyingly bad. The best feature was the weird floaty repelling soldiers that just stayed on the line as they shot at you. It’s a nice trick and I wonder how it works.
I think the part I don’t enjoy is the trial-and-error gameplay choice. Combined with actual combat, these things do not mix well.
Manually
Medium
45 Minutes
2011 TWHL Map of the Month review on YouTube:
Manually
Hard
30 Minutes
Oh My God. This is one of the most brutal mods for Hλlf-Life EVER!
The difficulty could be a major problem if you’re new to Half-Life, so this map is for veterans only if you want to beat it legit. The mapping is mostly good, and as far as recreating the D-Day from Allied Assault… it wasn’t that bad actually.
So yeah. There’s not a lot to say about this map really. It’s short, hard but still a great map.
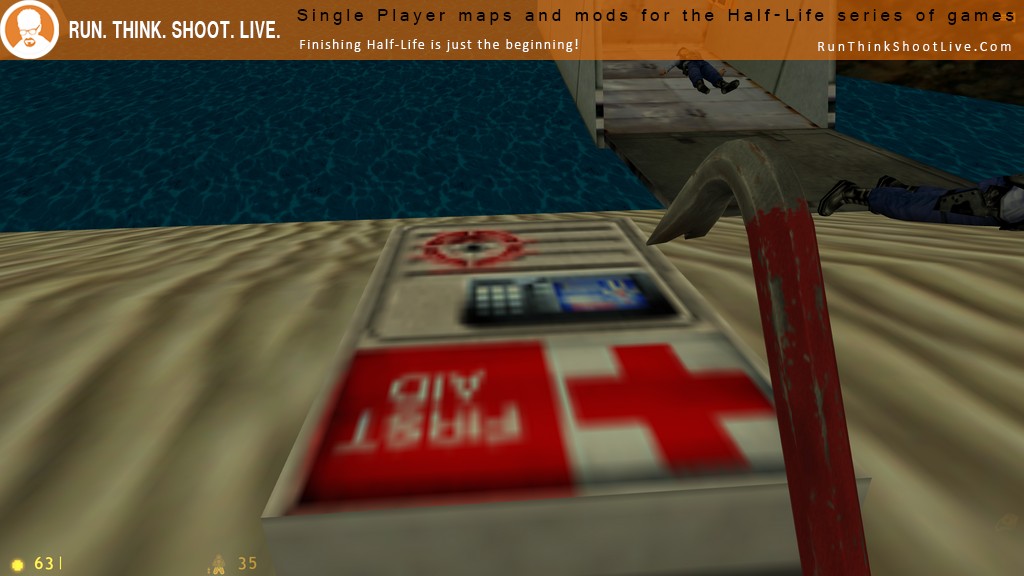
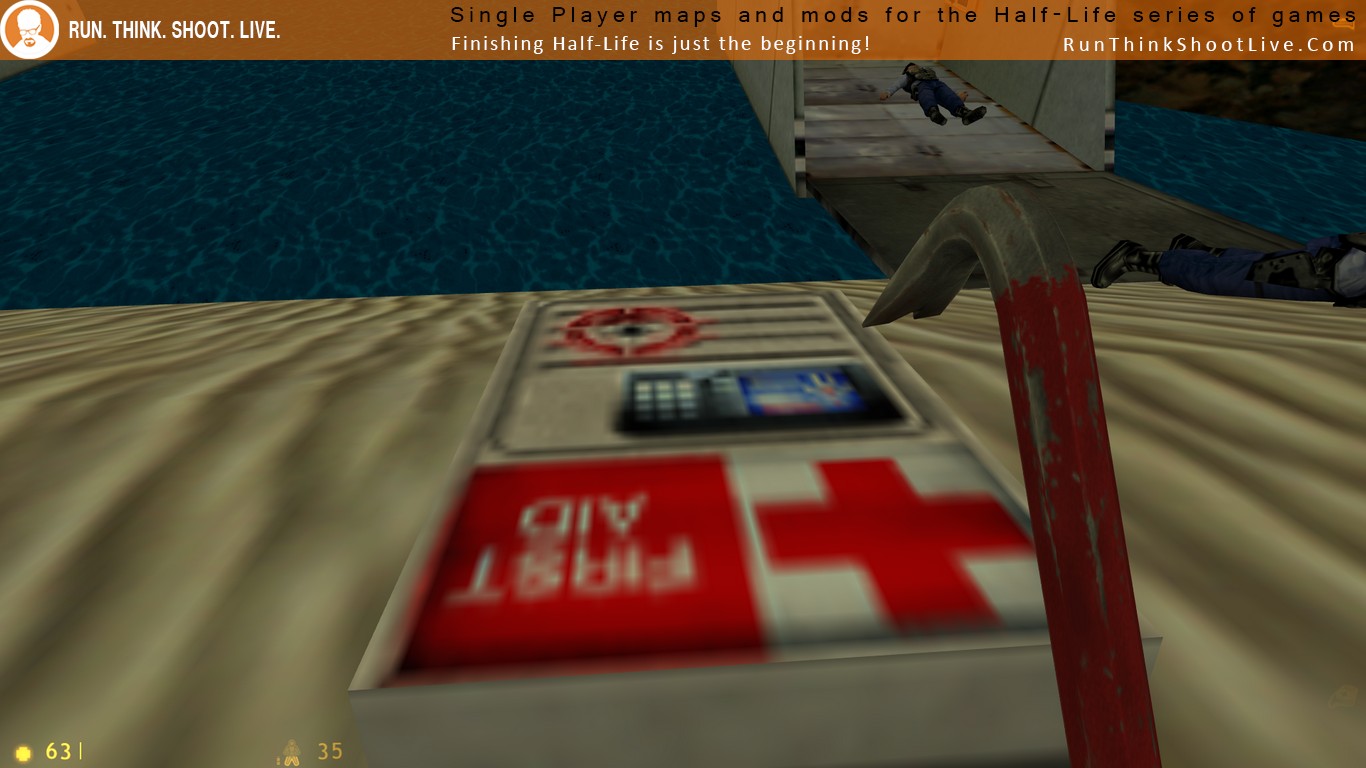
Like many others, I had problems the first time I played this mod, I have to admit that I activated god mode to explore the map before restarting and trying it again without cheats, the first part of the map is without a doubt the hardest one, and it can be a little unclear what do you have to do at first, but once you blow the fence things get better, but the difficulty remains high, it can be hard to replenish health as there aren’t too many med packs or chargers, except at the beach but you’ll probably use them all after clearing the area
I loved the little touches, like the grunts hanging from a rope but still shooting at you, the mapping can be a little messy in some areas though, but overall, this was a short and challenging mod
Manually
Medium
20 Minutes
A bite-sized recreation of the D-Day beach landings. This map basically plays on that very same premise of assaulting a fortified uphill position from a very disadvantageous initial starting point.
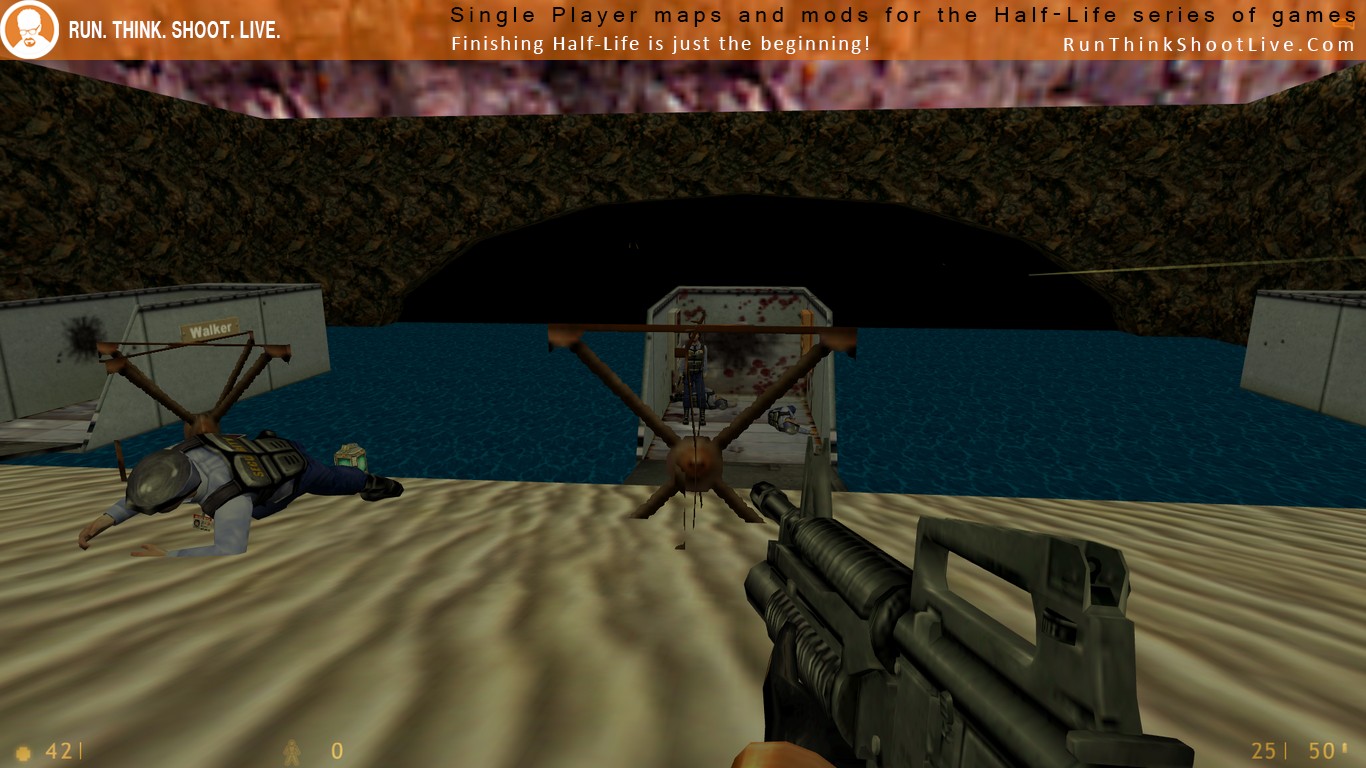
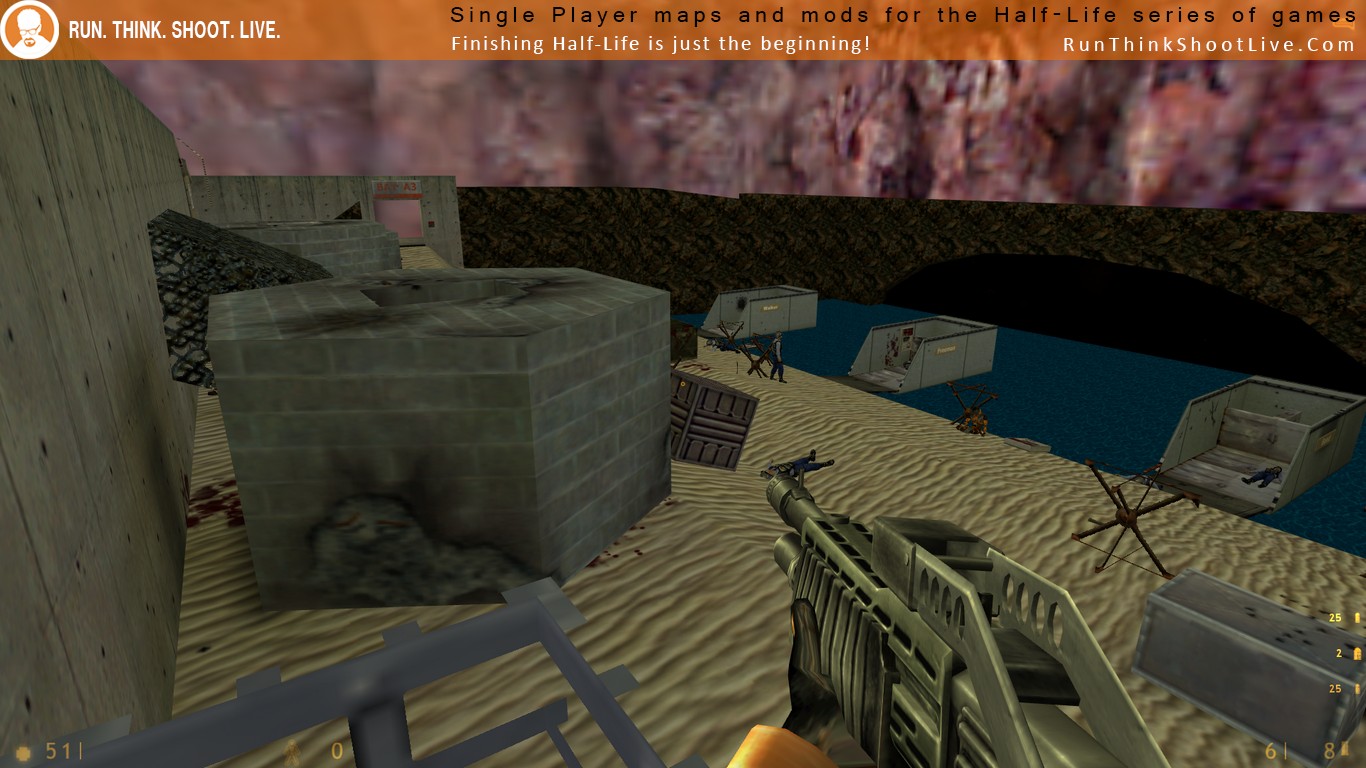
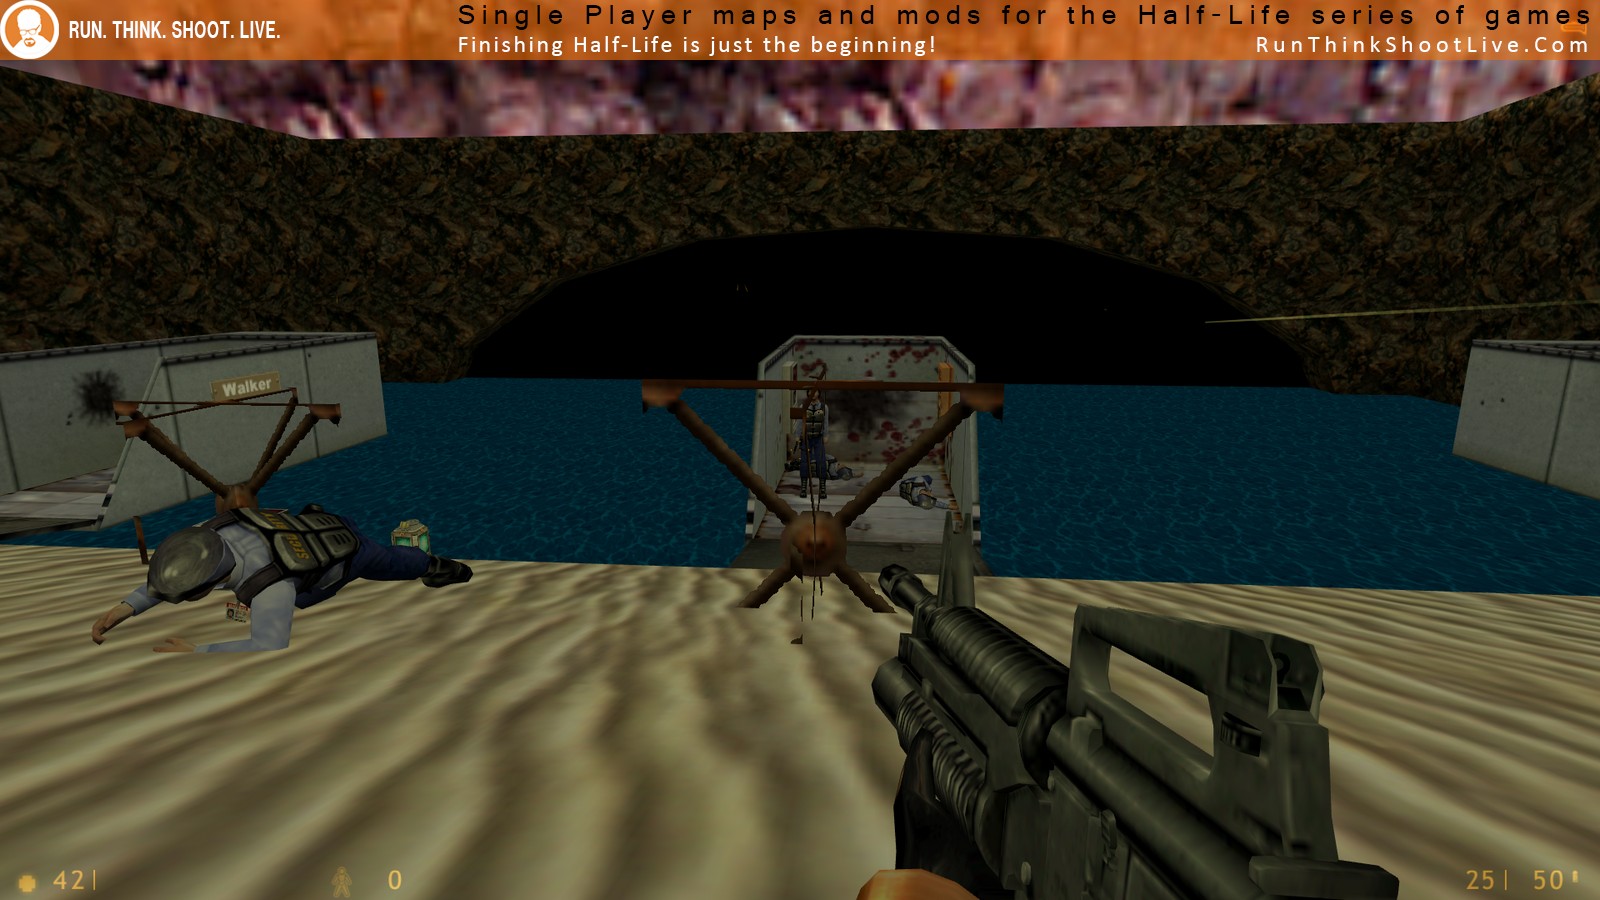
The player starts in a barge, but is then thrown onto an open field scattered with Czech hedgehogs while simultaneously exposed to HGrunt/turret gunfire from the other side of a barbed wire fence. The image of Tom Hanks’s experience (surely) still fresh in their minds, players will attempt to jump from one metal obstacle to the other, grabbing the necessary objective item which will allow them to progress through the barricade.
A frequent issue I hear around here is that people can have a hard time finding out if they’re exposed or not while trying to hide behind a piece of transparent terrain (I believe the technical term is “func_wall”). Well here’s a little trick for you: use your flashlight. If the enemy has line of sight to you and vice versa, then your flashlight should illuminate him. If the LoS is broken, then whatever terrain feature in front of you is illuminated instead. This is useful for sniping the HGrunts if you’re taking the role-playing path through this map.
However, upon replaying the map again and again, I’ve found out that hiding behind cover was a waste of time and it was too troublesome to use the given obstacles to shield yourself from the enemy gunfire. That only got worse as you moved closer to the fence and became more exposed to side attacks. So using the cover-based approach was never a guaranteed way to minimize damage. Therefore, it was much more economic health-wise, in my opinion, to simply rush for the objectives and use your side-strafe to avoid most of the machine gun fire.
It’s not to say that the map was badly thought out in its entirety… Far from it, I could see that some care went into ensuring that the significant HGrunt presence on the beach did not make the player feel as if he was being spammed, as they are all scripted to shoot off in the far distance, leaving the player ample opportunities to move up or carefully pick them off using his/her weapon without too much fear of counter-fire, even when the entirety of Barney meatshields on the beach all died off. This helped not only to give the player a break, but also makes for some cinematic flavor to add to the Normandy-like scene. If all the HGrunts on the beach were targeting me and me only, I would’ve given this map 1 star. But they didn’t, so I commend the author for taking the time to balance this section of his map.
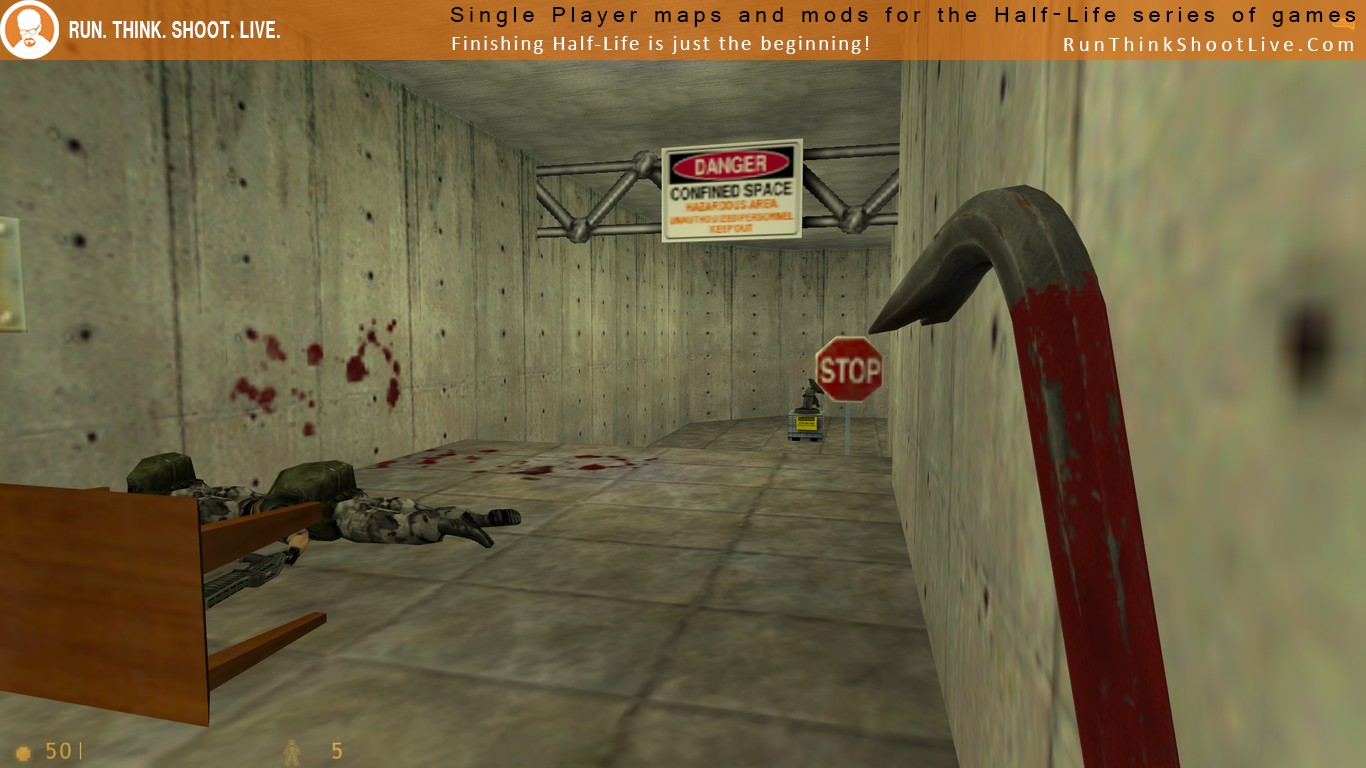
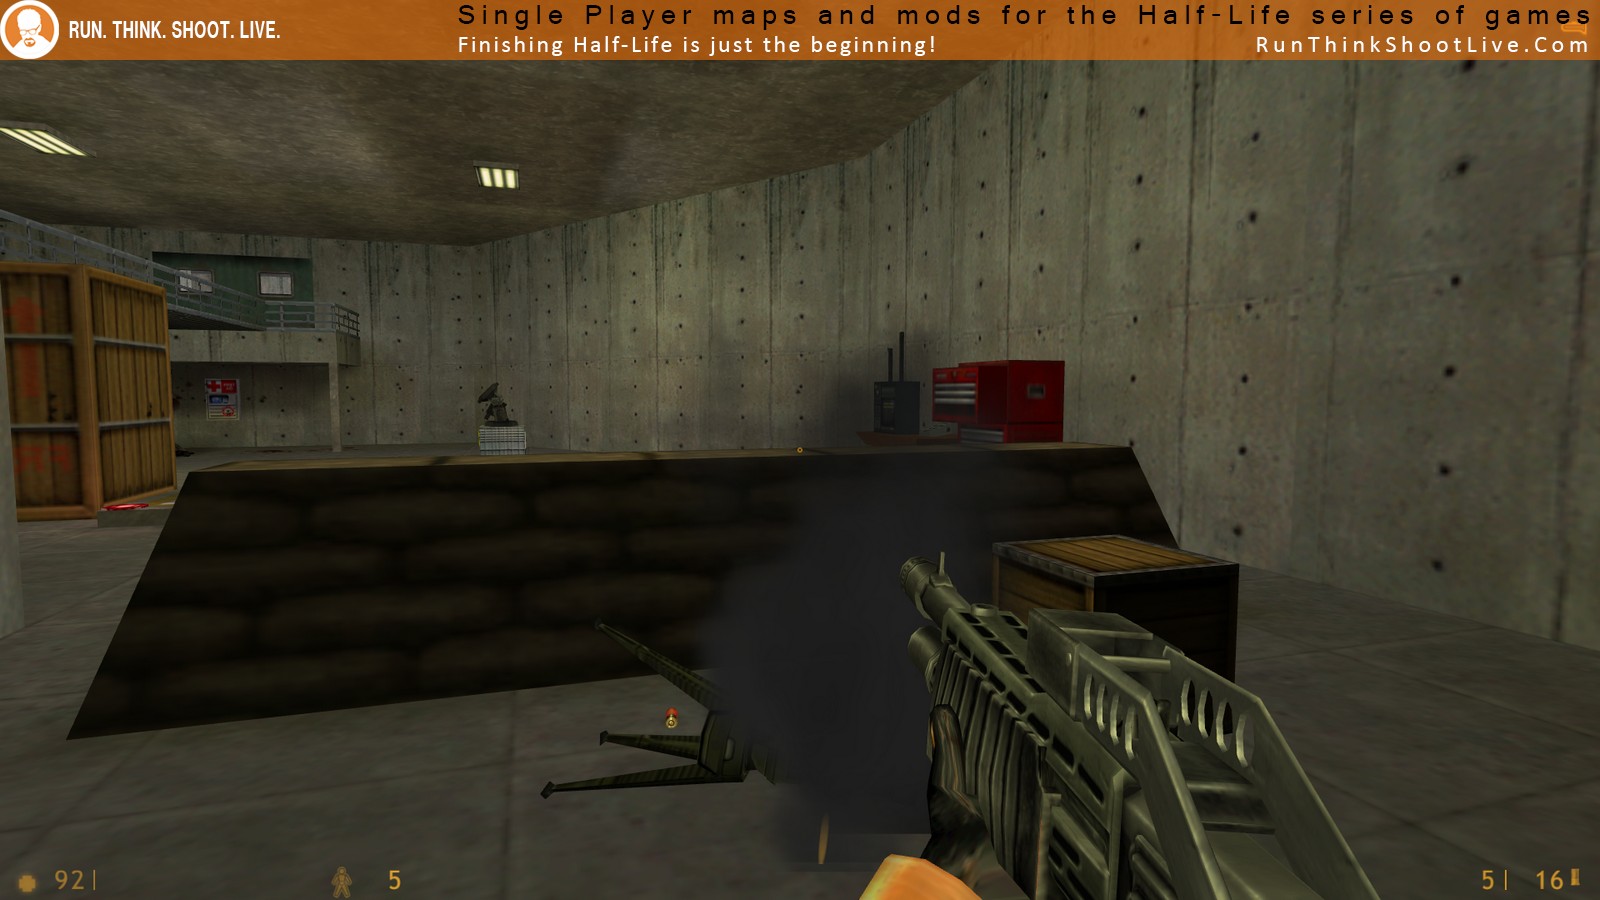
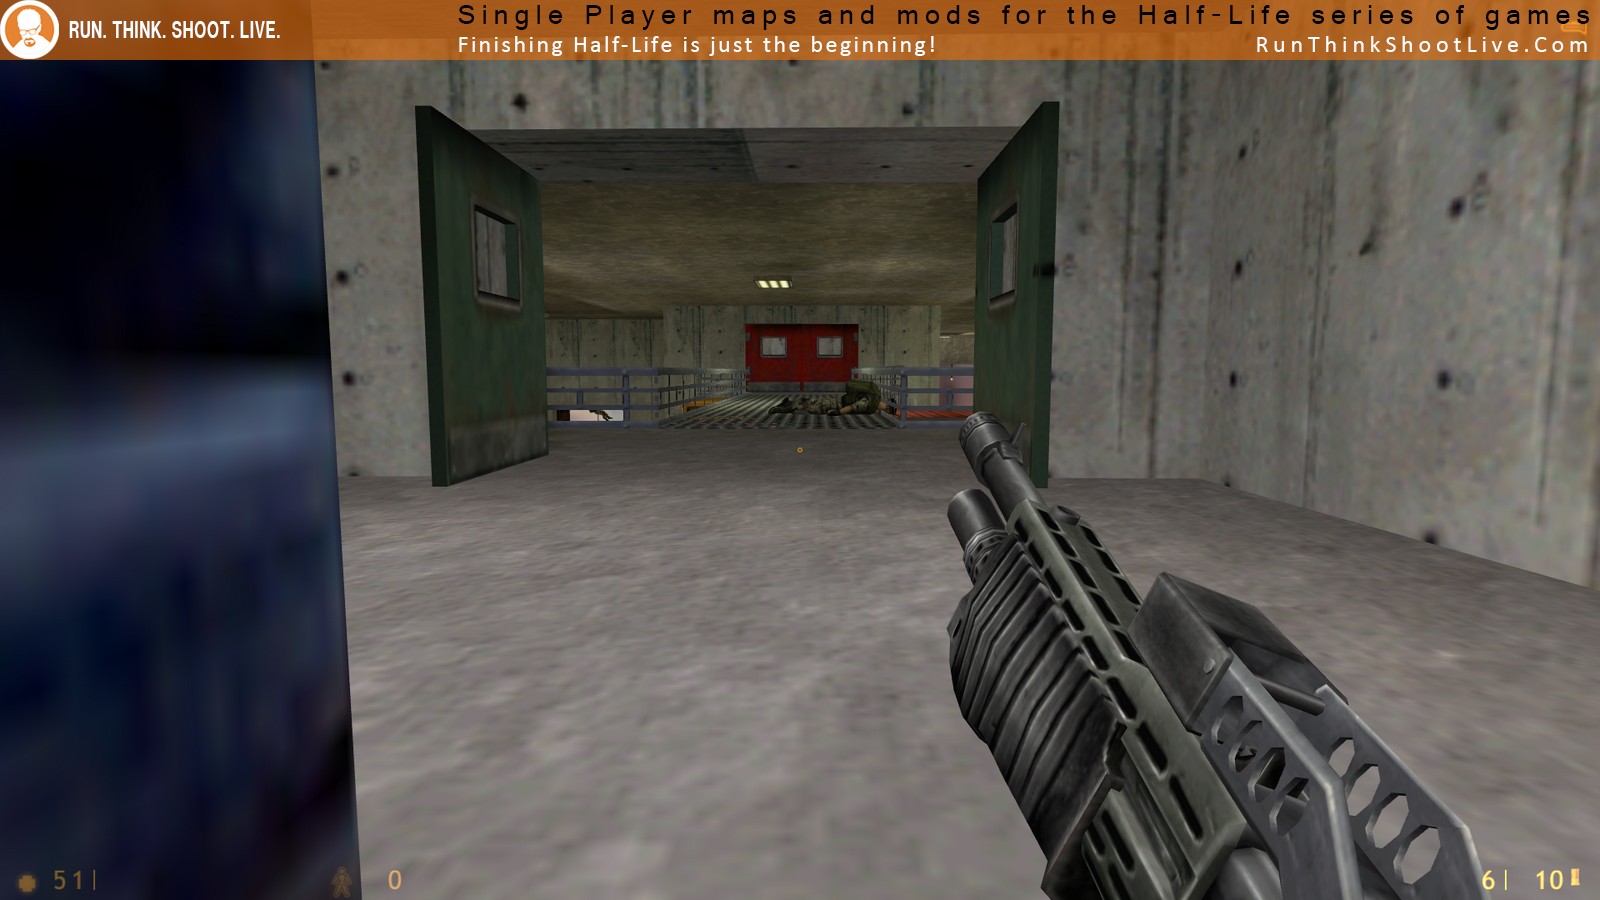
However, that’s about as far as my praises go. The rest of the level – which looks like any another BMRF warehouse infested with HECU squads and turrets – is amateurish enough… The HGrunts encountered on this map don’t seem very much aware of their surroundings either, and you may regularly run into several of them that are not facing the correct way, making them easy to dispatch them with a few well-placed Glock rounds to the head. Other than that there really is not a lot to add on the area after the beach landing.
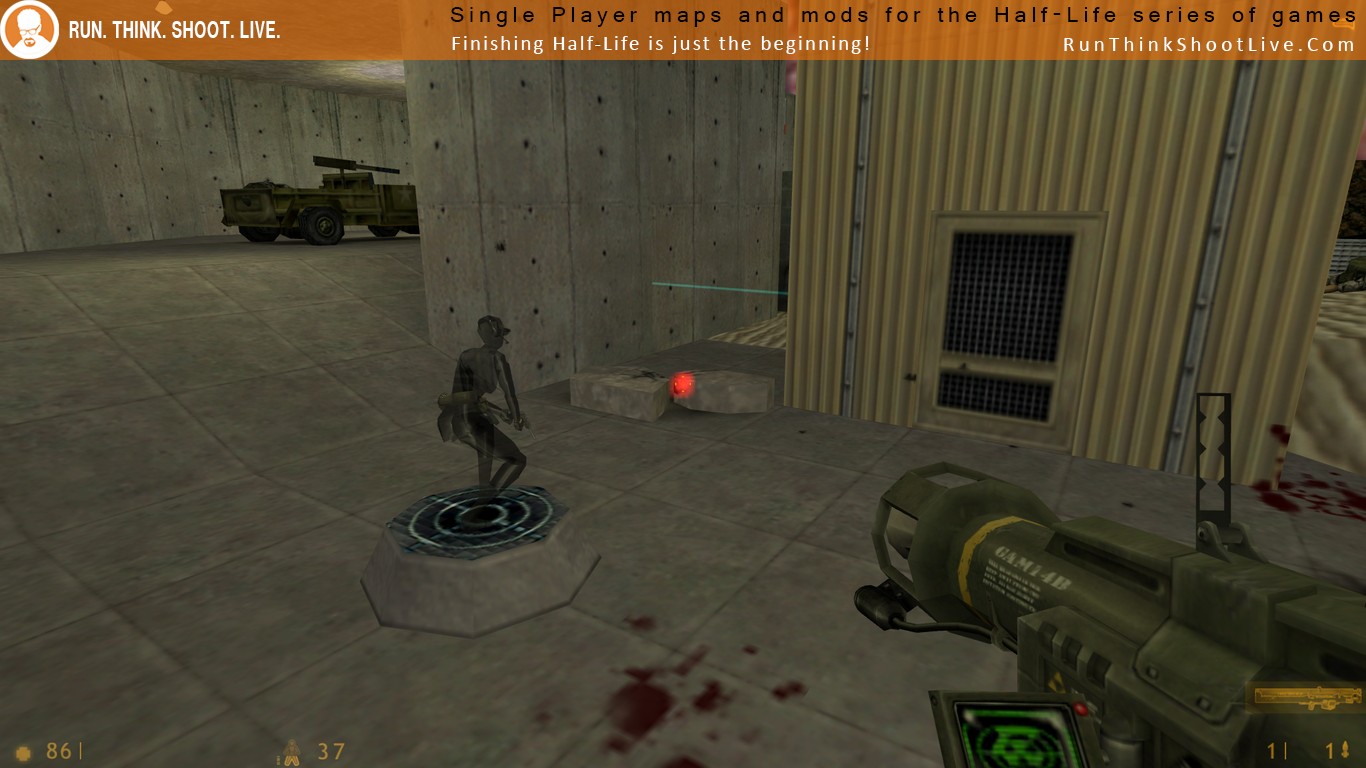
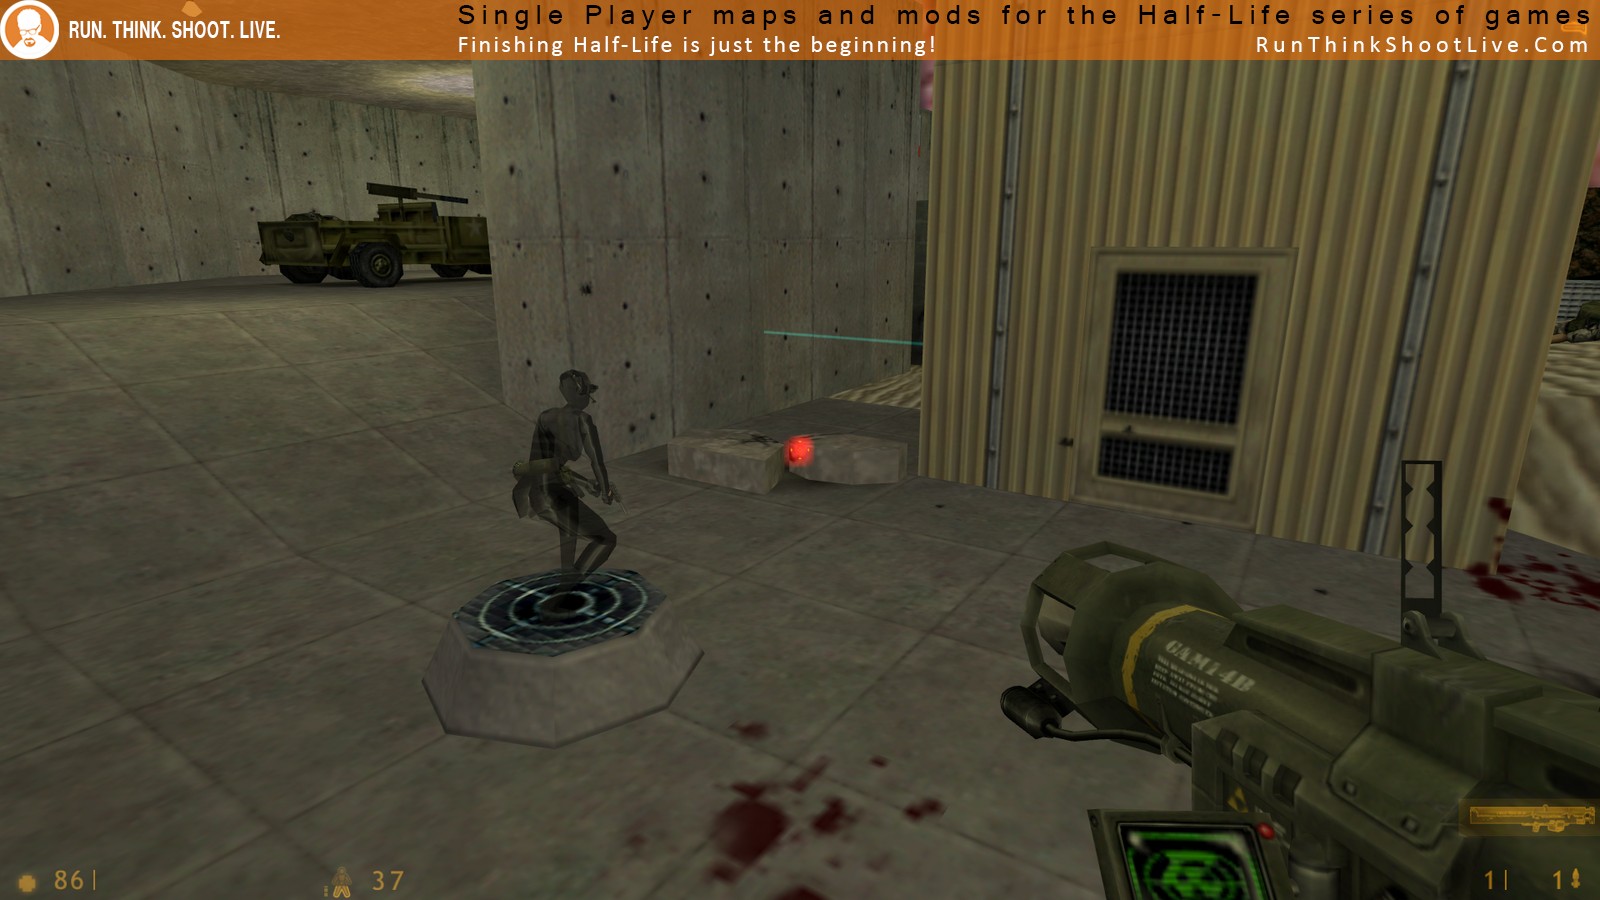
Oh wait, I also believe one of the HGrunt holographic projections came to life and shot me in the back for some reason. Not sure what that was all about. What did I ever do to him? That was totally uncalled for, map author…
So anyway, would I recommend this map? Sure, if you’re in love with the D-Day theme, this is a reasonably well-made take on it. Would it be a map you would play again in the future? Eh, not me personally. I think I’ll pass.
Manually
Hard
15 Minutes