

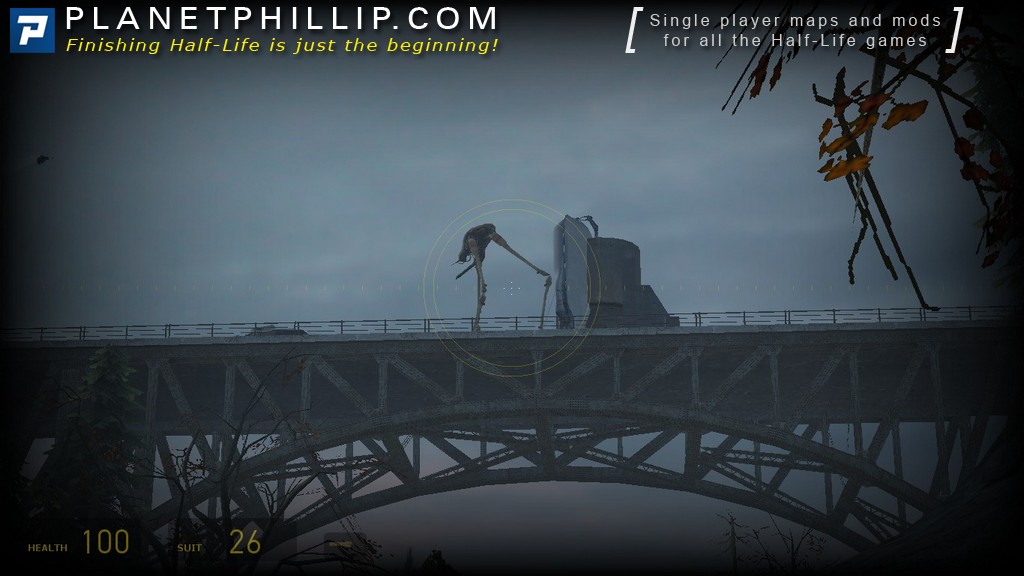
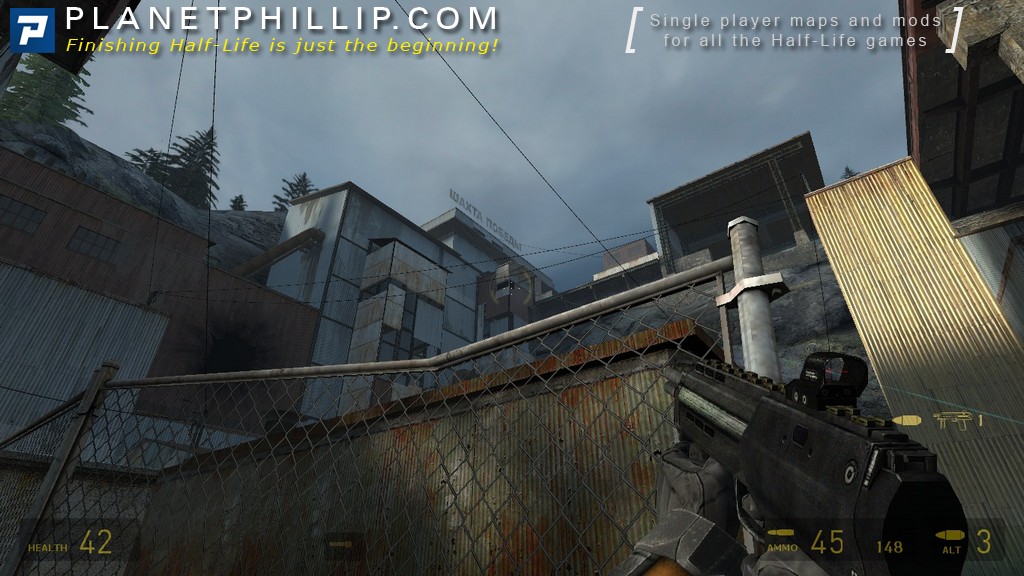
Upon reaching the surface, a large group of Combine forces is seen travelling north towards White Forest with Advisors in tow.
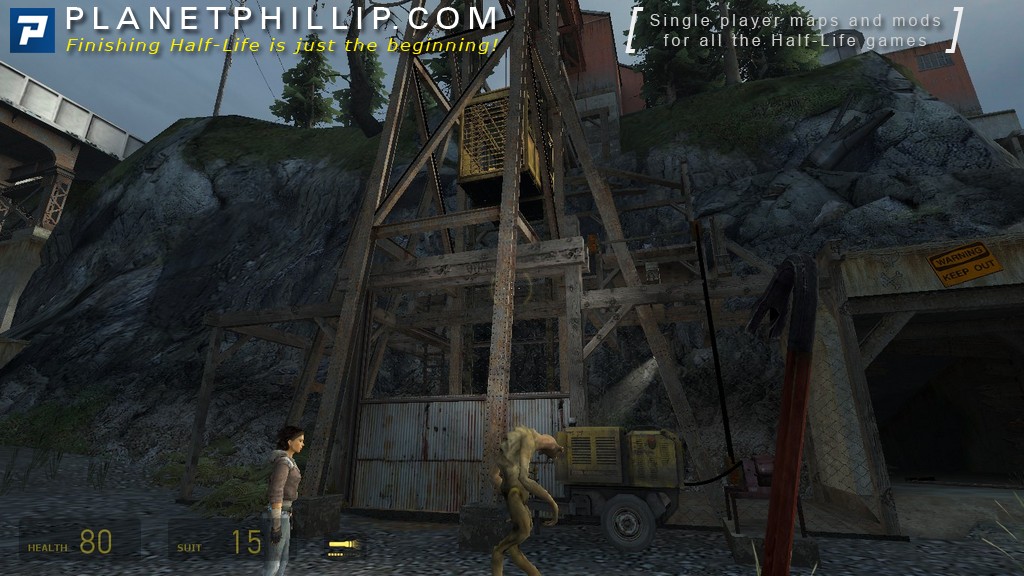
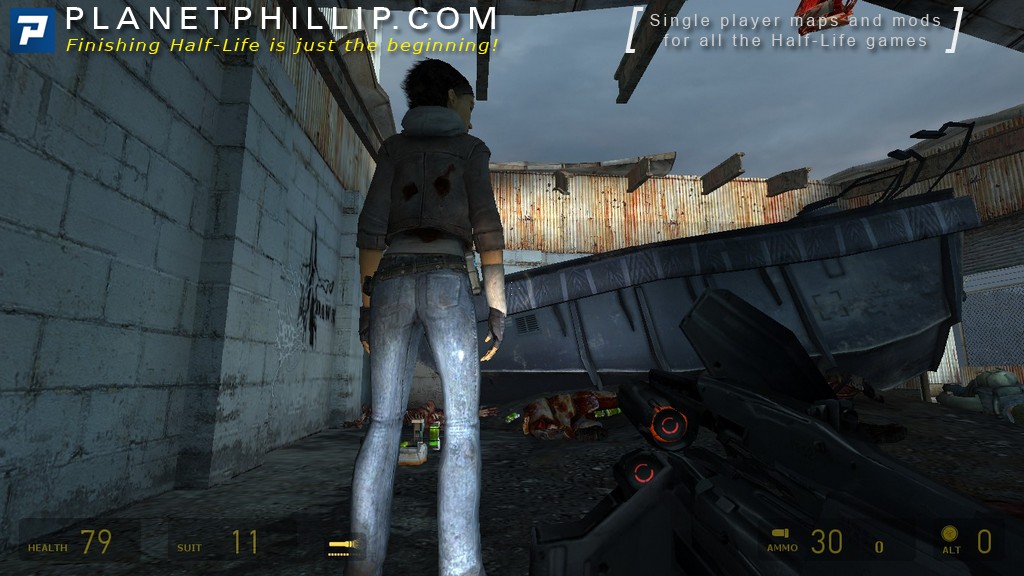
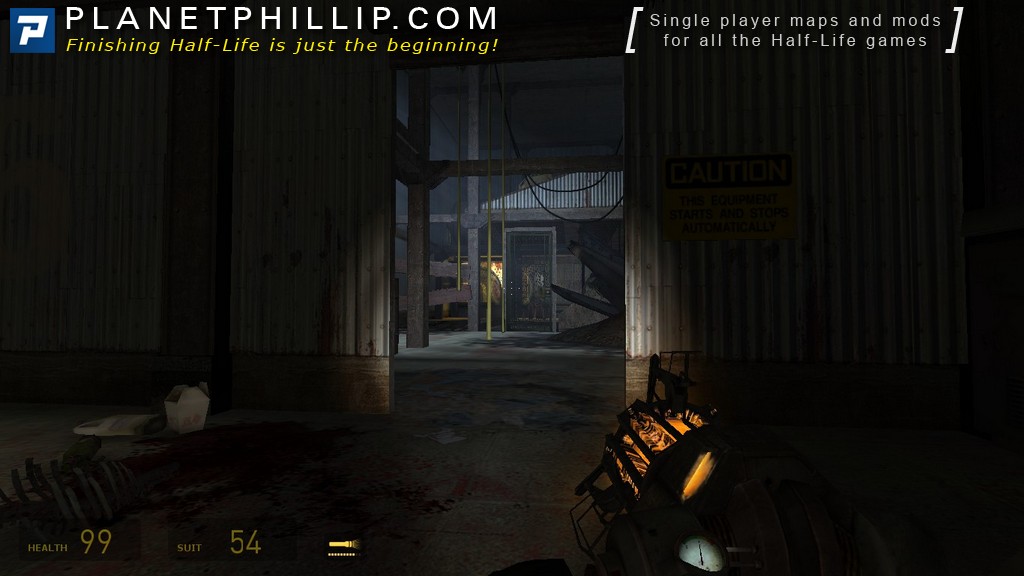
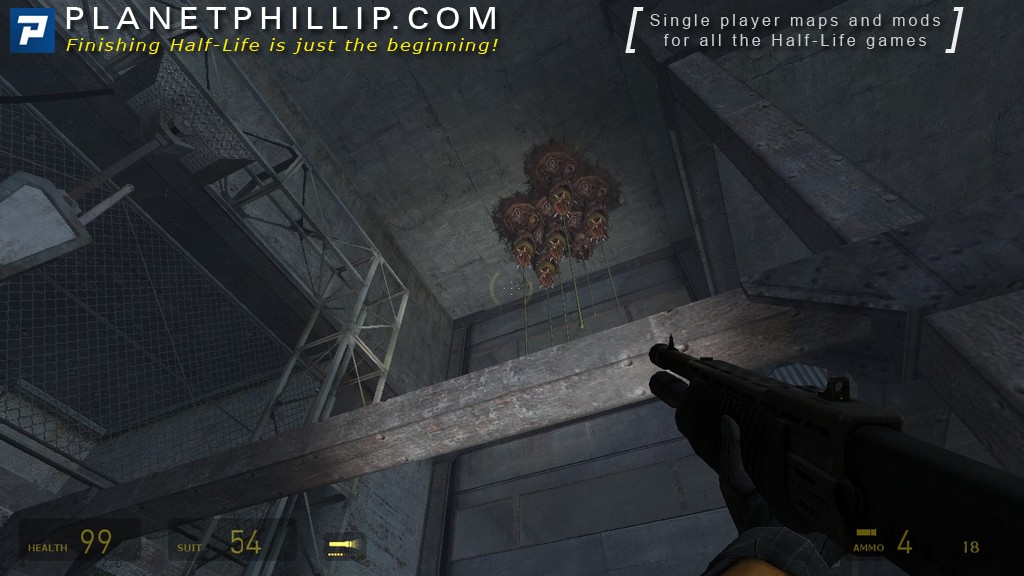
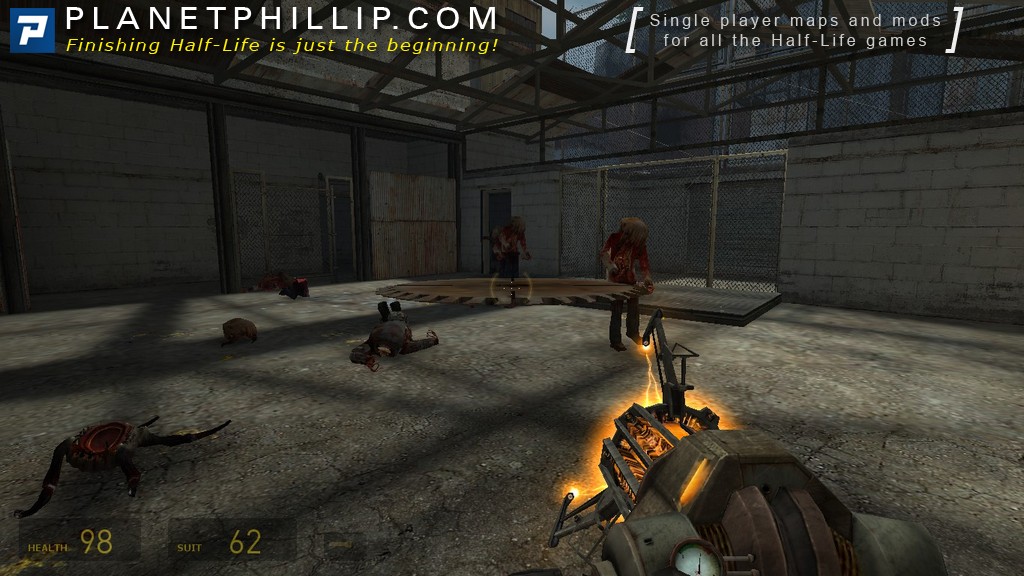
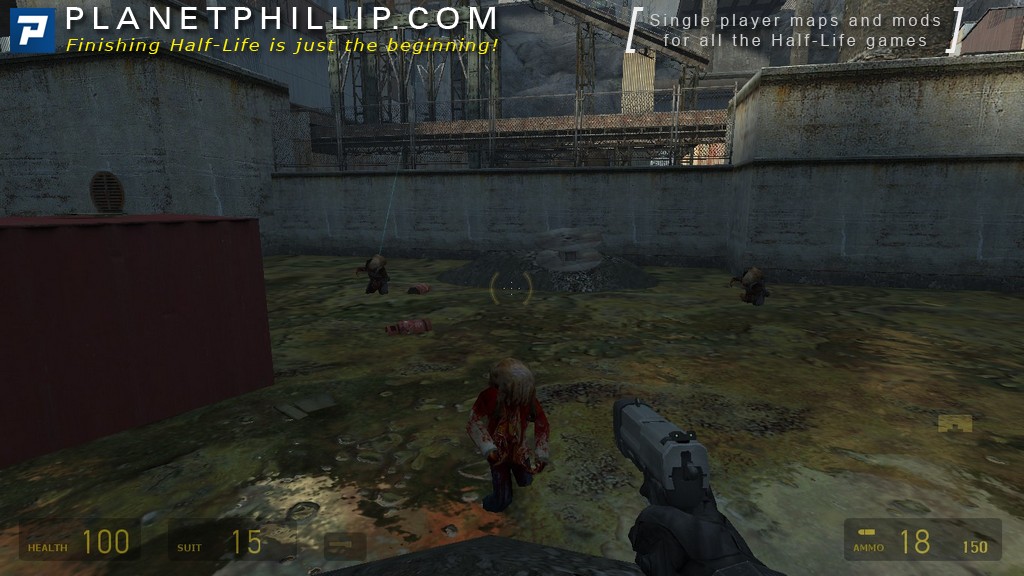
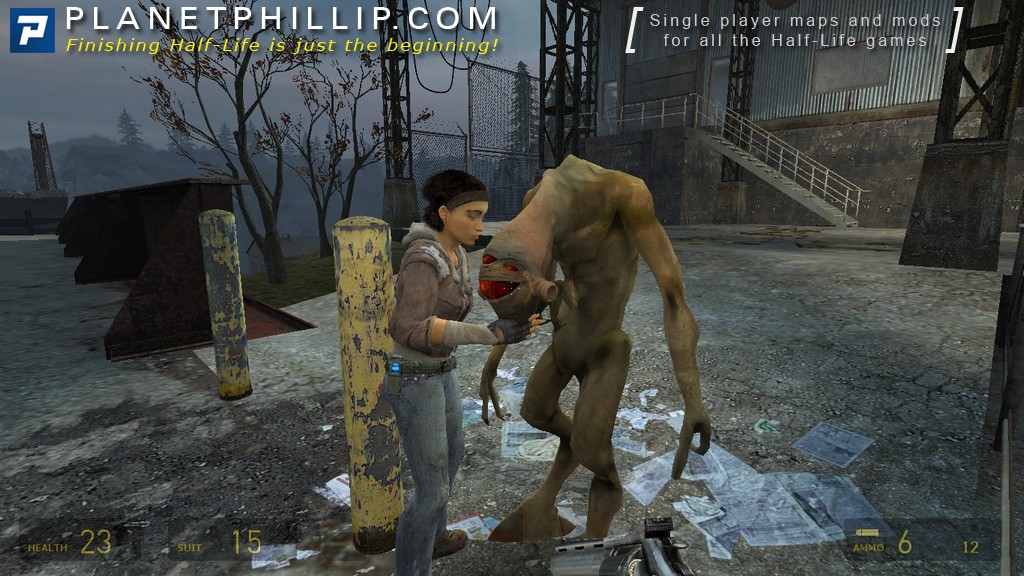
Gordon must fight off the Antlion Guardian, along with an Antlion Guard and several of their smaller kin, before reaching the last Resistance outpost of the Victory Mine. There, they find that the settlement has been overrun by Headcrabs.
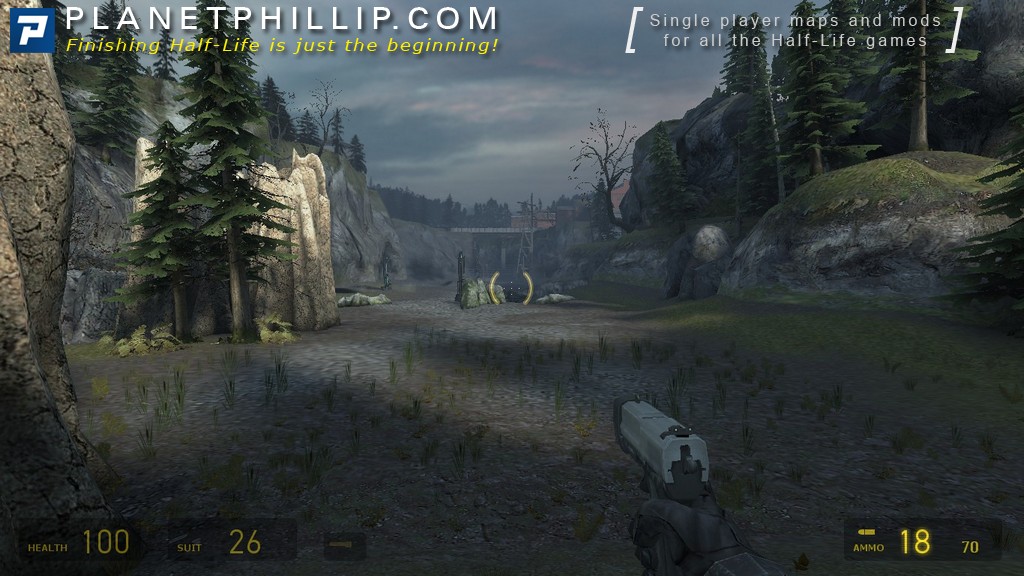
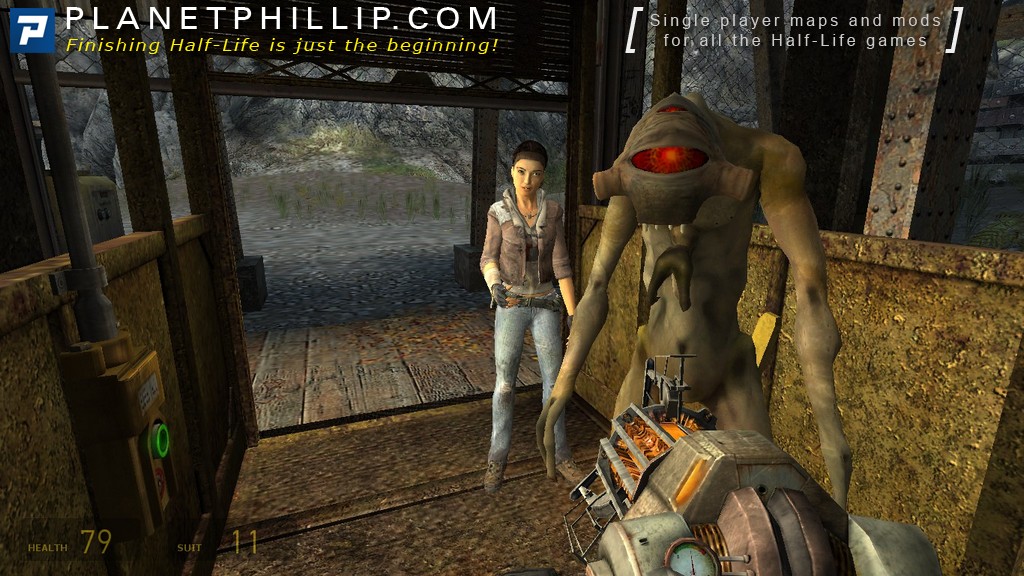
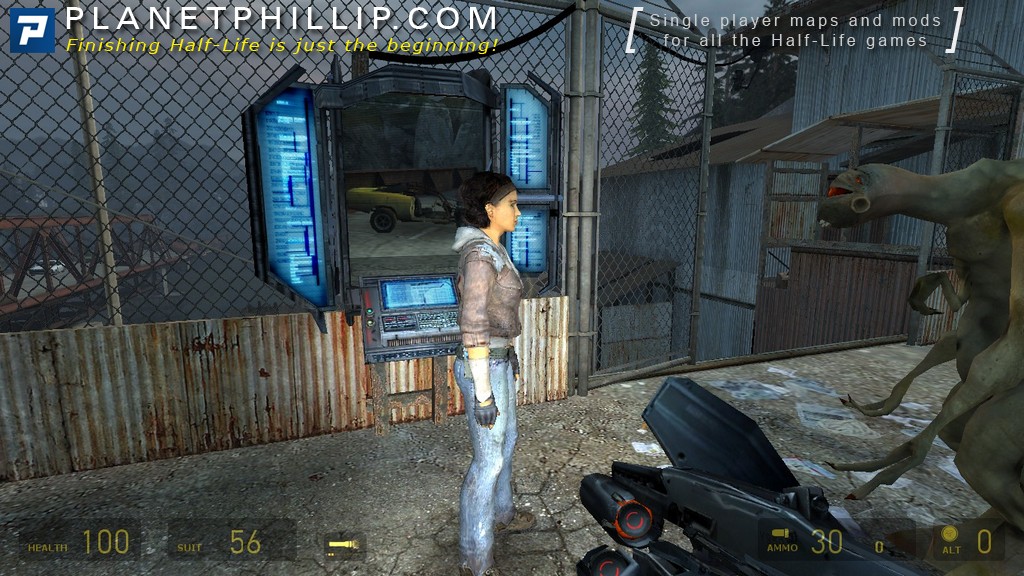
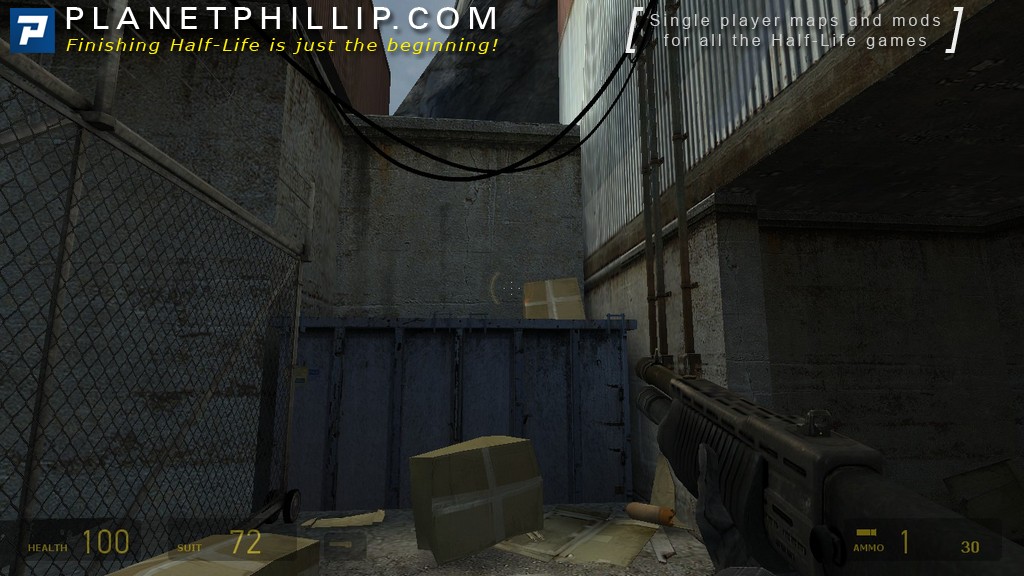
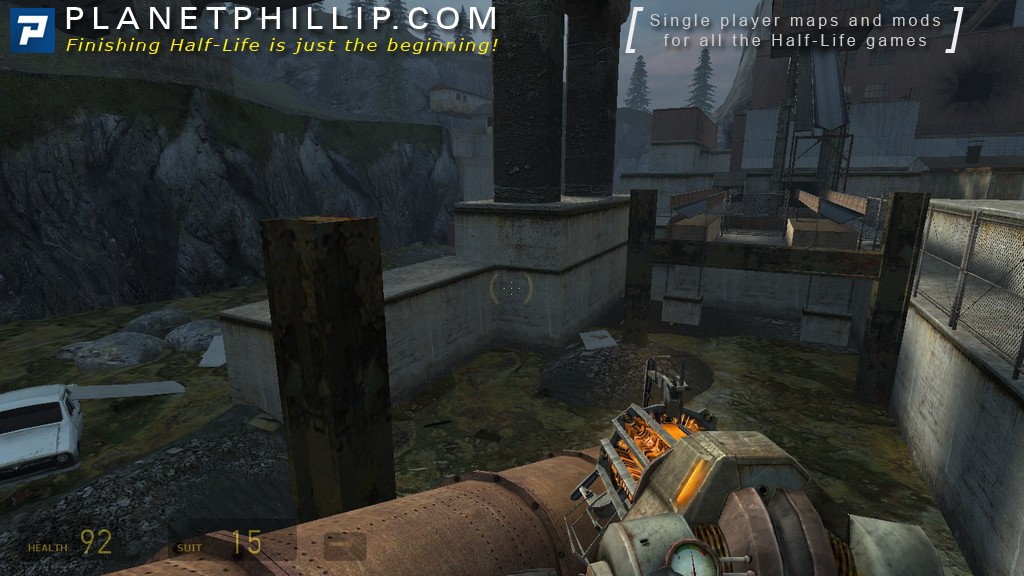
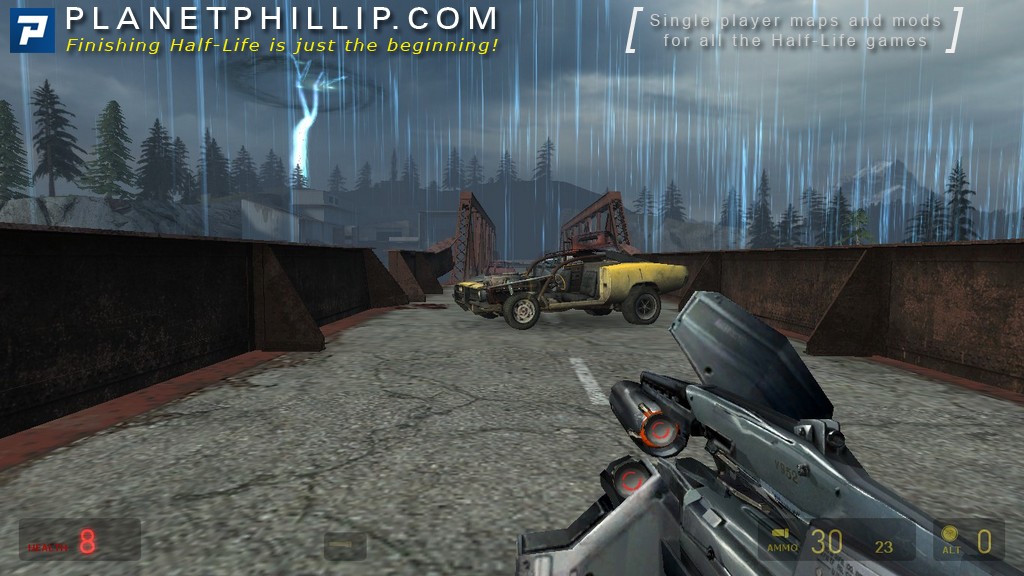
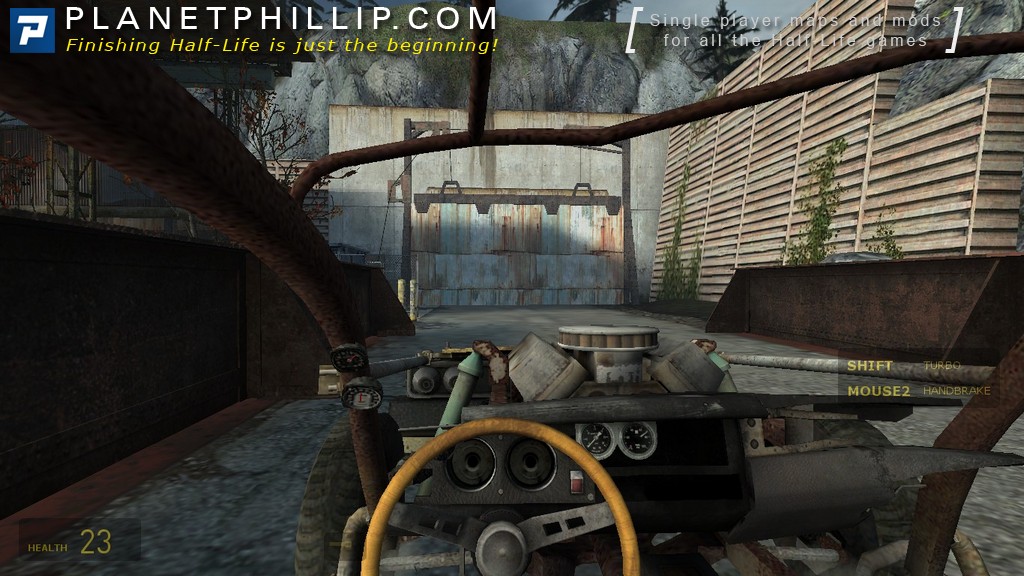
Gordon is required to descend into the zombie-infested mining settlement in order to reach a working car for the journey to White Forest.
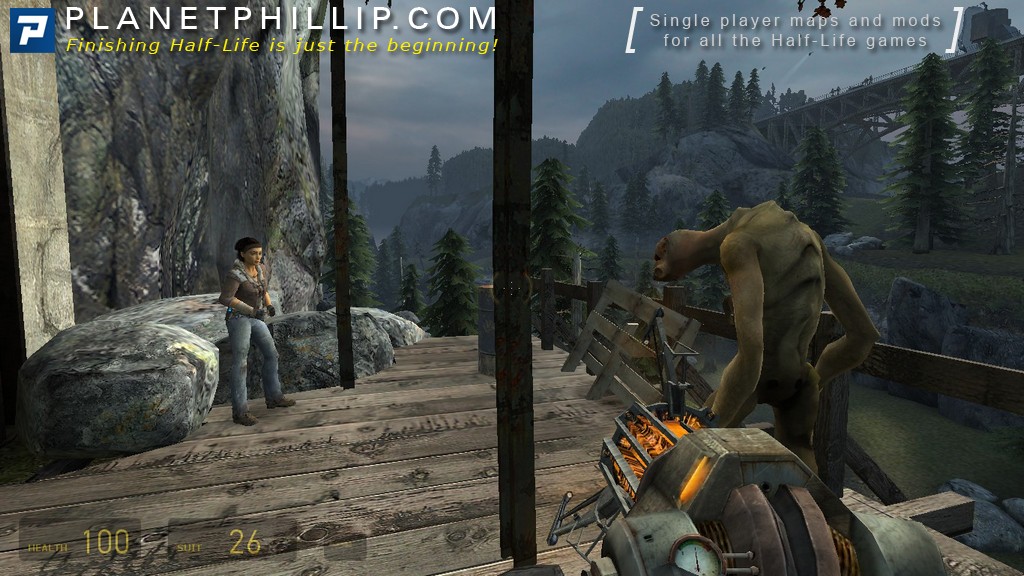
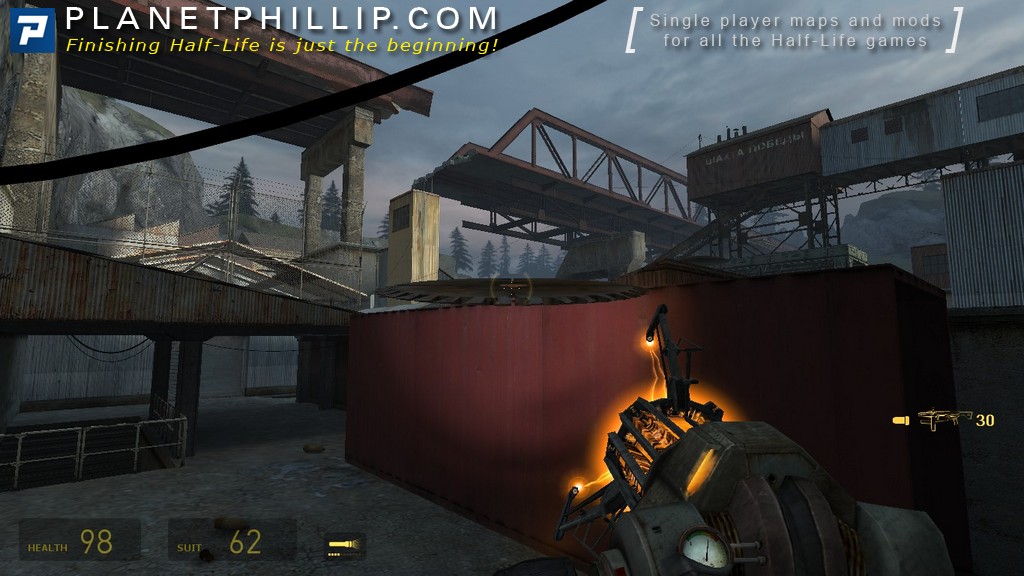
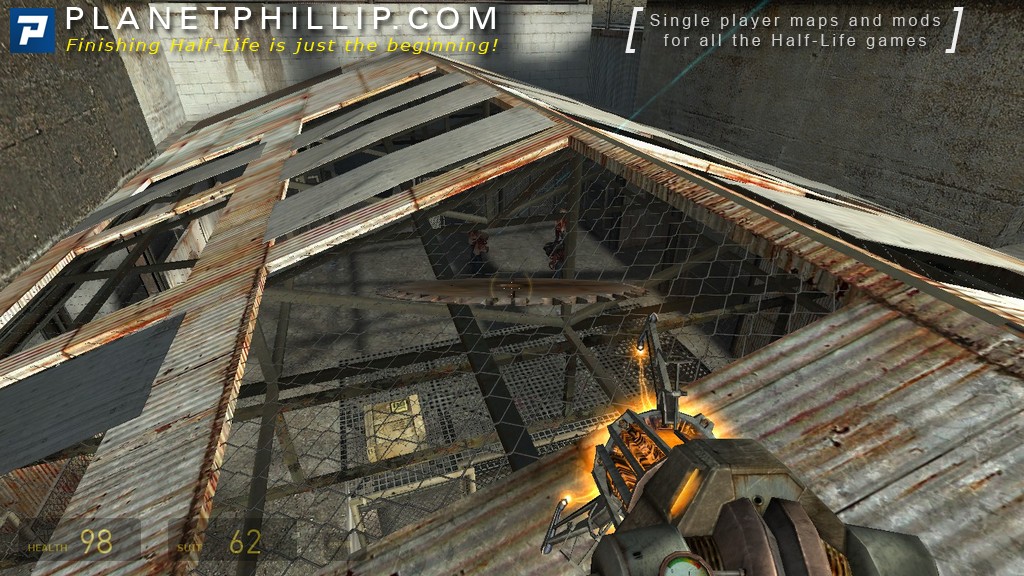
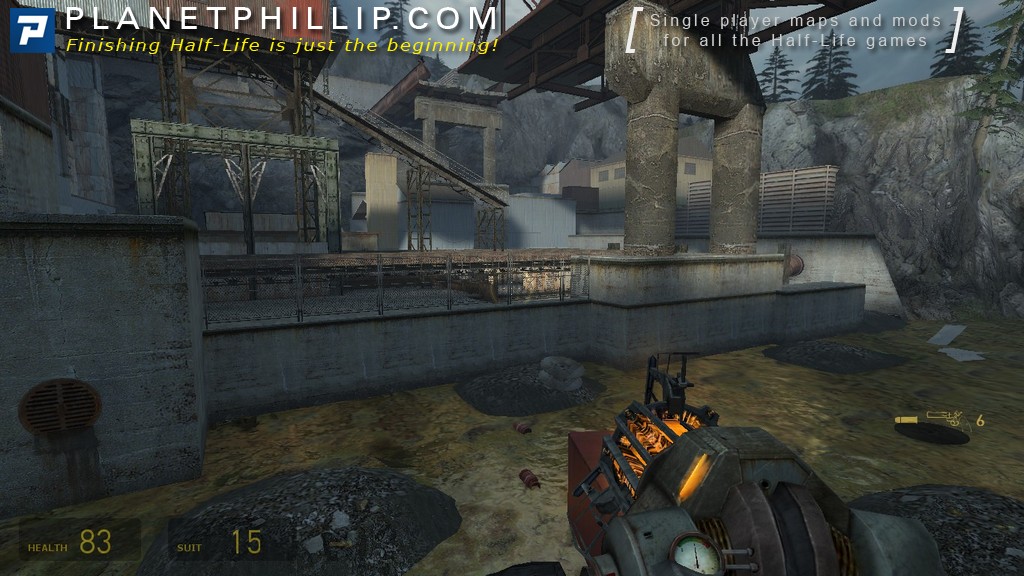
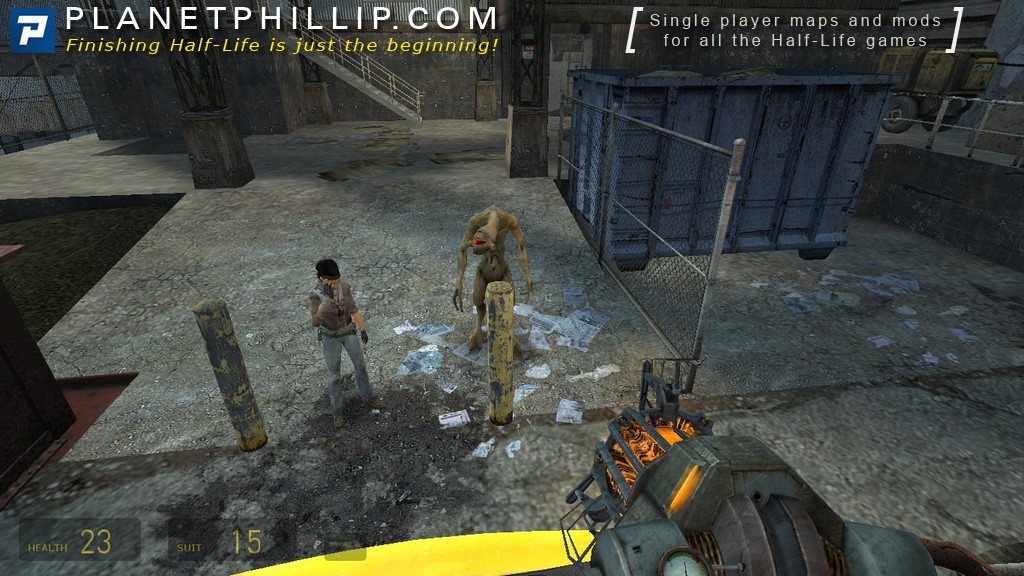
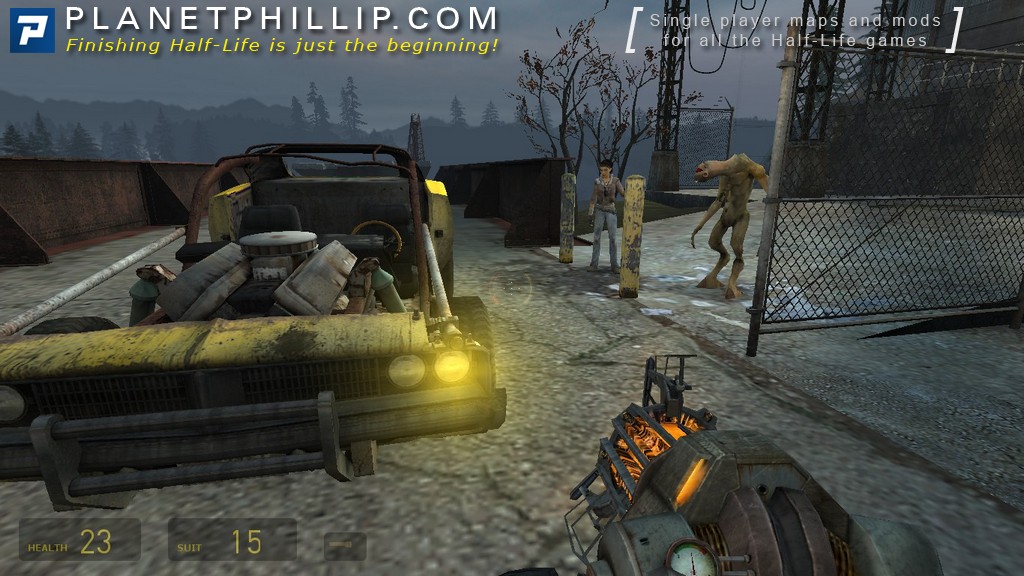
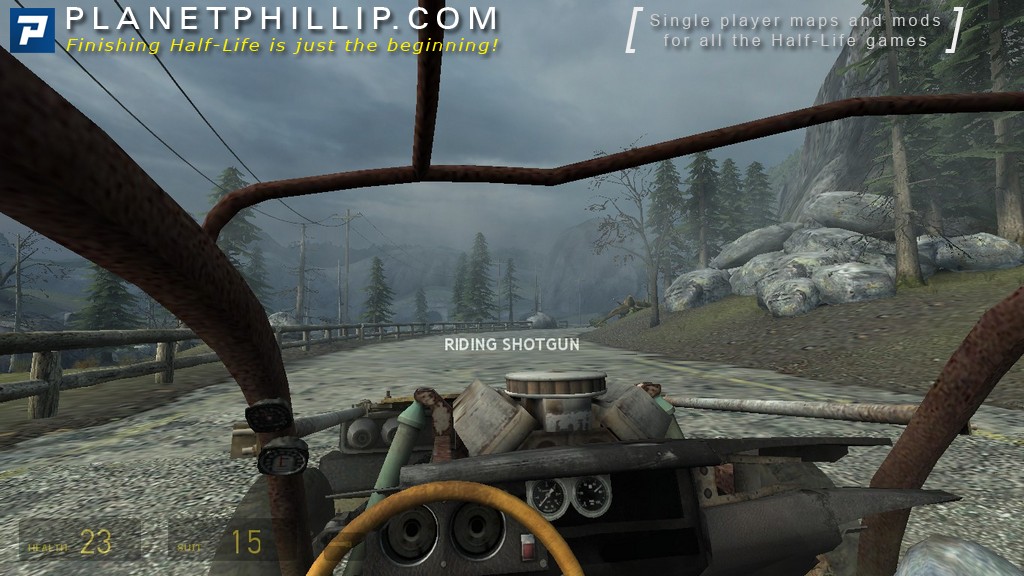
Alyx assists Gordon by covering his progress with a sniper rifle powered by the Vortigaunt. Gordon finally reaches the far side of the settlement where the muscle car awaits.
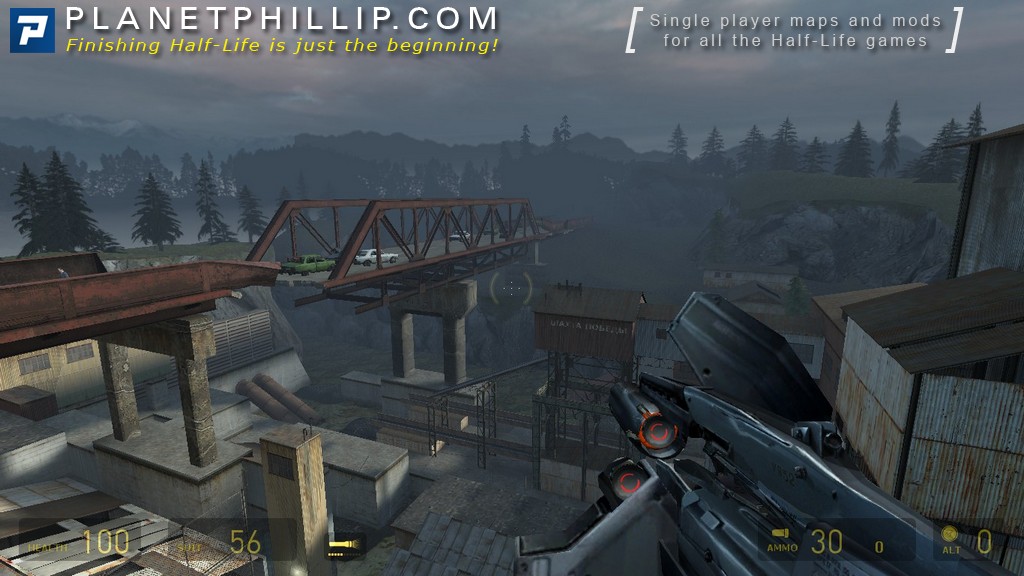
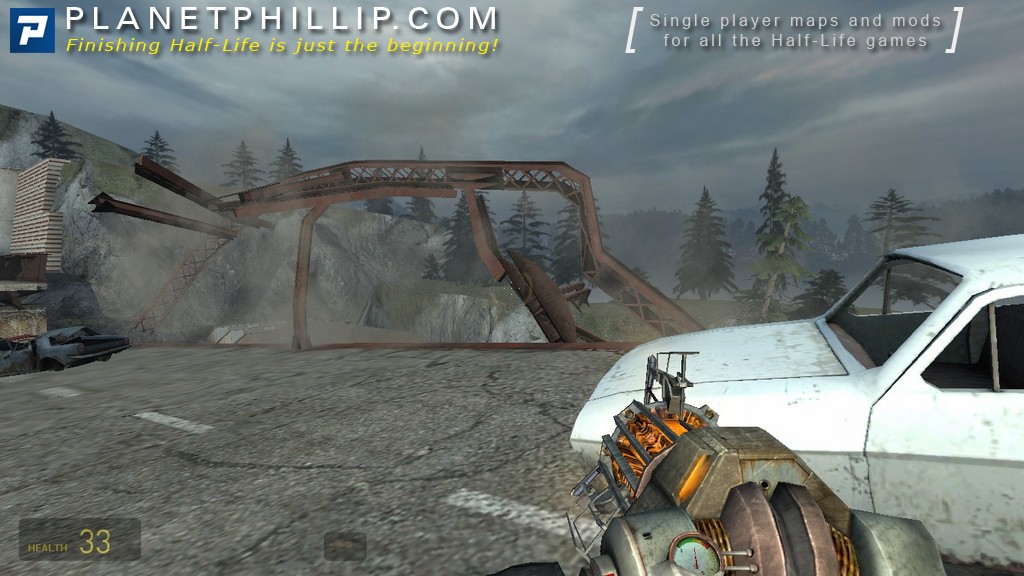
He jumps the car over a broken bridge back onto the side Alyx and the Vortigaunt are waiting at. The Vortigaunt takes his leave of Alyx and Gordon, informing them that his kin are hunting “shu’ulathoi” still in their escape pods.
Pontifex is a Latin term meaning both “priest” and “Bridge Builder”.
Click on the thumbnails below to open a 1024 pixel wide image.
WARNING: The screenshots contain spoilers.
 |
 |
 |
 |
 |
 |
 |
 |
 |
 |
 |
 |
 |
 |
 |
 |
 |
 |
 |
 |
 |
 |
 |
 |
 |
 |
 |
 |
 |
 |
 |
 |
 |
 |
 |
 |
 |
 |
 |
 |
 |
 |
 |
 |
I won’t be covering the Episode Two achievements in the same way as I did in the Half-Life 2 TREE event, because they are less chapter based. However, the CombineOverWiki has nice list that is very useful.
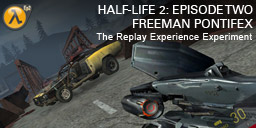
This post is part of the The Replay Experience Experiment event. This is a chance to replay all the Half-Life games and discuss them based on our experiences since we first played them.
The intro and trivia text are taken from the CombineOverWiki, a fan-supported, editable wiki covering the Half-Life series of games.

On the left is a complete text walkthrough for Half-Life 2: Episode Two.
It has been written by Stanley E. Dunigan and updated with all the tricks and tips from PlanetPhillip.Com readers.
It is in PDF format, meaning you can open it directly in modern browsers or download it and print it.
(Left-click to open and right-click to save)
You can purchase Half-Life 2: Episode Two directly through Steam and could be playing in within moments, depending on your internet connection.
This is possibly my favourite individual chapter of all the Source games and maybe even the whole series. It encapsulates everything I like in an area; we clearly see the point where we need to get to, we don’t cover a great distance, there is 10% puzzle and 90% action, the area contains plenty of vertical and horizontal movement, with the actual layout both very linear but also maze-like.
I enjoyed having help from Alyx and working with her to help me. I have plenty of choices to pass the level and I might even try and play it tomorrow and see if I can get past it without killing anything.
There is even a sighting of the G-Man on the bridge and who doesn’t like to see him every now and again?
I have little doubt there are areas I have yet to find and explore, we even have a jumping puzzle if you think about it.
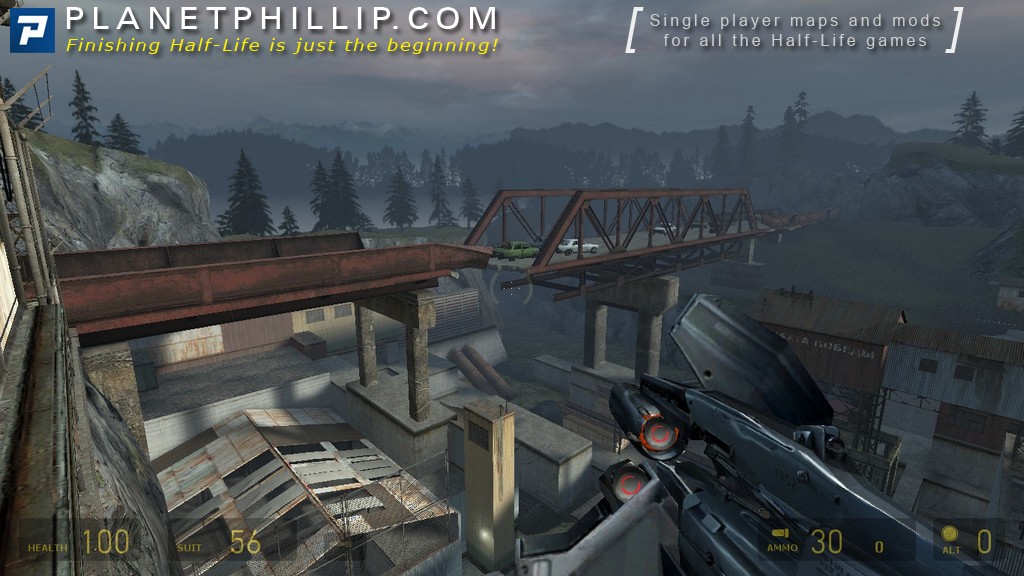
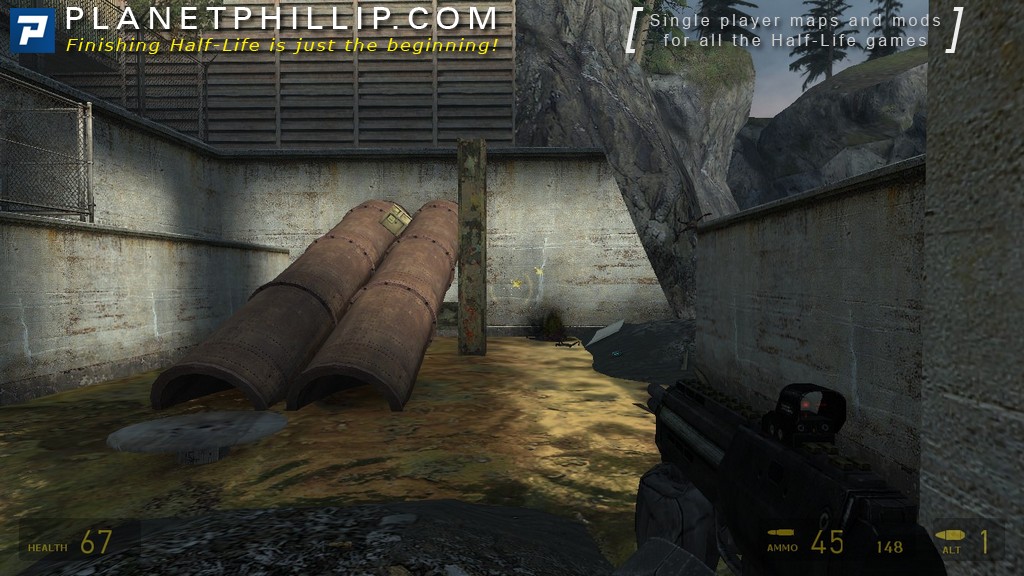
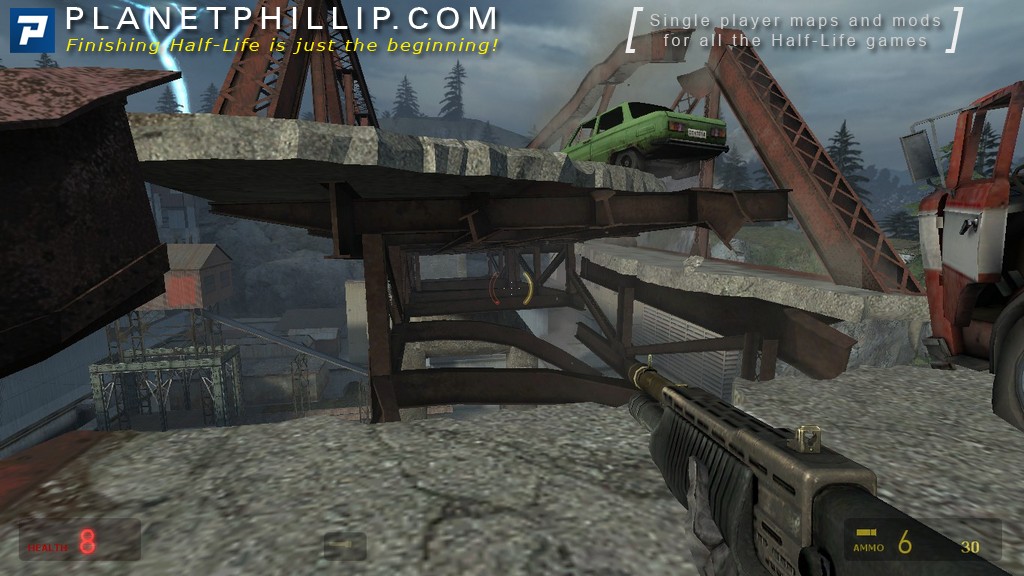
The bridge puzzle was spectacular the first time you encountered it, and now it’s still cool.
Definitely a masterclass in design, pacing, layout and great use of a small space.
Playtime: 39 minutes
No doubt, if there was ever a level that was the textbook example of what a Valve level ought to be, it’s the one that introduces the jalopy on the bridge.
After seeing Aazell’s presentation of this chapter I understood why I loved Ep2 the most out of all the HL series. There are so many things the devs are good at and they incorporate it so well into the gameplay that you don’t even know it, you’re just having a blast while getting to your next objective.
And my, what an objective, I think even in the 2nd playthough I forgot the type of the puzzle and searched a whole lot for the solution, but not this time!
Playtime: 24 minutes
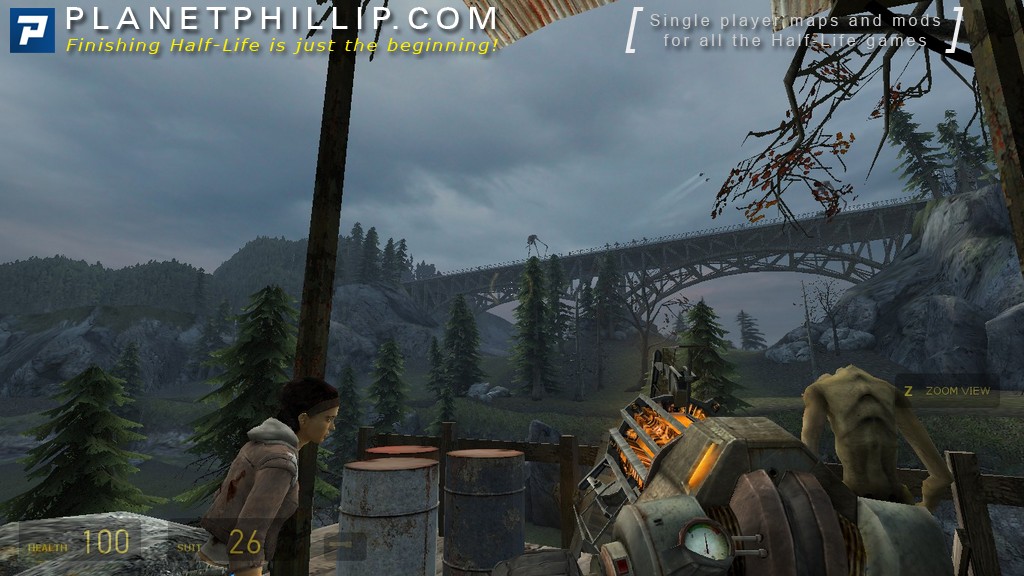
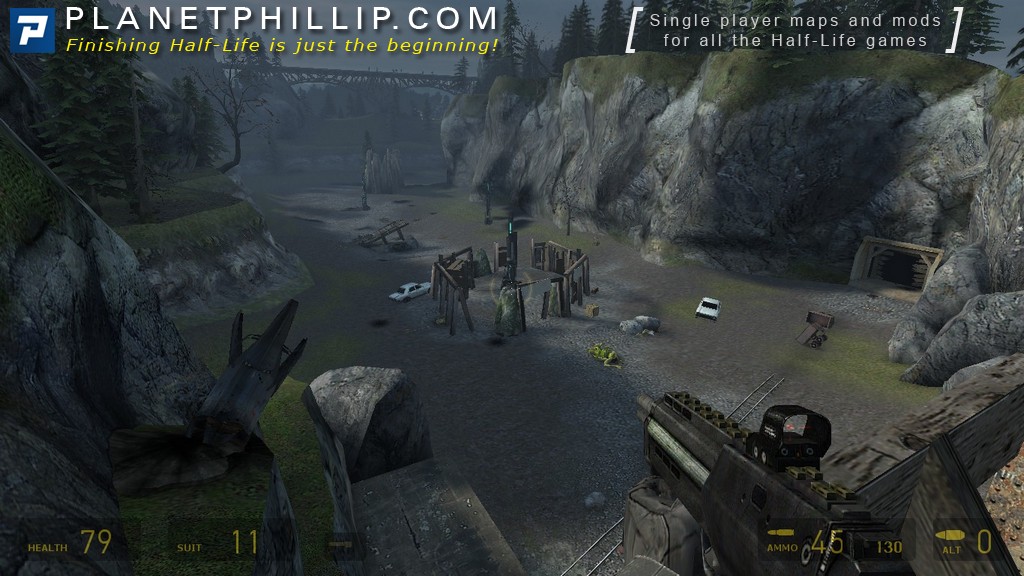
Finally out of the caves, and back to the nice color palette of sunny days outside City 17, like the good old days of Half-Life 2. We’re rewarded with a cool scene of the Combine moving across the bridge in the distance, but then another twist on the mini-boss battles we’ve seen in the previous games: now we’re up against not one but two antlion guards.
Even with all the explosive barrels around, I found it to be a really grueling battle, and it’s partly why my time on this level is perhaps longer than average. I was down to 5 health, no barrels left, and 3 final pistol bullets, and was resorting to flinging the engine at the last guard and waiting for him to fling it back rather than risk going out of the little fort.
The main section of this chapter is, as Phillip says, a masterclass in design, pacing, and layout. But beyond that, I see it as a greatly evolved version of chapters in the previous games that are zombie-heavy and encourage the gravity gun over standard weapons – particularly, Ravenholm and Lowlife. It was great to finally see a well-lit and nice looking area where we’re fighting the ‘scary” enemies with no real attempt to make it ‘scary” simply by taking away most of the light. It’s refreshing and honestly pretty fun – add in the bits where Alyx is sniping for you and it adds up to a nice variety of gameplay.
Also, notice how many times you get to stop and take a good look at an upcoming area. At the top, you can see the entire map, although you can’t really make out the path you need to take.
The bridge section is well designed too and a pretty memorable section of the game. It’s probably the only see-saw type puzzle that I actually enjoyed, mainly because the scale of it was borderline comical. I can’t wait to punt entire sections of the destroyed Citadel in the next episode’s gigantic see-saw puzzle.
Playtime: 41 minutes
Freeman Pontifex is a transition chapter. After many tunnels and gallery we come back to the surface and prepare trip for White Forest.
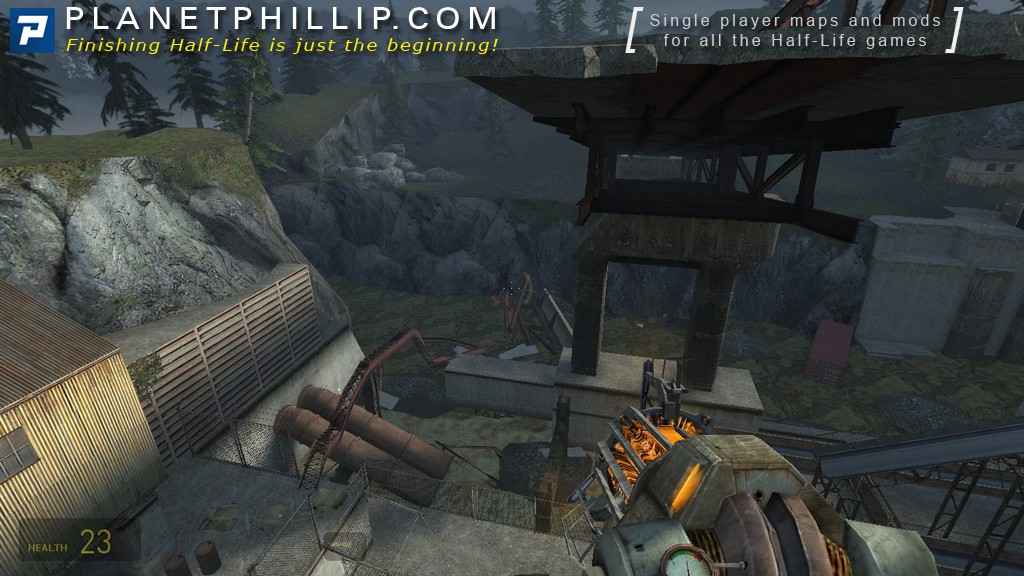
The bridge view at the beginning is fantastic and shows that Combine is still strong and prepare counter attack.
Right after is the combat against Antlions Guard and Guardian, closing the Antlions part of the game. It was interesting to fight them at the same time because they are usually alone and now easy to beat.
Then is the main part of the chapter. At first, reaching the jalopy seems to be easy, but the way is made of detours and traps. So that, I felt it to be very long but not annoying because non-linear.
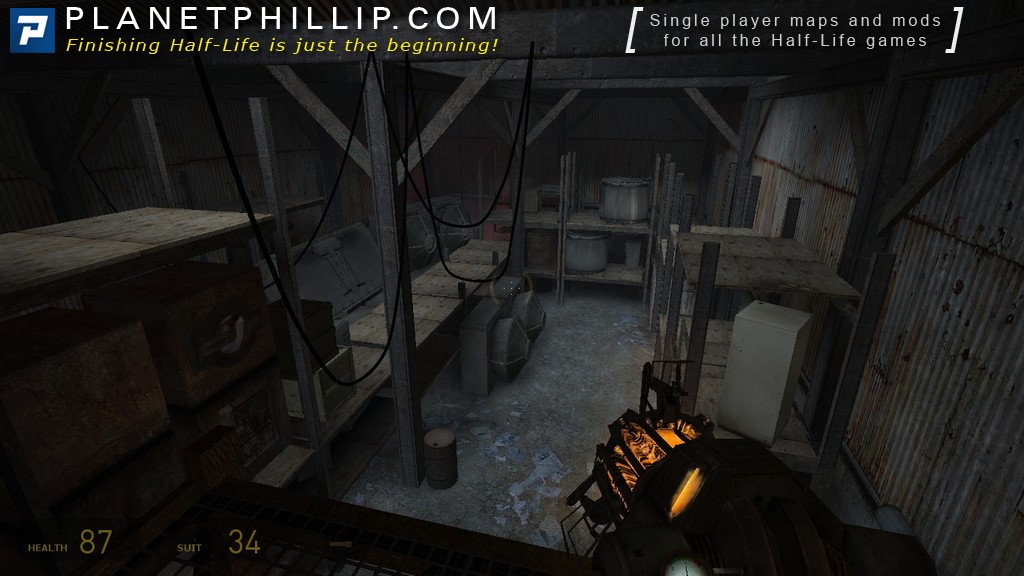
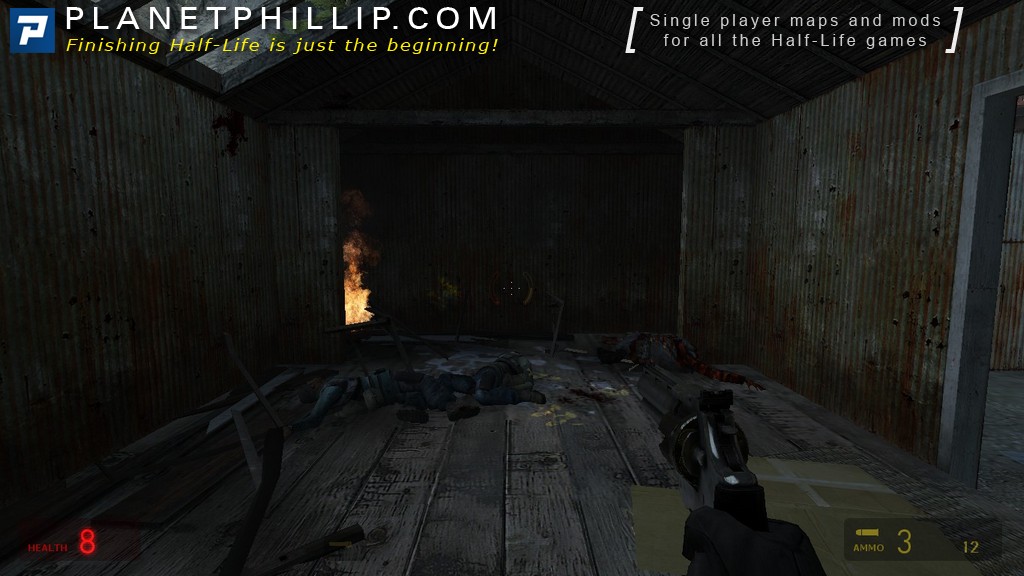
It is an action/exploration phase very well designed and filled with zombies, maybe too much especially in the warehouse. I’m not a fan of zombies.
Here we retrieve good old fire traps likes in Ravenholm but of course it don’t have the same taste. The idea of Alyx using the sniper rifle is a good and useful memories too.
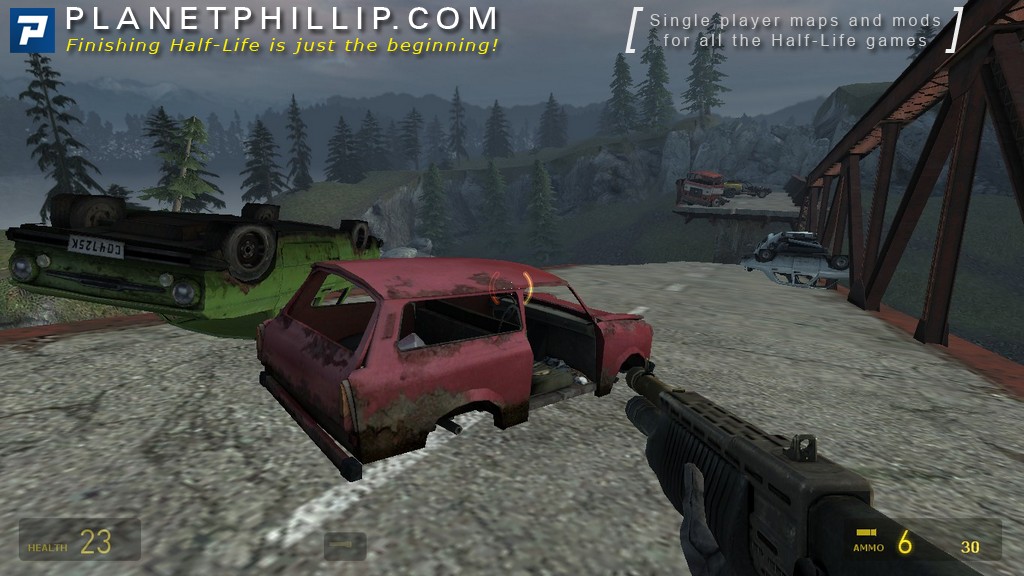
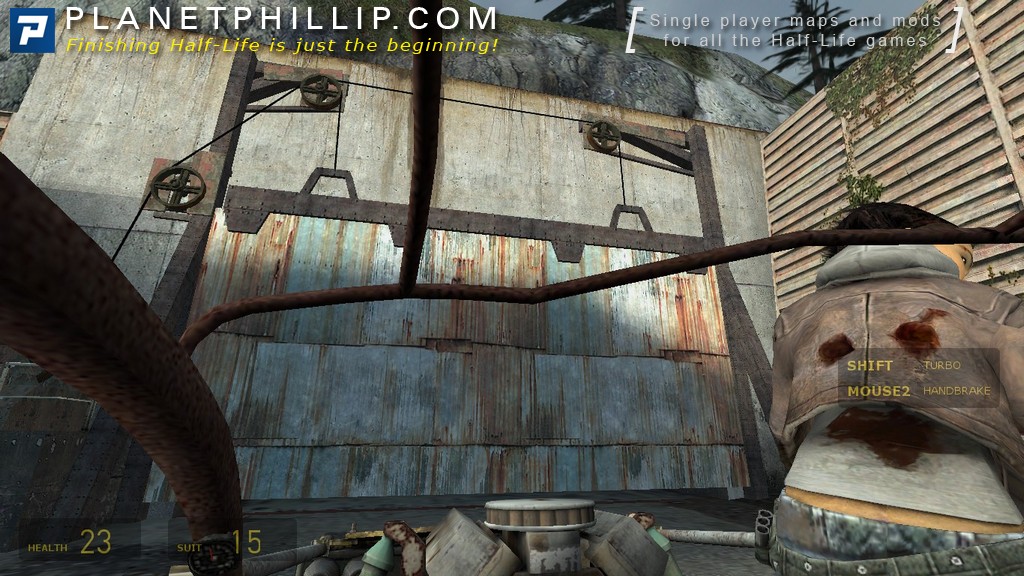
Finaly we reach the bridge and there is a spectacular puzzle. I remember on my first play that I had been very impressed by that, as I was already in the jalopy, attempting to cross.
But the puzzle itself is not too hard and we can conclude the chapter on a blockbuster stunt.
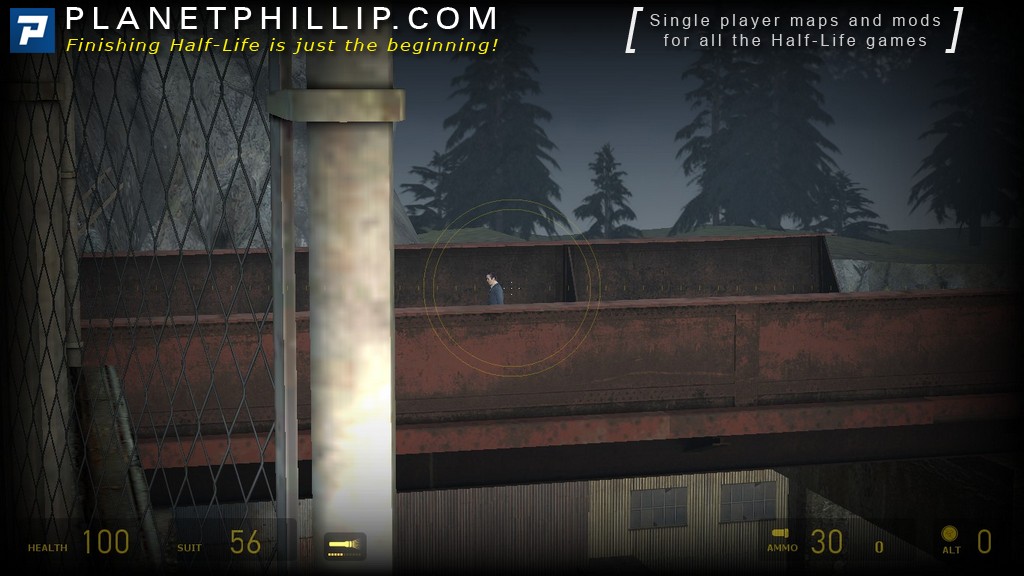
G-MAN SIGHTING
Crossing the bridge, maybe he drove the jalopy.
CAUGHT MY EYES
That was a rude battle with Antlions, and no Combines noticed it.
DEATHS
None
PLAYTIME
32 minutes
MY FRENCH LET’s PLAY
I know I’m late again, school has started and stuff. Hopefully I’ll manage to get through the rest of the game before I get too busy :/
http://www.youtube.com/watch?v=JiWT6KzKGCA
This level starts with a nice double boss battle, then we follow the vort in order to find a car. There is some great fighting in the big map with the car, and alyx helps us with a sniper rifle. We get to see what it looks like at last ^^
Then we get the car, and we’re on our way :3
I skipped a huge part of this chapter, and this messed up some dialogues really bad (and some physics too). who cares x)
Five words or less review:
The car isn’t that awesome
Deaths:
none
Playtime:
6 minutes 36 seconds 292 milliseconds
For those of you who wonder why the hell am I carrying that pickaxe, you’ll see in the next chapter 😀