


In this chapter, the HECU determine that they’re fighting a losing battle against the Xen aliens and, having continually failed to neutralize Freeman, abandon their mission and begin to evacuate the facility, calling in air strikes and heavy artillery to cover their retreat.
Meanwhile, Gordon makes his way into an underground storage garage to avoid the bombardments, and eventually fights his way through scores of aliens and several groups of the decimated HECU forces before reaching the Lambda Complex.
The Marines begin to evacuate Black Mesa and air strikes begin.
Gordon navigates underground water channels and tries to avoid scores of alien invaders as they pick off remaining Marine stragglers.
- The old level name featured on Half-Life: Day One, given in the “titles.txt” file was: “You’re on your own”.
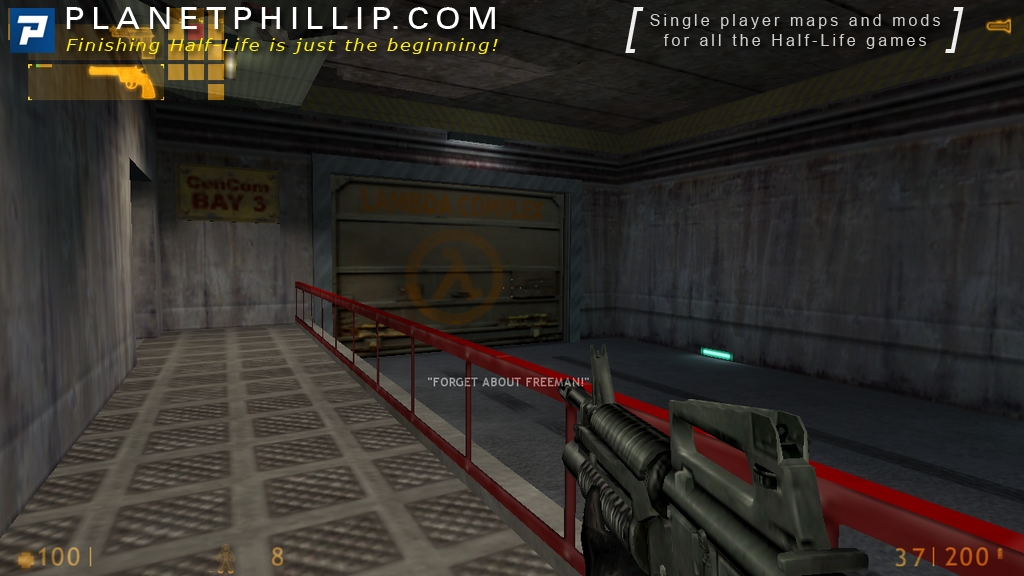
HECU officer, radio operator that gives the orders to Cooper, near the end of the previous chapter Surface Tension says folowing text: “Come in, Cooper! Do you copy? Forget about Freeman! We’re abandoning the base! If you have any last bomb targets, mark them on the Tactical Map! Otherwise, get the hell outta there! Repeat: we are pulling out and commencing air strikes! Give us targets or get below!”. From sentence in the text comes the name of the eponymous chapter. - In Half-Life:Opposing Force, this event is mentioned again, however, Adrian Shephard was at the military checkpoint when the HECU officer transmitted the message at the radio, making a focal point of the two games.
- The chapter name is mentioned again in another, more frantic radio transmission. This transmission seems to have been to all troops, and is as follows: “Forget about Freeman! We are cutting our losses and pulling out! Anyone left down there now is on his own. Repeat; if you weren’t already, you are now- *transmission is lost*”
The challenges below have been set by 2muchvideogames
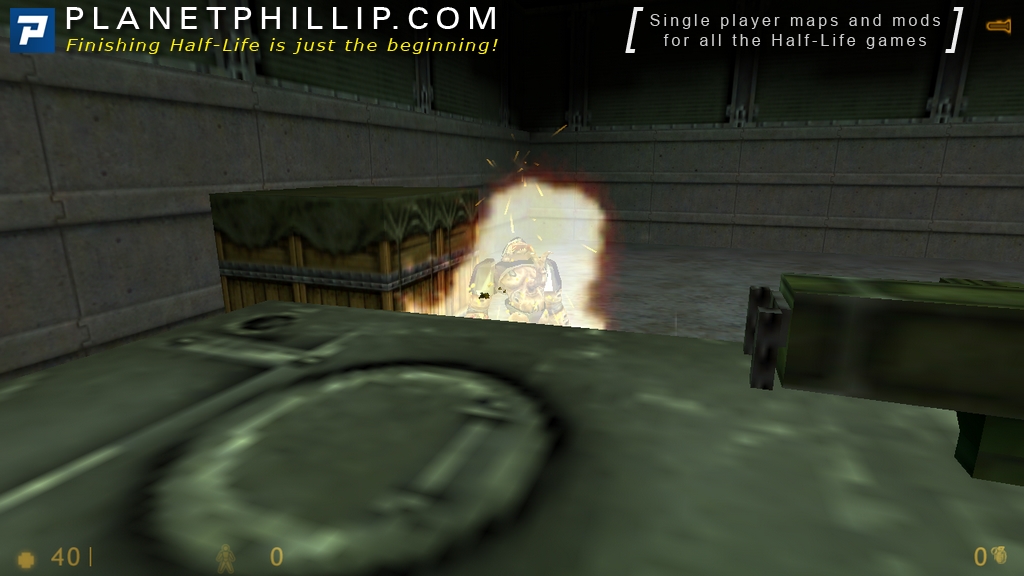
- Kill an alien grunt with a ceiling turret.
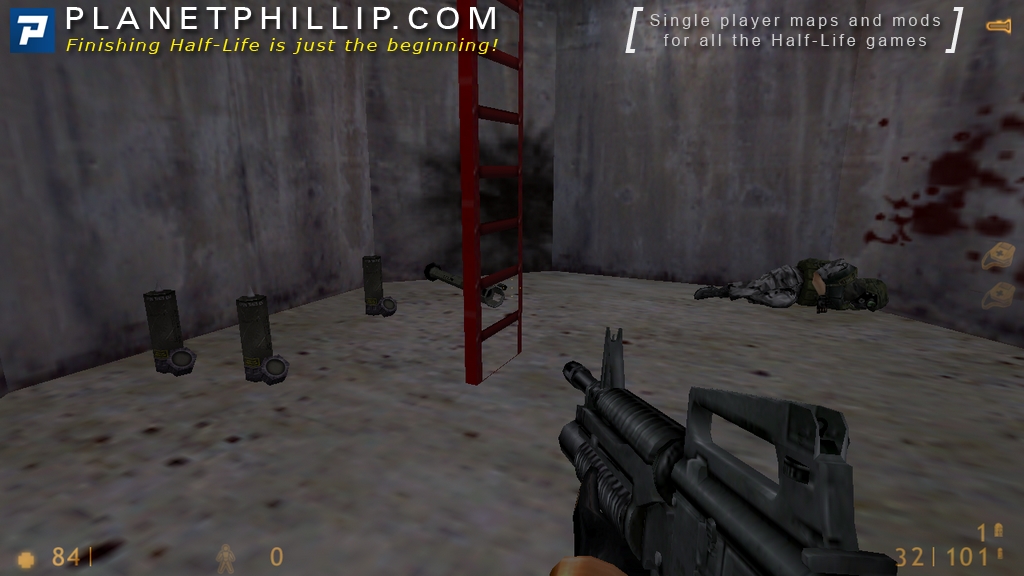
- Find the HEV charger in this chapter.
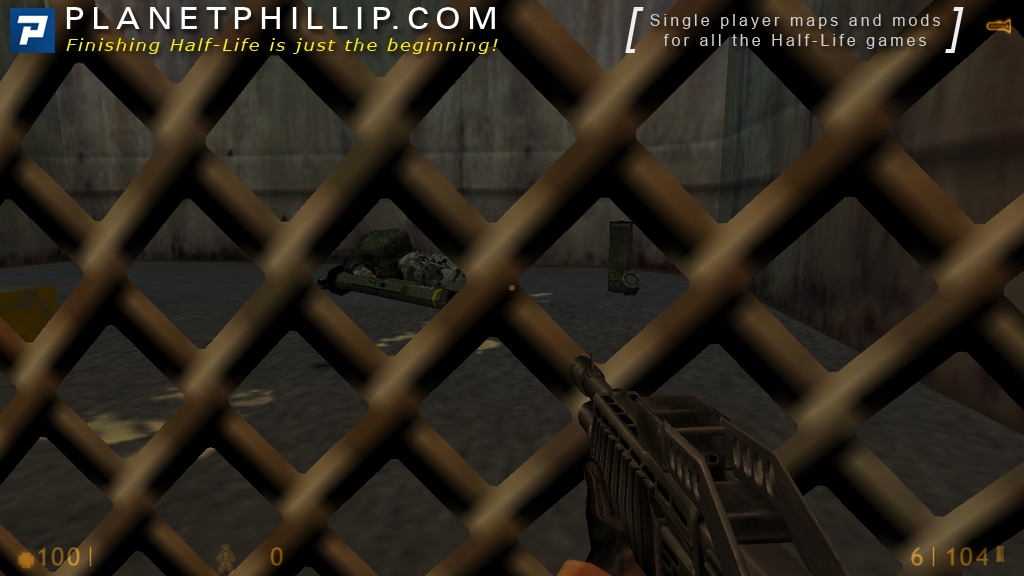
- Retrieve the hand grenades hidden underwater.
MEDIUM: 100 Health 8 HEV [157KB]
HARD: I need a HARD save for this level. Do you have one? Please send it to me.
Click on the thumbnails below to open a 1024 pixel wide image.
WARNING: The screenshots contain spoilers.
 |
 |
 |
 |
 |
 |
 |
 |
 |
 |
 |
 |
 |
 |
 |
 |
 |
 |
 |
 |
 |
 |
 |
This post is part of the The Replay Experience Experiment 2012 event. This is a chance to replay all the Half-Life games and discuss them based on our experiences since we first played them.
All text taken from the CombineOverWiki, a fan-supported, editable wiki covering the Half-Life series of games.

On the left is a complete text walkthrough for Half-Life.
It has been written by Stanley E. Dunigan and updated with all the tricks and tips from PlanetPhillip.Com readers.
It is in PDF format, meaning you can open it directly in modern browsers or download it and print it.
(Left-click to open and right-click to save)
You can purchase Half-Life directly through Steam and could be playing in within moments, depending on your internet connection.
There’s a lot going on here. Yet it’s still another filler, but a well done filler as you don’t really notice it. It’s interesting that I had completely forgotten about the Laser weapon, how the snarks appear and the tank.
For such a small chapter (3 maps) you get an awful lot of variety, which is pretty cool.
I found this quite hard work, which is good. Nothing too difficult, but enough to die a few times and try a few different tactics. There’s very little sneaking around, this is mostly in your face action, and that’s what I like.
This could have easily been a mod. I don’t mean that in a negative way. It’s a perfect size for a mod and has a variety of locations and designs.
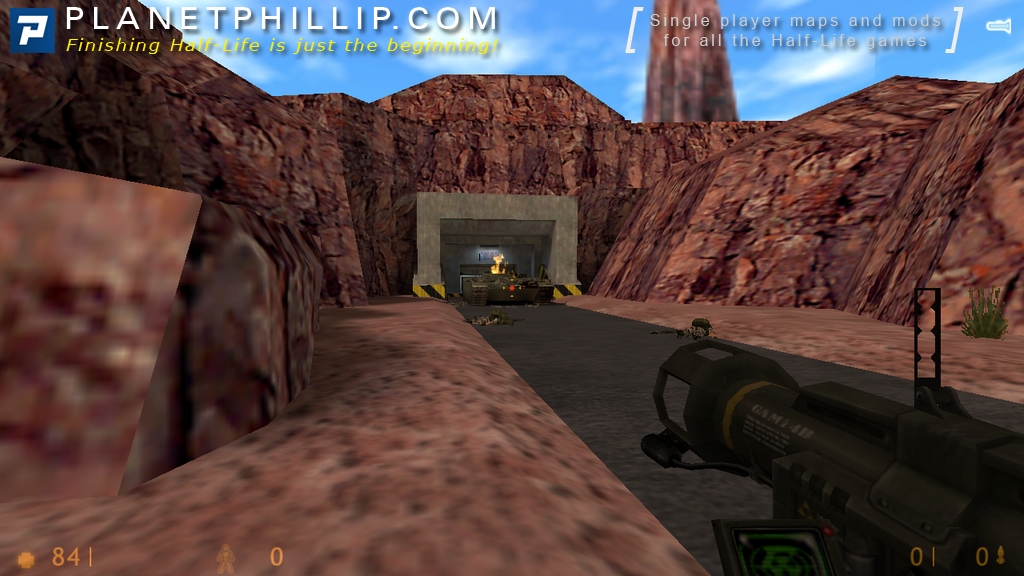
That tank with the usable canon was kinda fun but almost underused. Would have been nice to spend more time with it.
Again, I didn’t see him in this chapter.
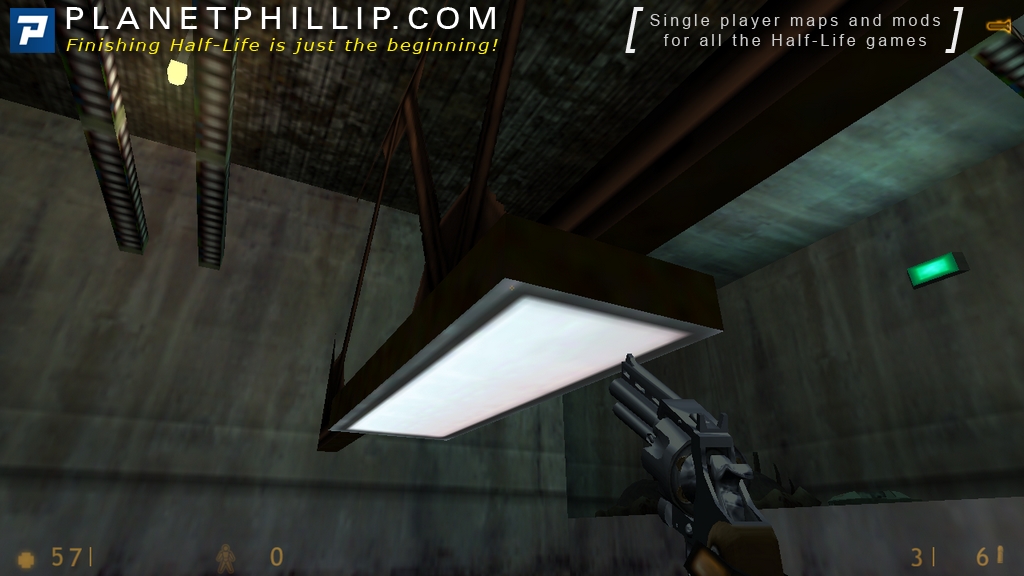
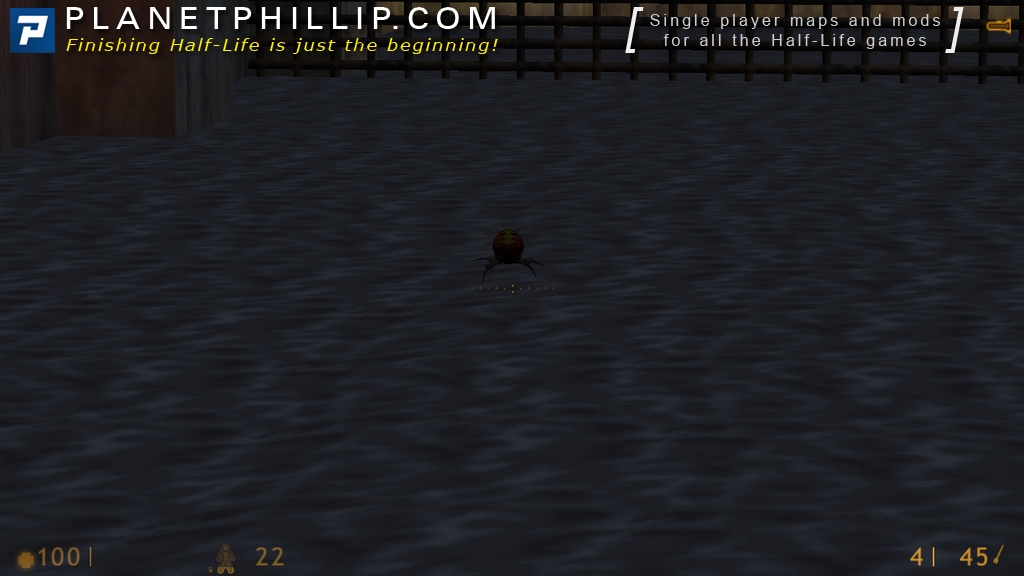
I got stuck to a light fitting, which was kinda strange (image 09). I also noticed that snarks can walk on water (image 13).
I crowbarred a few but found my timing too bad, so I just ran around like an idiot.
– Kill an alien grunt with a ceiling turret.
– Find the HEV charger in this chapter.
– Retrieve the hand grenades hidden underwater.
Rushing makes it harder.
28 minutes
A few
Just at the beginning and when you need to destroy the tank.
Voted “Other” at least for this playthrough – I posted Barney in a strategic location since he is a marksman and led the snarks to him.
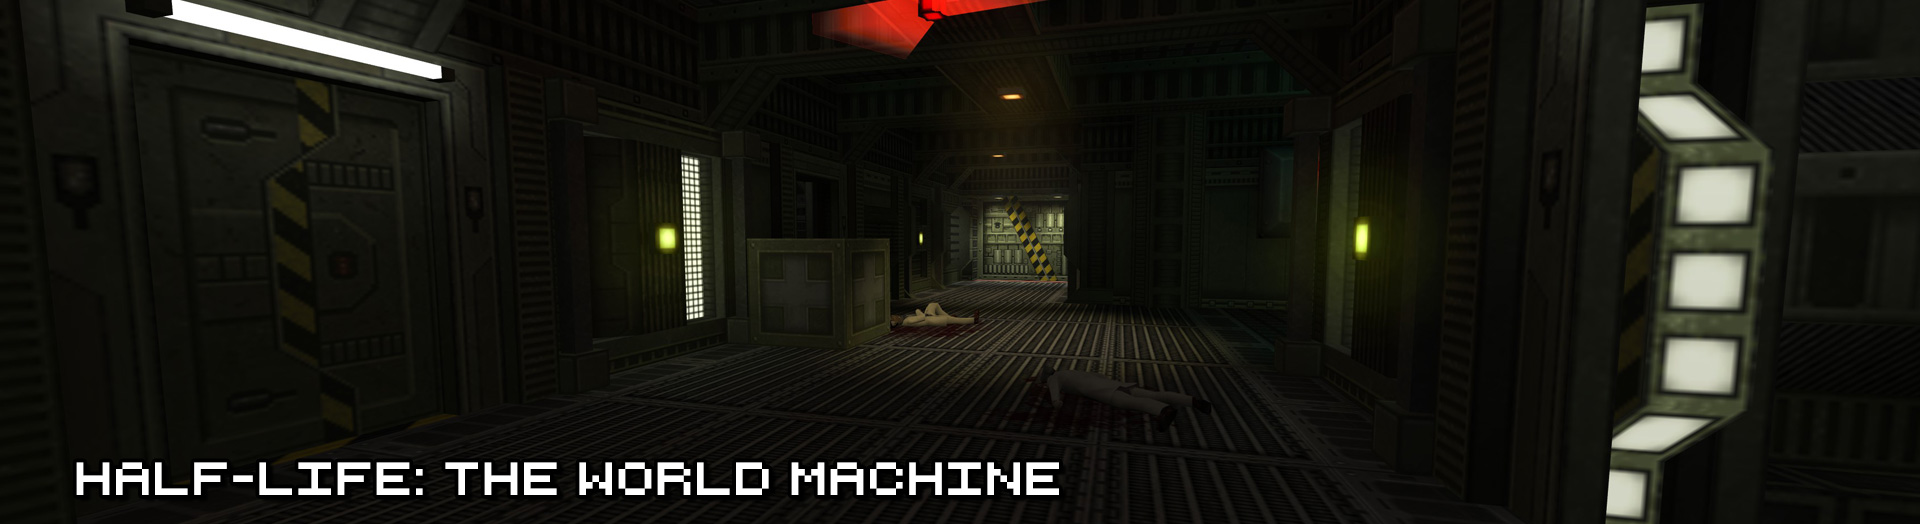
Finally, we saw a door with lambda letter in circle on it, and writing Lambda Complex, which shows that we are close to our destination.
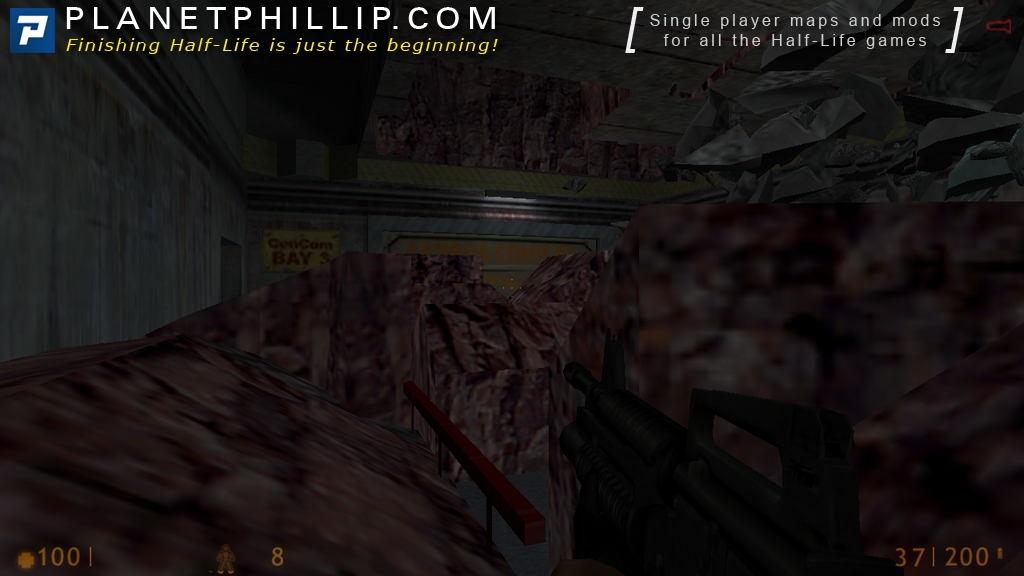
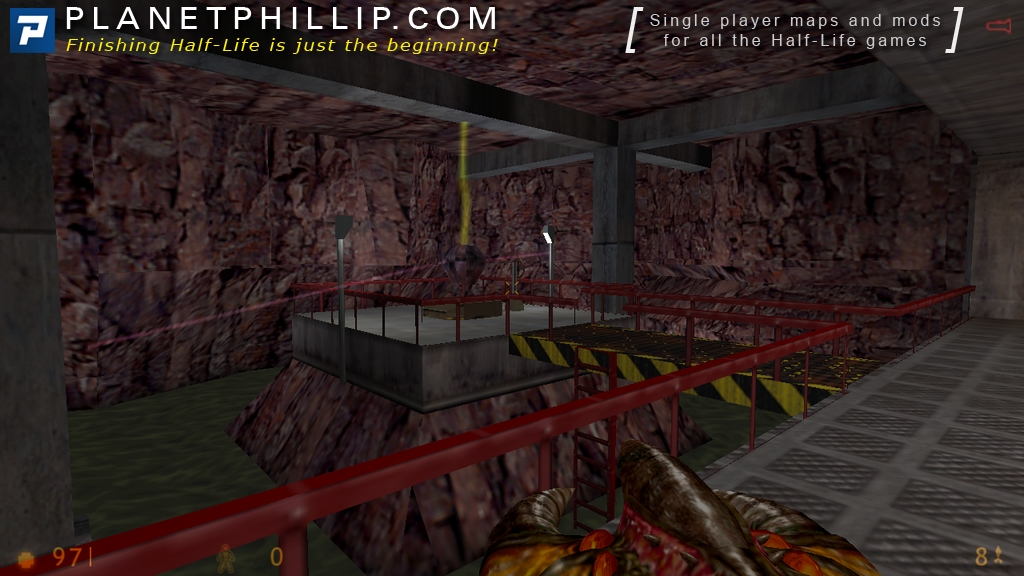
The chapter begins with a stunning scene where the people behind airstrikes noticed that the one who gave them orders was Gordon Freeman himself and try to kill him with their strikes. Big rocks fall from the ceiling.
A while later, you will encounter a “Black Mesa Central Complex” elevator. If you noclip behind it, you will see the interior, but there will be a red triangle on place of the switch, and if you approach it, you’ll get through a broken changelevel to one of the next maps.
http://steamcommunity.com/id/emoleveldesigner/screenshot/558694186569368612
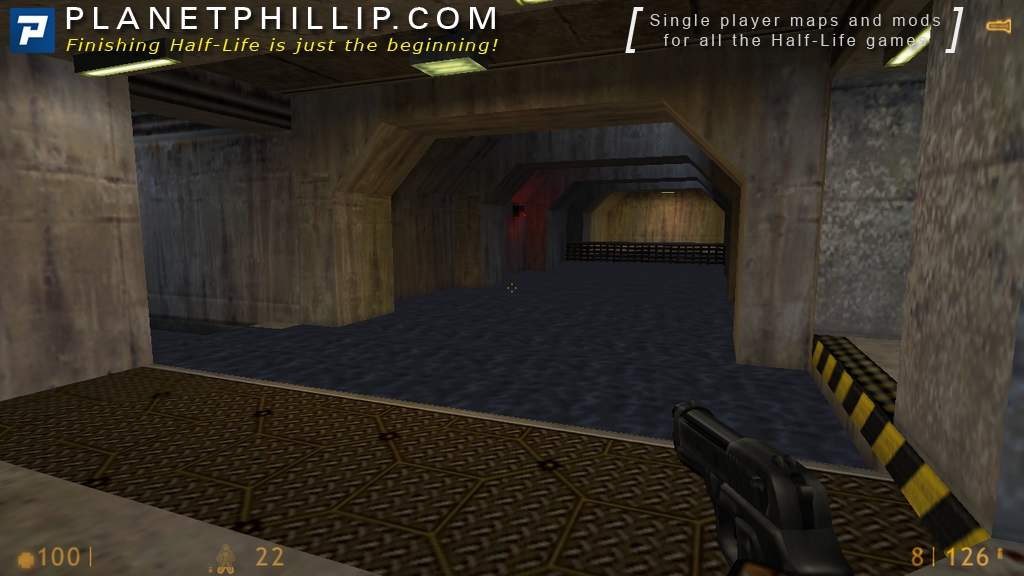
We meet alien grates and alien snark mines here, which are a small wealth of new information about the aliens. And there is an alien turret at the end of the chapter.
There are beautiful terrains before and after the sewers: cool looking cave first, and then the outdoor area. The elevator after it takes to room with radiation leaks which reminds of Blast Pit. And, of course, sewers and terrains look much better with Source’s shaders, displacements and ability to make a headcrab swim at the water surface.
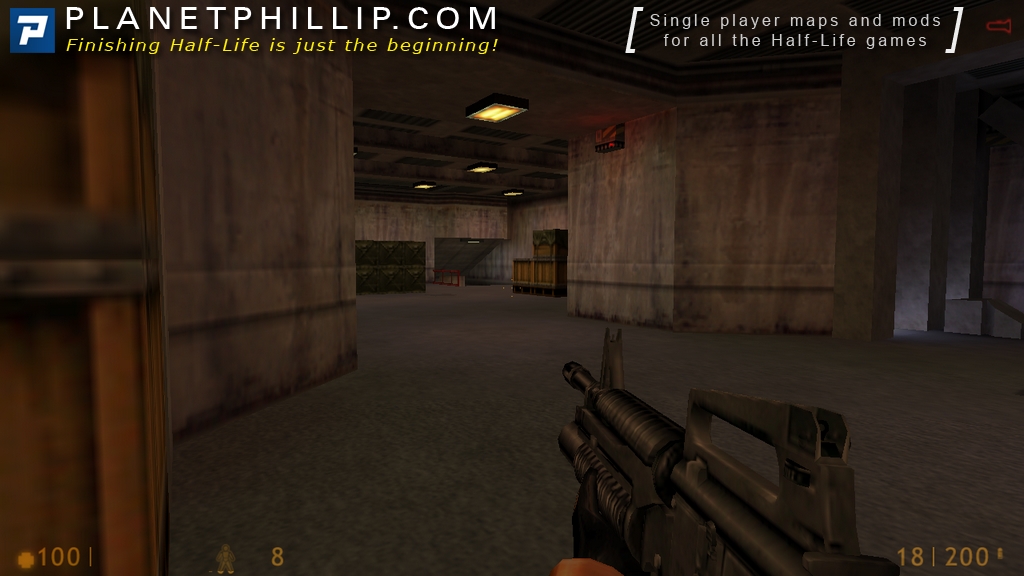
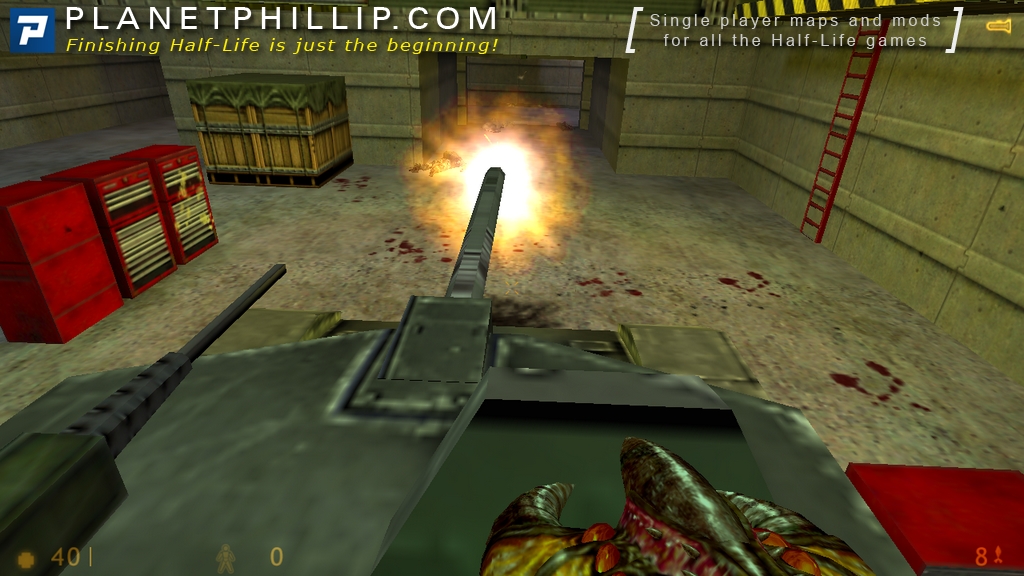
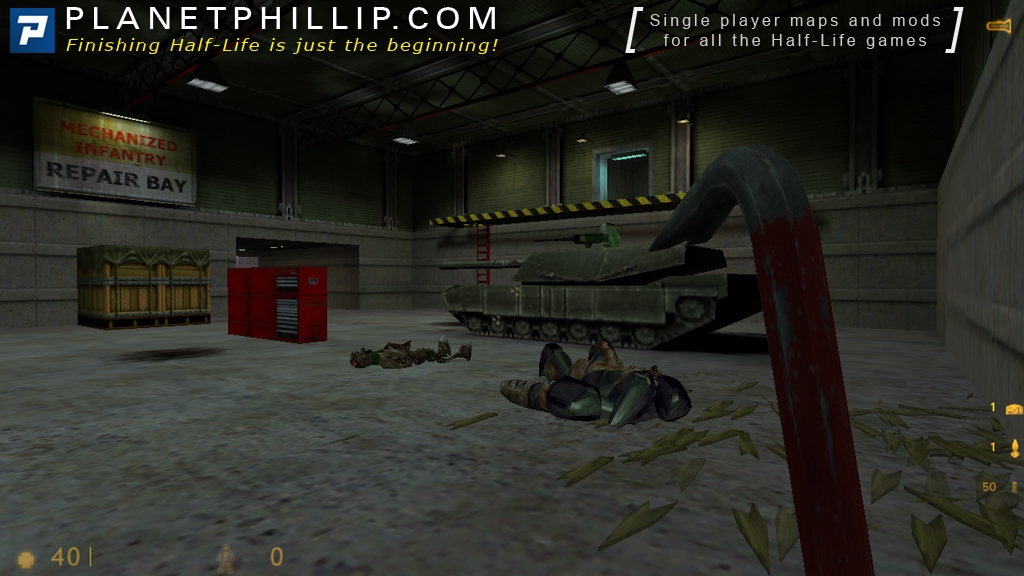
Finally, there is a garage with intense battle and a puzzle about destroying the door. After overcoming these, we will finally be entering Lambda Complex.
Playtime: 26 minutes.
Indeed this doesn’t feel like a filler at all, for me it was almost part of the previous chapter. The overpowered tank scene could’ve been improved by having enemies come from more than 1 side/direction..
Playtime: 29 minutes
Following the longest chapter in the game, here is the shortest. Forget about Freeman. The multiplayer map lambda bunker is in big part very similar to the first half of forget about freeman, suggesting that this sector is a bunker in an attempt to make the lambda complex safer. We first arrive in a room that gets all caved-in, and need to think quickly to survive. then we hear another guy on the radio telling the military to abort the mission and to pull out. We see many aliens, and even more teleport in, to show clearly that the military can’t contain anything anymore. We see some snark orbs, as I like to call them.
If you break them or move too close, many snarks are realeased on us. We go in the sewers and fight some ichtyosaurs, then move through heavy machinery, and get to the surface for the last time. we encounter another tank, get in an elevator and obviously reach a way cleaner sector. except for the radioactive leaks, but that’s the leats of our concerns. Some last marines fightint aliens, they got a tank that has no apparent way of getting in there. we encounter a xen cannon, that seems to be controlled by an alien grunt but still works when that one dies. then we’re off to the next chapter.
Five words or less review:
Short but (as) awesome as previous
Deaths:
None, that’s a cool thing since I died a lot in previous one
Playtime:
2 minutes 20 seconds 83 milliseconds
Forget about Freeman (“Vergiss Freeman!”)
“Anyone left down there now is on his own.”
A tough short “filler” chapter. Besides to me it never felt like a filler it somehow is one.
At first we have to survive the falling down ceiling and some tough aliens spawnings.
Then there is the most annoying part with the Snarks. They are easy to avoid if you just hide or shoot them with the Hivehand (unlimited ammo). Replaying that part is still annoying to me.
Some areas can be skipped totally if you want to speed it up a little. But however, they usually contain some goodies, even when it’s just one HEV battery.
As Phillip already mentioned, it’s short but offers quite lot of variety.
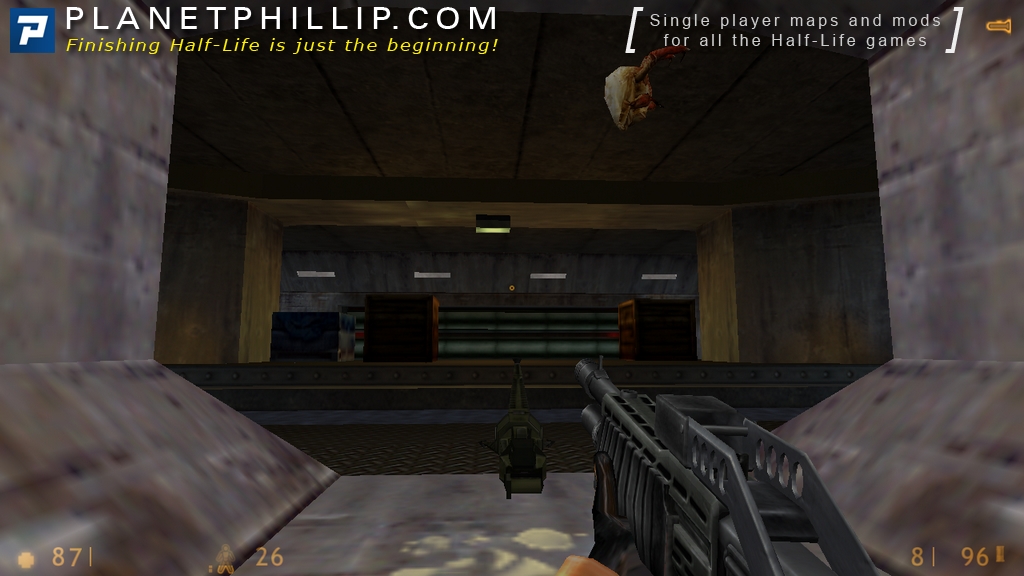
The garage, a short hazardous water section, the tank garage and some maintenace area.
You have to fight soldiers and aliens again, at one point they are fighting each other and you can either watch it or interrupt this rendezvous.
The usable tank is a pretty cool idea but it can also get nasty as more alien spawns then.
What I never understood was the laser turret… whatever.
So the best part of this chapter are the two tank scenes, the useable one and the one outside in the much too short outdoor area.
All in all there’s again pretty much action here, unfortunately no puzzles or anything that keeps the story pushing up a bit. That’s, at least my opinion.
Challenges:
-Kill an alien grunt with a ceiling turret. – No, haven’t tried —> Gauss
-Find the HEV charger in this chapter. – Yes, first time lol. Glad these challenges are set up, I still find new stuff I haven’t seen before 🙂
-Retrieve the hand grenades hidden underwater. – Yes
5 words or less review: Fighting Snarks with Snarks (?)
Deaths: Some, due to tough alien grunts in the mix with alien slaves and the
tank. Snarks are no problem.
Poll: Voted pistol, but I usually hide or use the Hivehand or pistol / AR.
Playtime: 15 minutes
Same here. I don’t bother with some of these challenges but incredibly I still am finding new places I’ve never been to before, and I’ve played Half-Life probably about 15 times now.
Yup, at first I tried to manage all challenges until some were just boring or too complicated for me so I started skipping some, however it’s a nice feature so thanks to 2muchvideogames !
It’s cool to find new spots even after playing through HL like 10-20 times already, just like you Unq 🙂 What else is there I start wondering now 🙂
http://youtu.be/oyyNUXtOK3w
Short chapter with 3 maps. I was running out on 10 minutes, so I thought it might be good to take a ‘shortcut’. Of course in retrospect it was actually faster to just ignore the shark and run thru the machinery, but oh well. I should get at least 1 of these challenges, yes?
Glitches: This level has a really weird glitch with the first elevator that EmoLevelDesigner already mentioned. Only if you cheat into it, though.
There is a funky tripmine glitch in this chapter. If you place tripmines in the water pipe (second map), they will ‘slide” around by themselves. I actually discovered this while doing a previous recording for this event. Ah, there’s always some strange new thing when you replay HL!
The Poll: If you watch the video above, using the hornet gun is actually the best way to deal with snarks (and baby headcrabs too). However I seem to have only realized it a little while into the video :\
Challenges:
– The first one only requires that you activate the ceiling turret behind barney, since an alien grunt will eventually teleport into it’s range and get shredded
– The HEV charger is not too difficult to find, but it does require some exploring 🙂
– I found the handgrenades in the video above.
Playtime: 9’38”
I can honestly say I do not remember anything from this chapter. I’d always associated this chapter with the aerial bomb targeting, but that occurs in the previous chapter. You’d think that Valve would’ve made that area the true beginning of the chapter to make it a bit longer and making Surface Tension shorter.
I spent most of the end of the chapter running around with below 10 HP, so I found the large amount to Alien Grunt quite difficult, and setting off Snark Mines didn’t help things. Hence the probably longer than average playtime.
Playtime: 25 minutes
Yeah I don’t think of Forget About Freeman! as filler at all. In fact, it’s pretty close in feel and difficulty to Surface Tension that it really feels more like a coda to that great chapter. There’s a good amount of action, and not many puzzles – but there are quite a number of out-of-the-way areas to explore, and you’re rewarded quite heavily at times for finding these areas although they don’t come without risk.
In addition to a healthy dose of alien grunts, we find a couple new threats from Xen. Both the snark nests and the alien laser turret can be deadly if you’re not ready for them. Add in a tank waiting for you (complete with a machine gun) and you have what can be a pretty tough chapter. Thankfully these new enemies are not overused. Yes, there are a lot of snarks but you bring it on yourself when you go exploring.
In all I don’t have too much to say about this short chapter. It’s a solid action piece that nicely caps off Surface Tension and leads nicely into the intriguing Lambda Core.
Mapper’s Corner: There are quite a number of neat mapping tricks in this small chapter as well, but I picked the one that’s front and center when you reach Forget About Freeman!: the collapsing rock ceiling. It certainly keeps you on your toes for the first section. What’s nice is that while this is a death trap, it’s not an instant death trap – you’re given warnings before each section collapses and given a chance to get out of the way.
http://imgur.com/jwwJj
At the end of the last chapter, we were hearing more and more airstrikes after we entered the tunnel. And as soon as we change maps, things start really collapsing. In total there are 7 sections that collapse from the ceiling. If you time things right you can safely watch all of the collapses close up without getting in the way.
Everything is timed by one multi_manager that’s triggered soon after you enter the chapter. Here’s how each collapse works:
– For a couple of the sections (above the walkway), we’re given very subtle early warnings – the lights shut off.
– Next, a func_breakable is triggered which removes it and replaces it with concrete gibs (which will fall to the ground “naturally” as compared with the big rock sections which are scripted to fall to the ground). These concrete pieces tumble down to the floor and indicate which section is falling next a few seconds later. It’s a nice warning – otherwise this would be a pretty cheap instant-death trap.
– Then, the big rock section is triggered and it moves toward the ground. These rocks are actually all func_doors that don’t function as doors but do move between two locations (‘closed” is on the ceiling, “open” is on the ground). These all have very high settings for ‘damage inflicted when blocked” so they are deadly if you’re below one when it comes down.
– Each big rock fall is accompanied by airstrike sounds (ambient_generics) and env_shakes to shake the screen and give more “weight” to the collapses. It’s a nice effect and it certainly feels like the place is coming down around you.
– A couple of extra effects were added as nice touches – you get a couple of steam leaks (env_sprites with an ambient_generic for a hissing sound) and then some sparks and a small explosion. And then it’s time to get back to shooting things for a while.
Playtime: 13 minutes
I am currently Someplace Else so I won’t (why don’t we say willn’t?) be doing this right now.
We’ve hardly entered the underground tunnel complex before bombs start raining down. Parts of the structure begin collapsing before our very eyes, exposing the natural rock layers that the installations were built into.
We’re somewhere on the outskirts of the Black Mesa Central Complex, an area that Valve never really tells us much about. Some say it’s the area that houses the Lambda Complex itself, while others believe it’s a completely different and distinct area. Interestingly, the Announcement System did mention a “Central Command and Communication Center”, earlier in the game.
In any case, we’ve almost reached our objective: the Lambda Complex. The urgency of our mission is accentuated by the withdrawal of the military from the entire Black Mesa facility, illustrated by two separate radio transmissions which both use the same key phrase: “Forget about Freeman!” Clearly, Freeman was an exceedingly important target for the military high command, who must have believed he was some sort of foreign saboteur. The order to retreat would not have carried such a message, otherwise.
And certainly, Gordon’s skill in dispatching the army forces would indicate that he has received spec-ops training, but as the Half-Life 2 Prima Guide states, Gordon had never handled a firearm prior to the Black Mesa Incident (further evidence that the Hazard Course is non-canon). So he’s only survived this long thanks to his intelligence, his instincts, and, of course, his HEV suit. But the army has no way of knowing that, and they wouldn’t believe it anyway. To them, Gordon Freeman is a renegade scientist who knows more than he should, and has killed off half of the incursion force. They have no reason to assume Gordon is an ally.
The military withdrawal serves to underline the army’s gross incompetence (they completely retreat from the entire complex in less than a day… what a failure). But it also serves to illustrate the Xen alien forces” superiority (I would expect no less from the armada that managed to successfully survive and evade the Combine’s onslaught). It’s all up to us now, and no further obstacles stand in our way as we approach the Lambda Complex.
Still, the government seems fairly determined to bomb the entire facility to dust. And going off some of Eli Vance’s voice lines, that were ultimately cut from Half-Life 2, they succeeded: “Black Mesa is a crater now.“. Of course, in the final retail product, the fate of Black Mesa is left open, although we can more or less assumed that it was bombed right down to its bare molecules (perhaps the government even decided to bomb the entire complex with a nuclear bunker buster).
Of course, Opposing Force offers a… different alternative to Black Mesa’s fate, but it is one that most fans do not subscribe to. But let’s leave that for the OF playthrough.
But let’s move beyond matters of the narrative realm. “Forget About Freeman” is one of the shortest chapters in the entire Half-Life series. While it is quite well done, I’d agree with Phillip: it’s definitely filler. Still, that’s by no means a bad thing.
Here, Valve recycles some earlier gameplay mechanics and concepts, in what seems like an attempt to take us through a final crash course of different play styles and game elements. Since we’re rapidly approaching the end of our time here on Earth, it makes sense, and it also provides a lot of variety for this particular chapter. In fact, I’d say that in this respect, it surpasses Surface Tension, which offered us nothing more than straight-forward combat with nothing but military forces.
But there’s also some new gameplay elements in Forget About Freeman. Like the Snark mine, which is nice, but ends up being a bit too tedious and irritating. But, we do get to actually use an M1 Abrams, and although it’s an extremely brief experience (not only should the scene had been longer, but it would also have been really interesting to actually get to drive the thing for a bit), it’s undeniably fun, and it’s accompanied by one of Half-Life’s finest music tracks: “Hard Technology Rock”.
So overall, while Forget About Freeman is significantly derivative in its gameplay and level design, it is an extremely solid chapter nonetheless. Not as memorable as the one that came before it, but still an extremely enjoyable gem in the Half-Life progression.
Five Words Or Less: Nothing new? No problem here!
Play time: 17 minutes
Playtime: 15:04
This may be the shortest, but it’s one of the toughest sections in the game. We’re seeing more and more evidence that Black Mesa is falling apart, the HECU are losing, and the Xen are making significant headway. The resonance cascade is an utter cluster fvkk, and the effects are being felt more and more. A premonition of HL2?
I agree with the above sentiment: the faster you go, the harder it gets. I died countless times this time–for some reason, this game encourages me to play it faster and faster, trying like hell to get to the end and see why I’ve had to go thru all this crap in the first place!! It’s like reading an engrossing book: faster, faster, and faster in an effort to get to the end!!
And those damn ninjas!! I didn’t think about using the hornet gun to splash them, tho. And I didn’t know about the alt-hornet fire either (and I keep learning MORE odd things about the Source version!!). But it’s good to know.
Another new tip: hornets kill icthies!! Who’d’a thunk it?? I jumped over to the ramp to the side, crouched, and shot it from above the water surface with the crossbow til it kicked. Workable if you don’t have the ability to hornet it.
I think I may replay this and see if I can get thru with more life/power than I did this time, I took a hella beating!!